
Choosing the right motorcycle handlebar levers is one of the most immediate ways to improve your riding comfort, control, and safety. Because these components serve as your direct interface with the braking and clutch systems, the correct choice depends on a precise match with your motorcycle’s specifications, your hand size, and your riding environment. Whether you are navigating dense urban traffic or riding long distances, upgrading your levers can significantly reduce hand fatigue and sharpen control response. Selecting the ideal set requires evaluating physical compatibility, ergonomic design, material construction, and proper installation protocols.
Step 1: Verify Motorcycle Compatibility and Master Cylinder Specs
When upgrading your handle bars levers, safety must be your absolute priority. Brake and clutch levers are safety-critical components that directly govern your ability to stop and control your motorcycle. You should never purchase levers based solely on “universal” claims, generic retail descriptions, or visual similarity to your stock parts. Even a fraction of a millimeter of misalignment at the pivot point can lead to catastrophic brake failure or clutch slippage.
To ensure a precise fit, you must locate your exact vehicle specifications, including the manufacturer, model, production year, and engine displacement. This information can be found on your vehicle registration log card, the owner’s manual, or the manufacturer’s chassis plate on the bike. Use these exact details to cross-reference the lever manufacturer’s official fitment chart. Do not rely on model years from other regions, as specifications can vary by market.
Products mentioned in this guide
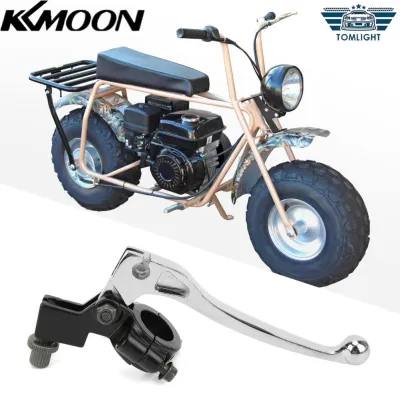
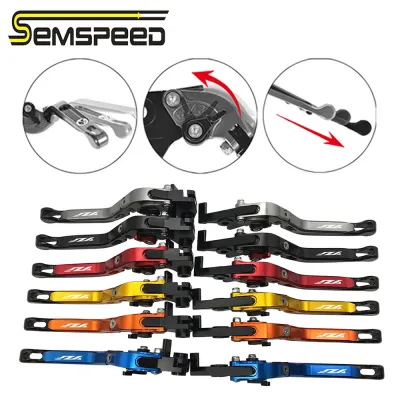
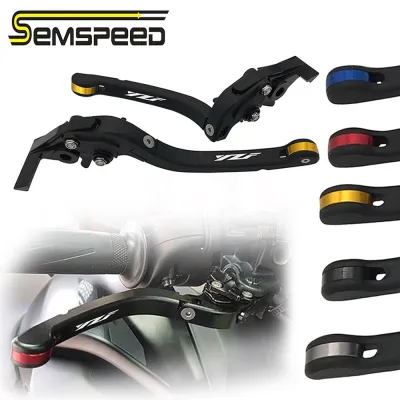
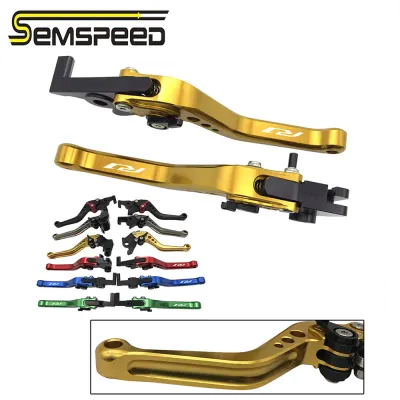
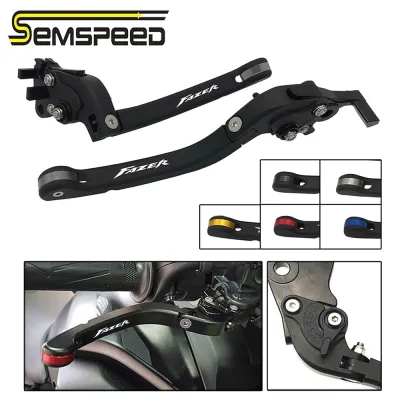
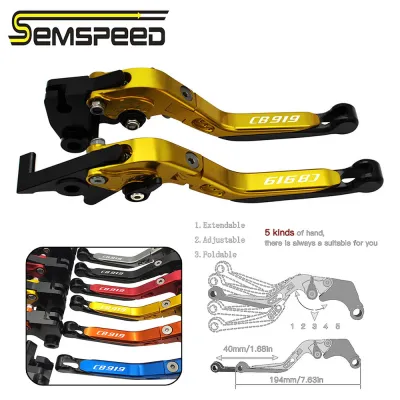
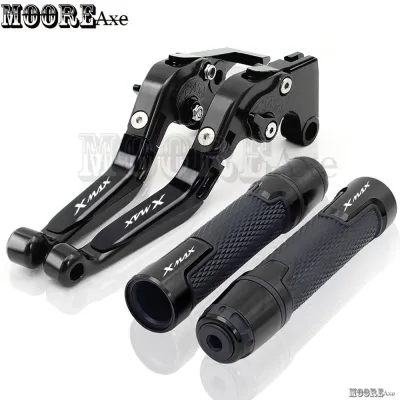
Prices are valid at publication and may change. Please refer to the product page for the latest price.
A critical technical factor is the type of master cylinder installed on your motorcycle. Motorcycles typically use either axial or radial master cylinders. Axial master cylinders mount the piston parallel to the handlebar, requiring a lever that pushes a plunger sideways. Radial master cylinders mount the piston perpendicular to the handlebar, which aligns the mechanical force directly with the direction of the lever pull. This fundamental design difference dictates the lever’s pivot interface, its mounting bracket geometry, and the alignment of the pushrod. If you install a lever designed for an axial system onto a radial master cylinder, the pushrod will not align correctly, leading to uneven wear, binding, or sudden mechanical failure.
If you cannot verify your master cylinder type, if the mounting interface on the aftermarket lever looks different from your stock lever, or if the manufacturer’s fitment chart is ambiguous, you must stop immediately. Do not attempt to force the component to fit or modify the mounting bracket. Halt the purchase and consult an authorized dealership or a qualified motorcycle mechanic to verify compatibility.
Step 2: Match Lever Length and Adjustability to Your Hand Size
Ergonomics play a vital role in rider comfort, especially during long journeys or when navigating stop-and-go traffic on congested urban roads. Selecting the correct lever length and shape directly impacts your physical control and hand fatigue.

The choice between standard-length levers and short levers (often called “shorty” levers) depends on your hand size and riding style. Standard-length levers span the entire width of the grip, providing maximum mechanical leverage. They are highly suited for riders with larger hands, those who prefer using three or four fingers to actuate the clutch or brake, and riders of heavier touring motorcycles. Conversely, short levers are designed for two-finger operation (typically the index and middle fingers). Shorty levers are highly favored by sport riders and urban commuters because they allow you to keep your ring and pinky fingers wrapped securely around the handlebar grips, maintaining better chassis control. They also prevent the lever from crushing your outer fingers against the grip when fully pulled.
Reach-adjustable levers are essential for customizing the distance between the lever blade and the handlebar grip. These levers feature an adjustment dial, click wheel, or lever mechanism that alters the starting position of the blade. This adjustability accommodates different finger lengths and accounts for varying glove thicknesses, such as switching from thin summer gloves to thick, padded wet-weather gear. By bringing the lever closer to the grip, riders with smaller hands can operate the controls without straining or stretching their fingers, which significantly reduces the risk of forearm pump and cramping.
The physical shape of the lever blade also influences comfort. Curved blades distribute pressure more evenly across the fingers, while straight or flat-faced blades offer a more positive, aggressive feel preferred by some track riders. Rather than relying on product photos online, it is highly recommended to visit a local motorcycle workshop to test different lever profiles in person. If that is not possible, carefully consult the manufacturer’s detailed dimensional diagrams to compare the reach and sweep measurements against your stock components.
Step 3: Evaluate Materials, Build Quality, and Crash Protection
The material composition and manufacturing process of your handle bars levers determine their durability, weight, and behavior during an impact. Understanding these characteristics helps you balance performance against long-term reliability.
Most aftermarket levers are made from either cast aluminum or CNC-machined billet aluminum (typically 6061-T6 or 7075-T6 alloys). Cast aluminum levers are common on budget-oriented options; they are inexpensive to produce but are relatively brittle. Under the stress of a drop or crash, cast aluminum is highly prone to snapping completely, which can leave you stranded without a functioning brake or clutch. CNC-machined billet aluminum levers offer superior structural rigidity, tighter manufacturing tolerances, and excellent strength-to-weight ratios. Under impact, high-quality billet aluminum is more likely to bend rather than snap, occasionally allowing you to carefully ride the motorcycle to a repair facility.
For enhanced crash protection, consider folding or rotating lever designs. These levers incorporate a spring-loaded hinge joint that allows the lever blade to pivot upward or outward if the motorcycle tips over. By folding away upon impact, the lever absorbs the kinetic energy without breaking the pivot bracket or snapping the blade, ensuring that your controls remain functional after a minor drop.
Before making a purchase, always verify the product labels and manufacturer documentation for any restrictions on use. Some high-performance or lightweight levers are designated for “off-road or track use only.” In highly regulated environments like Singapore, using components without street-legal certification can violate Land Transport Authority (LTA) guidelines, compromise your vehicle’s roadworthiness, and potentially void your motorcycle insurance policy in the event of an accident.
Avoid choosing levers based on brand prestige alone. Instead, focus on observable indicators of build quality. Inspect the pivot joint for smooth, fluid action without excessive lateral play. Look for high-grade stainless steel hardware and check the consistency of the anodized finish. A high-quality anodized coating is critical in tropical climates, as it protects the aluminum from corrosion caused by high humidity, salt air, and heavy rain, preventing the metal from oxidizing and the color from fading.
Step 4: Pre-Installation Checks and Safety Verification
Installing new handle bars levers requires meticulous attention to detail. Because these parts control your primary safety systems, you must follow a strict pre-installation and post-installation protocol to guarantee safe operation.
Before starting the installation, perform a thorough pre-installation check. Lay out all the components and verify that the package includes all necessary pivot sleeves, pins, spacers, and washers. Compare these parts directly with your original equipment manufacturer (OEM) components. Ensure that the aftermarket lever’s mounting pivot matches the OEM dimensions exactly. Clean the pivot bolt and the mounting bracket thoroughly, removing any old grease, dirt, or debris.
During installation, you must adhere to strict safety boundaries. Apply a thin layer of high-quality lithium or silicone grease to the pivot bolt and sleeve to ensure smooth operation and prevent premature wear. When securing the lever, always use a calibrated torque wrench to tighten the pivot bolt to the exact torque specifications listed in your motorcycle’s official service manual. Do not guess or estimate these torque values. Over-tightening can pinch the mounting bracket and bind the lever, preventing the brake or clutch from releasing, while under-tightening can allow the pivot bolt to vibrate loose while riding.
Once the installation is complete, perform a comprehensive post-installation safety verification before starting the engine or riding. With the motorcycle stationary, repeatedly squeeze both the brake and clutch levers. Verify that they move smoothly through their entire range of travel without any binding, sticking, or catching. Check that the levers have a strong, positive return action driven by the return springs. Ensure there is adequate clearance between the levers and the handlebar grips, switchgear, handguards, or front fairings when the handlebars are turned fully from lock to lock. Additionally, verify that the front brake lever activates the brake light microswitch immediately upon engagement, and that the clutch lever correctly actuates the clutch safety switch.
If you encounter any issues during this verification—such as a spongy feel in the brake lever, a clutch that fails to disengage fully when pulled, or excessive lateral play in the lever pivot—do not attempt to ride the motorcycle. Stop immediately and seek professional mechanical assistance from a qualified workshop to diagnose and resolve the issue before operating the vehicle.
Frequently Asked Questions (FAQ)
Can I install aftermarket handlebar levers without changing the master cylinder?
Yes, you can install aftermarket handlebar levers without replacing your stock master cylinder. Aftermarket levers are specifically designed to act as direct replacements for OEM components, meaning they utilize the existing pivot points and pushrod assemblies. However, this is entirely dependent on selecting a lever that is explicitly engineered for your motorcycle’s exact make, model, and year. You must verify the manufacturer’s fitment list to ensure the lever’s pivot interface matches your stock master cylinder configuration.
Do short levers affect braking performance?
Short levers do not reduce the hydraulic pressure or the stopping capacity of your motorcycle’s braking system, as the master cylinder itself remains unchanged. However, they do alter the physical leverage available to your hand. Because a shorter lever has a shorter moment arm, you will need to apply slightly more finger force to achieve the same amount of braking pressure compared to a standard-length lever. For most riders, this difference is minimal and easily managed, but it is an important trade-off to consider if you prefer a lighter lever pull.
Community discussion
Share your experience or ask a question. Comments are reviewed before publication.