
To choose a tubeless repair kit bicycle riders must look closely at their tire’s specific width, casing thickness, and operating pressure. A road setup requires thin, high-pressure-capable plugs, whereas mountain and gravel bikes require thick, long plugs designed to navigate deep tread blocks and high-volume casings. Selecting the wrong tool can ruin a tire, cause a sudden blowout, or leave you stranded on the roadside or trail.
Understanding how your tires interact with different plug sizes, materials, and inflation methods is the key to choosing a reliable kit. By matching your tool to your specific riding discipline, checking physical compatibility, and recognizing safety boundaries, you can ensure your tubeless setup remains dependable.
Quick Guide: Matching Repair Kits to Your Riding Discipline
The physical characteristics of your bicycle tire—specifically its operating pressure, casing thickness, and tread pattern—dictate the required repair method and tool dimensions. High-pressure road tires behave very differently under puncture stress compared to low-pressure mountain bike tires. Consequently, a tool designed for one discipline cannot be reliably substituted for another without risking casing damage or repair failure.
Products mentioned in this guide
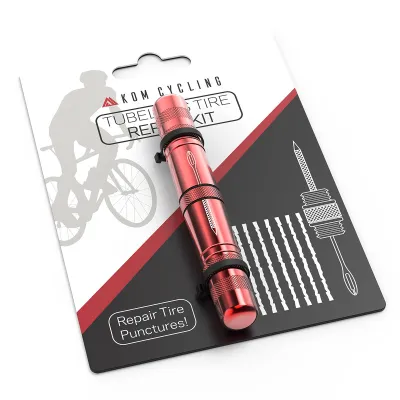
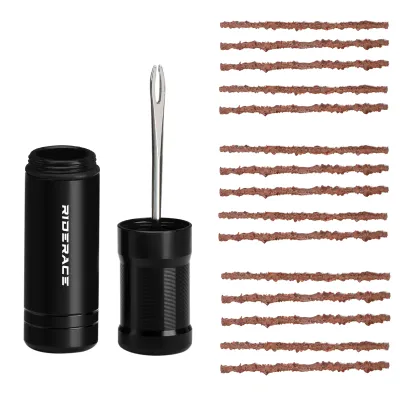
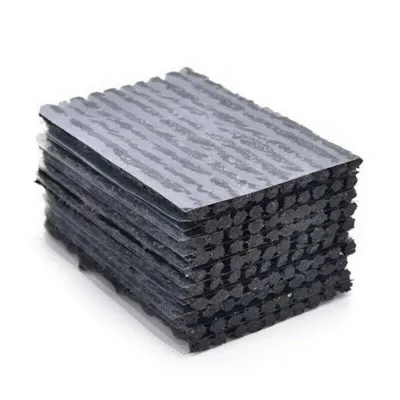
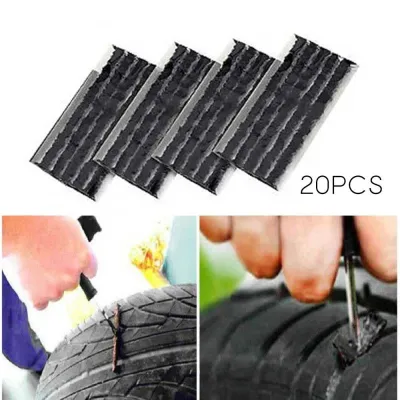
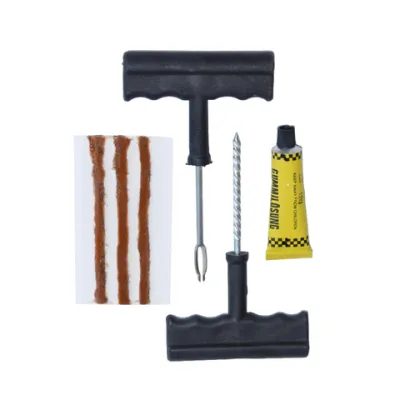
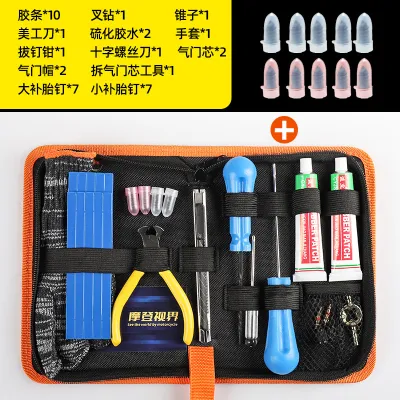
Prices are valid at publication and may change. Please refer to the product page for the latest price.
For road cycling, tires typically operate at higher pressures, often ranging from 50 to over 80 psi. This high-tension environment demands compact, highly precise tools and ultra-thin insertion plugs, sometimes called micro-plugs, to prevent stretching or tearing the delicate, high-tpi (threads per inch) casing. The repair tool must be able to insert the plug cleanly without enlarging the puncture, and the plug must be capable of resisting ejection under high pressure.
For mountain and gravel biking, tires feature thicker, multi-ply casings, aggressive tread knobs, and lower operating pressures, usually between 15 and 40 psi. These tires require thicker and longer plugs, often referred to as bacon strips or heavy-duty plugs, to fill larger punctures and navigate deep tread channels. Off-road kits must also accommodate high-volume inflation solutions to reseat tire beads that may have slipped during a puncture event.
This guide focuses on selecting the right tool specifications rather than endorsing specific brands, as compatibility depends entirely on your exact tire model, width, and manufacturer instructions. Basic repair kits in Singapore typically range from S$15 to S$30, while premium integrated systems designed for specific bike storage areas can cost between S$45 and S$90.
Understanding Tubeless Repair Mechanisms and Their Limits
External tire plugs, commonly known as bacon strips due to their sticky, rubberized appearance, function by filling the puncture void directly from the outside of the tire. You insert these plugs using a fork-like pricking tool, which pushes the sticky strip into the hole, leaving a portion inside the tire and a portion protruding. They are designed for quick, trail-side fixes and work best for punctures located in the main tread area where the rubber and casing are thickest.

These external plugs rely on a combination of physical mass and chemical interaction to seal the tire. Once inserted, the plug mechanically blocks the escaping air, while the liquid tubeless sealant inside the tire coats the plug, reacting with its sticky compound to form a airtight bond. This system is highly effective for small-to-medium punctures, but it is a temporary or semi-permanent fix that requires regular monitoring.
Internal tubeless patches, by contrast, are applied directly to the inside of the tire casing, much like a traditional inner tube patch. This method requires you to completely remove the tire from the rim and break the bead, making it a workshop-only solution or a secondary backup for major tears rather than a quick trail-side fix. Internal patches provide a highly durable, permanent repair because they are held in place by the tire’s internal air pressure pushing against the rim bed.
Hybrid and anchor systems represent an advanced category of repair technology. These systems combine internal and external sealing mechanisms by using a mechanical anchor or expansion head that is pushed through the puncture. Once inside, the anchor expands or locks against the inner casing wall, preventing the plug from being ejected under high pressure, while the external tail seals the puncture channel.
Regardless of the system you select, material and adhesive limits are critical safety factors. Material names in product titles are not performance evidence of compatibility. Always check product labels and manufacturer instructions to ensure the repair material is explicitly approved for use with your specific liquid tubeless sealant and tire casing materials, as incompatible chemicals can degrade the tire rubber over time.
Sizing Your Kit: Matching Plugs to Tire Width and Casing
Matching the plug diameter to your tire’s physical dimensions is essential to avoid secondary damage. Using a plug that is too thick can permanently stretch and damage a narrow road tire casing, potentially causing a structural blowout when inflated to high pressures. Conversely, using a plug that is too thin in a large mountain bike puncture may result in the plug being blown out of the tire under load or when cornering. Always check the kit’s specified plug diameter against your tire manufacturer’s guidelines.
Plug length is another critical dimension, particularly for thick mountain bike casings and deep tread blocks. If a plug is too short, it may not pass entirely through the puncture channel, failing to anchor properly on the inside of the tire casing. This can cause the plug to slip out during riding, especially when the tire flexes over obstacles or rough terrain. Ensure the plug length is sufficient to penetrate your tire’s tread depth and casing thickness.
The reamer and insertion tool size must also align with your tire type. The reamer’s role is to clean the puncture channel, remove debris, and slightly roughen the edges to improve adhesive bonding. However, using an overly aggressive or oversized reamer on thin road casings can enlarge the hole unnecessarily, cutting through structural casing threads and permanently compromising the tire’s structural integrity.
Before purchasing any kit, perform a verification step by cross-referencing the kit’s included plug and tool sizes with your current tire width and casing ply count. A cyclist riding 25mm road tires along coastal routes in Singapore will require a microscopic insertion fork and ultra-thin plugs, whereas a mountain biker tackling the rocky terrain at Bukit Timah Mountain Bike Trail will need a robust, heavy-duty reamer and thick plugs.
Evaluating Portability, Storage, and Inflation Integration
How you carry your repair kit determines how accessible it is during an emergency. Common storage options include bottle cage mounts, handlebar or seatpost straps, bar-end plugs, and pocket-sized multi-tool integrations. Your choice should be influenced by your bike’s frame geometry, available bag space, and riding habits. For instance, urban commuters using Singapore’s Park Connector Network (PCN) might prefer a compact, pocket-sized tool, while long-distance gravel riders may opt for integrated bar-end storage to save frame bag space.
A repair plug alone is often insufficient to get you riding again; you must also consider inflation requirements. Inserting a plug usually results in a significant loss of air pressure, and in some cases, the tire bead may unseat from the rim. To resolve this, you need immediate, high-volume air pressure to reseat the tire bead and force the plug into the casing, which helps distribute the sealant around the repair site.
When evaluating inflation tools, compare the trade-offs of CO2 inflators, mini-pumps, and integrated pump-plug tools. CO2 inflators provide fast, high-pressure, single-use inflation that is excellent for seating stubborn beads, but they are temperature-sensitive and can cause some liquid sealants to freeze or clump. Mini-pumps are highly reliable and reusable but require significant physical effort to reach seating pressures, especially for high-volume off-road tires. Integrated tools combine the insertion fork and CO2 chuck into a single unit, streamlining the repair process.
Additionally, ensure your kit includes a valve core removal tool. This small tool is essential for adding fresh sealant directly through the valve stem on the trail or clearing clogged valves, which is a common point of failure in tubeless systems. Without a valve core tool, clearing a dried sealant clog or topping up fluid levels during a roadside repair becomes extremely difficult.
Safety Boundaries: When to Repair and When to Replace
Understanding when a tire can be safely repaired and when it must be replaced is critical for rider safety. External plugs are designed almost exclusively for punctures located in the tread area. They generally fail when applied to sidewall damage because the sidewall is subject to continuous flexing, stretching, and high cornering stresses. While an internal patch might serve as a temporary, low-pressure fix to help you limp home, a tire with sidewall cuts or tears must be replaced.
Puncture size limits also dictate whether a repair is viable. As a general rule, cuts, tears, or irregular punctures longer than 3mm to 5mm are too large for any consumer plug kit to seal safely. Attempting to bridge a large tear with multiple plugs can compromise the structural casing of the tire, leading to a catastrophic blowout under load.
After performing any trail-side repair, always conduct a post-repair verification check. Inflate the tire to a low, safe pressure and inspect the repair site for air bubbles, sealant weeping, or physical bulging. Monitor the repair site closely on subsequent rides; if you notice any bulging, casing deformation, or persistent pressure loss, the tire’s structural integrity has been compromised, and it must be replaced immediately.
Before attempting any repair, consult your specific tire manufacturer’s warranty and safety documentation. Some manufacturers void warranties if certain types of aggressive reamers or chemical adhesives are used, while others explicitly prohibit repairs on specific high-performance road models. If you are in doubt about the tire’s structural integrity or if the manufacturer’s instructions conflict with your repair kit, stop immediately and seek a professional assessment from a qualified bicycle mechanic.
Frequently Asked Questions (FAQ)
Can I use a mountain bike tubeless plug on a road bike tire?
Using an oversized mountain bike plug on a narrow, high-pressure road tire carries significant risks. The thick plug and the aggressive insertion tool required to install it can easily stretch, distort, or cut the delicate casing threads of a road tire, leading to casing deformation or a sudden blowout. Always check the exact diameter specifications of both the plug and your tire manufacturer’s limits before attempting any repair.
Do I need to add more sealant after inserting a plug?
Whether you need to add sealant depends on how much fluid escaped during the puncture event and the age of your current sealant. The insertion process and the plug itself rely on active liquid sealant to seal the microscopic gaps around the plug edges. If a significant amount of sealant sprayed out during the puncture, or if your sealant is dry, you must top it up through the valve stem to ensure long-term sealing and prevent slow leaks.
Is a plugged tubeless tire safe for long-term riding?
A plugged tubeless tire should generally be treated as a temporary or semi-permanent fix. The long-term safety and longevity of a plugged tire depend heavily on the puncture size, its location, the plug type used, and your tire manufacturer’s safety guidelines. While some small tread punctures sealed with high-quality plugs can last for the remaining life of the tread, you must inspect the repair site regularly for signs of wear, lifting, or bulging, and replace the tire if any degradation is observed.
Community discussion
Share your experience or ask a question. Comments are reviewed before publication.