
Finding the right glass water mark remover for your car in Singapore requires understanding the difference between superficial mineral deposits and deep physical etching. In our tropical climate, where sudden downpours are immediately followed by intense sunlight, rainwater and tap water dry rapidly on windshields, leaving behind stubborn calcium and silica deposits. To restore optical clarity safely, you must select a product formulated specifically for automotive glass, matching the chemical or abrasive strength of the remover to the severity of the stains on your vehicle.
Using the wrong product or application method can permanently scratch your windshield, degrade rubber weatherstripping, or strip away protective paint coatings. By evaluating the condition of your glass and understanding the active ingredients in various detailing products, you can safely eliminate unsightly spots and ensure clear visibility during heavy rainstorms.
Identifying the Severity of Water Marks on Car Glass
Before purchasing any removal product, you must determine whether the water spots on your vehicle are surface-level deposits or physical etchings in the glass. Run a clean, dry fingernail gently across the affected area. If you feel slight ridges or a rough texture, you are dealing with Stage 1 or Stage 2 water spots, which are mineral crusts sitting on top of the glass. If the surface feels perfectly smooth to the touch but the spots remain visible under a bright flashlight, the minerals have chemically reacted with the silica, creating microscopic craters known as Stage 3 etching.
Products mentioned in this guide

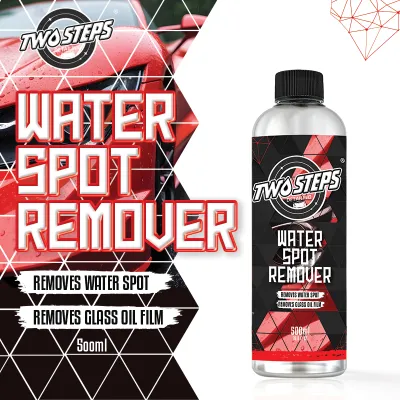
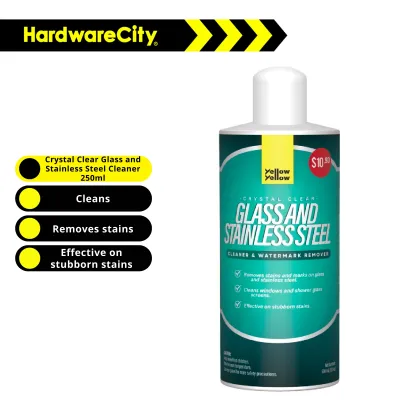
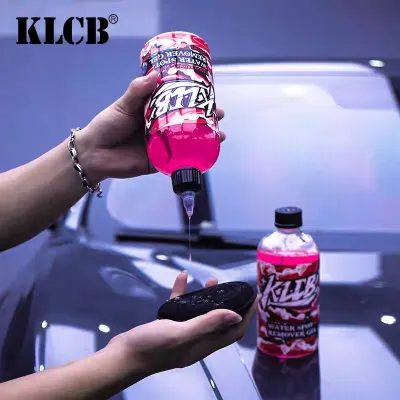
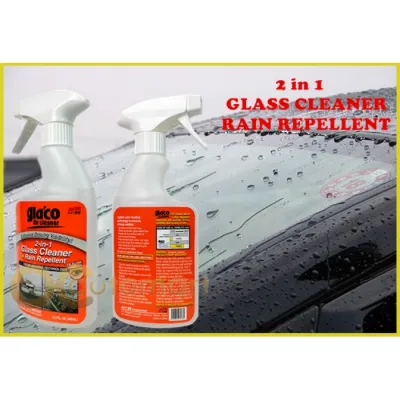
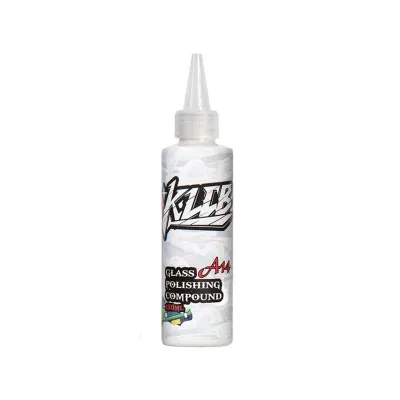
Prices are valid at publication and may change. Please refer to the product page for the latest price.
Singapore’s unique urban environment significantly influences how these marks form. When cars are parked in multi-storey car parks, water dripping from concrete ceilings often carries dissolved calcium hydroxide. When this highly alkaline mixture lands on your windshield and dries, it forms a hard, cement-like calcium carbonate deposit that is exceptionally difficult to wash away with standard car shampoo. Similarly, industrial emissions and coastal salt air introduce sulfur and sodium compounds that accelerate mineral bonding when baked under the tropical sun.
If the water marks are caught early, they generally exist as loose mineral salts that a mild chemical remover can dissolve. However, if the spots have been left untreated for months, the constant cycle of heat and moisture causes the minerals to migrate into the microscopic pores of the soda-lime glass. Once this deep etching occurs, chemical cleaners alone will not suffice, and you will need to transition to mechanical polishing to physically level the glass surface.
What to Look for When Buying a Glass Water Mark Remover
When shopping for a glass water mark remover, your primary concern must be safety and compatibility with automotive surfaces. Household descalers, bathroom cleaners, and kitchen abrasive creams are formulated for ceramic tiles and porcelain, which are far harder and more chemically resistant than automotive glass. Using these household alternatives on a vehicle can permanently haze the glass, corrode aluminum trim, and bleach the surrounding rubber seals.

Always verify that the product label explicitly states it is safe for automotive glass. Look for formulations that specify they are safe for use near rubber weatherstripping and automotive paintwork. Because chemical run-off is inevitable during application, choosing a product that does not immediately stain or strip clear coat paint provides an essential safety margin during the detailing process.
Additionally, consider the application format that best matches your experience level and the severity of the stains. Liquid spray-on removers are highly convenient for light, fresh water spots and require minimal physical effort, but they can easily run off the glass onto sensitive plastics. Cream pastes and gel-based formulas offer much better control, staying exactly where you apply them, making them ideal for targeted spot treatment and hand polishing without the risk of accidental overspray.
Types of Removers and Which Stains They Treat
Automotive water mark removers generally fall into three distinct categories, each utilizing a different mechanism to restore glass clarity. Understanding these categories allows you to select the least aggressive method necessary to resolve your specific issue, preserving the integrity of your glass and surrounding trim.
Acid-based chemical removers are designed to target alkaline mineral deposits. These products typically use mild organic acids, such as citric or sulfamic acid, or highly diluted, buffered inorganic acids to chemically break down calcium carbonate and magnesium salts. They are highly effective at dissolving raised, crusty water spots without requiring intense physical scrubbing, making them an excellent first step for widespread spotting on side windows and rear windshields.
Physical abrasive polishes rely on microscopic cutting agents, most commonly cerium oxide or micro-silica particles, to mechanically shave away bonded contaminants and light surface etching. Unlike chemical removers, which only dissolve specific minerals, abrasive polishes physically level the glass surface. This makes them highly effective against stubborn silica-based spots and light wiper trails, though they require more physical effort and careful technique to avoid creating uneven optical distortion.
Clay bars and synthetic clay mitts serve as an excellent preparatory treatment rather than a primary water spot remover. While a clay bar will not dissolve calcium deposits or level etched glass, it is highly effective at shearing off bonded environmental contaminants like tree sap, industrial fallout, and road tar. Using a clay bar before applying a chemical or abrasive remover ensures that you do not accidentally drag hard grit across the glass, which would cause severe scratching.
| Remover Type | Primary Active Mechanism | Best Suited For | Risk Level to Surrounding Trim |
|---|---|---|---|
| Acid-Based Chemical | Chemical dissolution of alkaline minerals | Widespread, raised Stage 1 & 2 calcium spots | Moderate (can etch plastics and raw metals) |
| Abrasive Polish | Mechanical leveling of the glass surface | Stubborn silica spots, light wiper trails, Stage 3 etching | Low (primarily a physical residue hazard) |
| Clay Bar Treatment | Shearing of bonded surface contaminants | Pre-treatment decontamination, removing overspray | Very Low (requires proper lubrication) |
Step-by-Step Guide to Safely Removing Water Marks
To achieve professional results without damaging your vehicle, you must follow a structured, patient workflow. Always work in a cool, shaded area—such as an indoor washing bay or a covered car park—and ensure the glass surface is cool to the touch. Applying chemical removers or polishes to hot glass will cause them to dry instantly, leading to severe chemical staining that is incredibly difficult to correct.
First, wash the entire vehicle, or at least the target glass panels, thoroughly using a dedicated, wax-free car shampoo. This step removes loose dirt, dust, and road grime that could otherwise act as sandpaper during the removal process. After washing, dry the glass completely and inspect it for any remaining bonded contaminants, using a clay bar with plenty of clay lubricant if the surface still feels rough.
Next, perform the critical step of masking. Use high-quality, low-tack automotive masking tape to cover all adjacent rubber weatherstripping, plastic cowl panels, side-mirror housings, and painted pillars. This protective barrier prevents acid-based chemicals from drying out rubber seals and stops abrasive polish residue from turning textured black plastics permanently white.
Apply a small, coin-sized amount of your chosen water mark remover to a microfiber applicator pad or a dedicated felt glass polishing pad. Work in small, manageable sections, approximately 30cm by 30cm, using firm, overlapping circular motions. Do not apply excessive downward pressure; let the chemical action of the acid or the engineered abrasives in the polish do the work.
Never allow chemical removers to dry on the glass surface. Keep a spray bottle of clean water or a mild alkaline quick detailer nearby to neutralize and rinse the product if it begins to dry prematurely. Once you have completed a section, immediately wipe away the residue with a clean, damp microfiber towel, followed by a dry microfiber towel to inspect your progress under a strong light source.
When DIY Removal Fails: Seeking Professional Detailing
If you have completed both chemical and manual abrasive treatments and the water marks remain visible under direct light, the minerals have deeply etched into the glass structure. Attempting to remove these deep, Stage 3 craters at home using aggressive hand scrubbing or household power tools carries a high risk of permanently damaging your windshield.
Correcting deep glass etching requires specialized machine polishing using a dual-action or rotary polisher paired with dense rayon pads and high-concentration cerium oxide compounds. This process generates significant friction and heat. If the glass temperature is not carefully monitored and controlled, the thermal stress can cause the windshield to crack, or create localized optical distortion that warps your vision while driving, especially under night-time streetlights in Singapore.
Professional automotive detailers possess the necessary digital paint depth gauges, temperature sensors, and specialized glass-leveling equipment to safely restore severely etched windows. If the etching is so severe that it compromises structural integrity or impairs the driver’s line of sight even after professional machine polishing, replacing the glass entirely through your vehicle insurance or a specialist workshop may be the only safe option.
Frequently Asked Questions (FAQ)
Can I use household vinegar to remove water marks from car windows?
While household white vinegar contains acetic acid, which can dissolve very light, fresh calcium carbonate spots, it is generally inefficient for stubborn, baked-on tropical water marks. Because vinegar is highly watery, it easily runs off vertical glass surfaces, risking prolonged contact with your car’s paint, rubber seals, and plastic trim, which can lead to degradation over time. Dedicated automotive water mark removers are formulated with specific gelling agents and surfactants that keep the active ingredients suspended on the glass surface, allowing them to work safely and effectively without running onto sensitive surrounding components.
Will glass water mark removers damage my aftermarket window tint?
Almost all aftermarket window tint films in Singapore are applied to the interior surface of the glass, whereas water marks form exclusively on the exterior surface exposed to rain and tap water. Therefore, applying a water mark remover to the exterior of your windows will not affect your interior tint film. However, if you must clean the interior glass, you must never use abrasive water mark removers, strong acids, or ammonia-based cleaners, as these chemicals will chemically dissolve the scratch-resistant coating and adhesives of the tint film. Always check the product label for explicit tint-safe indications and perform a small test spot on an inconspicuous corner before full application.
Community discussion
Share your experience or ask a question. Comments are reviewed before publication.