
Choosing a car bumper guard that seamlessly integrates with an existing full body kit and fender flares requires balancing protective utility with visual harmony. When a vehicle has already undergone extensive exterior modifications, adding an off-the-shelf guard can easily disrupt the carefully planned lines, aerodynamics, and proportions of the car. The key is to treat the bumper guard not as an isolated add-on, but as an extension of the existing body kit’s design language, material composition, and physical dimensions.
To achieve a cohesive look, you must systematically evaluate how a potential bumper guard aligns with the established styling cues of your vehicle. This involves analyzing the visual theme of your current modifications, matching the material finishes, ensuring proportional balance, and verifying that the guard does not interfere with safety sensors or structural mounting points. By taking a structured approach to selection, you can protect your investment in aftermarket bodywork while enhancing the vehicle’s overall aesthetic appeal.
Assess Your Existing Body Kit and Fender Flare Style
Before browsing product catalogs, you must clearly define the design language of your current or planned exterior modifications. Most custom setups fall into distinct categories, such as aggressive track-inspired styling, rugged off-road utility, or a clean, subtle OEM-plus aesthetic. A sharp, angular carbon fiber front splitter paired with wide track-style fender flares demands a very different bumper guard than a rugged, textured over-fender setup on a lifted utility vehicle.
Products mentioned in this guide
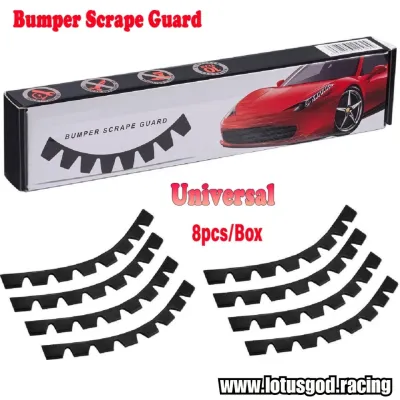
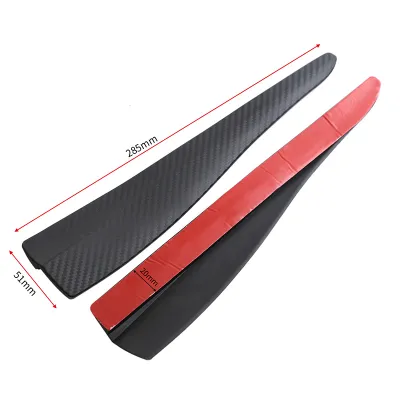
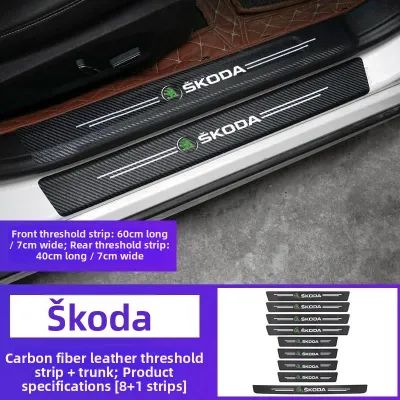
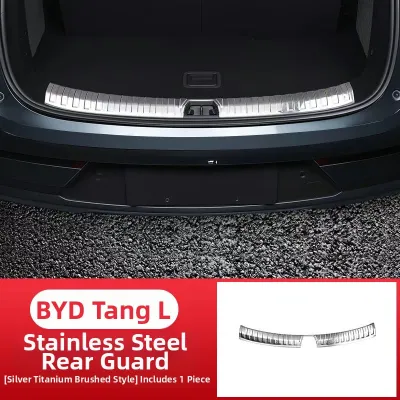
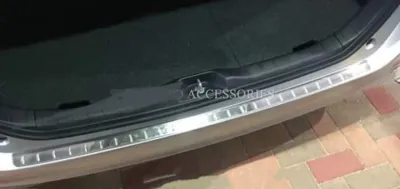
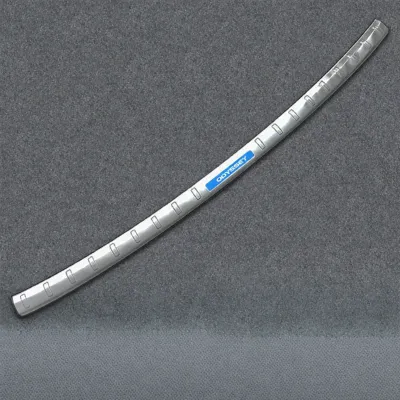
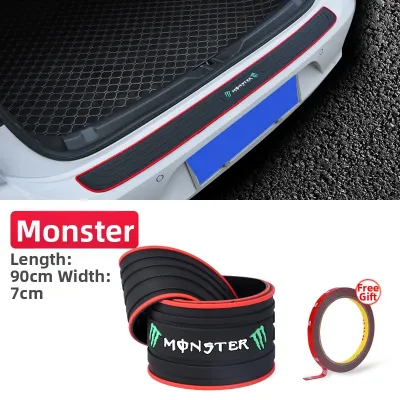
Prices are valid at publication and may change. Please refer to the product page for the latest price.
Examine the dominant character lines, creases, and angles present on your existing fender flares, side skirts, and front lip. If your body kit features sharp, geometric transitions and prominent aerodynamic fins, the bumper guard should mirror those angular details. Conversely, if your vehicle utilizes smooth, flowing curves that mimic factory styling, a rounded, low-profile guard will maintain that fluid transition without creating jarring visual interruptions.
Take note of the dominant color palette and surface textures across your vehicle’s lower perimeter. A cohesive design relies on consistent visual anchors; if your side skirts and fender flares are finished in satin black, introducing a high-gloss chrome or raw, unpainted grey bumper guard will break the visual continuity. Establishing this aesthetic baseline ensures that any new front-end accessory feels like an intentional component of the complete build rather than an afterthought.
Match Materials and Finishes for Visual Cohesion
The material composition of your car bumper guard directly influences both its protective capabilities and its visual compatibility with your body kit. Common exterior plastics and composites offer distinct characteristics that you must verify against manufacturer labels. Polyurethane is highly flexible and impact-resistant, making it excellent for absorbing minor bumps, whereas ABS plastic is more rigid and holds complex, sharp shapes exceptionally well. Carbon fiber offers a premium, motorsport-inspired look but lacks the impact-absorbing flexibility of elastomeric compounds.

Surface finishes must be matched carefully to prevent a mismatched, patchy appearance along the vehicle’s lower edge. If your fender flares and side skirts feature a textured, matte black finish, look for a bumper guard that utilizes the same texture density. If your body kit is painted to match the body color, you will likely need a paintable bumper guard. Check the product specifications to ensure the guard is made from a paint-ready polymer, such as pre-primed ABS or polyurethane, which accepts automotive basecoats and clearcoats without warping.
Environmental durability is another critical factor to verify in product specifications, especially in regions with intense sunlight and high humidity. Ensure the bumper guard material is rated for high UV resistance to prevent premature fading, chalking, or cracking that would make it look older than the surrounding body kit. If you plan to custom-paint the guard to match your vehicle’s paint code, verify the manufacturer’s recommended preparation steps, as some flexible plastics require specialized adhesion promoters to prevent the paint from flaking under physical stress.
Align Design Lines and Proportions
Achieving visual harmony requires tracing the physical lines of your vehicle from the hood and fenders down to the lower bumper area. A well-designed bumper guard should act as a natural continuation of these lines, guiding the eye smoothly around the front fascia. If the guard cuts abruptly across prominent body lines or blocks the natural flow of air intakes, it will create an awkward visual break that detracts from the body kit’s aerodynamic profile.
Proportional balance is equally vital to prevent your vehicle from looking front-heavy or awkwardly mismatched. Avoid pairing bulky, thick-walled utility guards with sleek, low-profile aerodynamic body kits, as this combination clashes fundamentally in purpose and scale. Similarly, a tiny, ultra-thin bumper protector will look lost and ineffective when installed alongside massive, bolt-on fender flares and deep-dish wheels. The physical volume of the guard must match the visual weight of the flares and side skirts.
Pay close attention to how the bumper guard interacts with your front lip spoiler or splitter. The guard should not obscure the unique design elements of the front lip or crowd the lower fascia to the point where ground clearance is severely compromised. In some cases, a multi-piece bumper guard system that mounts to the outer corners of the bumper is preferable to a single center-mounted guard, as it preserves the central styling of the aftermarket front lip while still providing essential corner protection.
Verify Fitment, Clearance, and Safety Boundaries
Physical compatibility is the most critical step in the selection process, as aftermarket body kits often alter the original dimensions and contours of the factory bumper. You must cross-reference the bumper guard’s fitment specifications with your exact vehicle make, model, year, and the specific version of your aftermarket body kit. Never assume a guard designed for a standard factory bumper will fit a bumper that has been modified with a full body kit, as the mounting angles and surface curves are likely different.
Modern vehicles are equipped with an array of safety and driver-assistance systems that rely on unobstructed views of the road. Carefully inspect the mounting position of the bumper guard to ensure it does not block parking sensors, front-facing cameras, adaptive cruise control radar units, or active grille shutters. Additionally, verify that the guard does not obstruct access to the vehicle’s factory tow hook recovery points, which must remain accessible in an emergency.
Safety must always be your primary concern when modifying exterior components. If the installation instructions are unclear, if the mounting points conflict with structural bumper reinforcements, or if you suspect the guard might interfere with airbag deployment sensors, stop immediately. Consult a qualified professional installer or the body kit manufacturer before proceeding. Modifying structural components or bypassing safety sensors to force a fitment can compromise the vehicle’s road legality and occupant safety.
Plan Your Installation and Maintenance Routine
A secure installation is essential to ensure your bumper guard remains attached at highway speeds and under environmental stress. Review the manufacturer’s installation instructions thoroughly to identify the required hardware, automotive-grade double-sided adhesives, or specific drilling steps. Many low-profile guards rely on high-strength acrylic foam tape, which requires meticulous surface preparation, including thorough degreasing and the application of adhesion promoters on both the guard and the body kit surfaces.
Always perform a complete dry test fitment before removing any protective film, applying permanent adhesives, or drilling holes into your bumper. Position the guard on the vehicle, secure it temporarily with painter’s tape, and step back to evaluate its alignment, panel gaps, and overall visual symmetry with your fender flares. This step allows you to make precise adjustments to the positioning before making any irreversible modifications to your expensive body kit.
Once installed, your maintenance routine must adapt to preserve the unified look of your exterior modifications. Use cleaning and protection products that are compatible with both the bumper guard material and the surrounding body kit finishes. For example, avoid using high-gloss tire shines or silicone-based dressings on matte or textured plastics, as these can run off during rain and cause uneven, unsightly staining on painted body kit panels. Stick to pH-neutral car washes and dedicated trim restorers that offer uniform UV protection across all aftermarket plastics.
Frequently Asked Questions (FAQ)
Can I mix different brands for my bumper guard and body kit?
Yes, you can successfully mix different brands, provided you focus on matching the design lines, proportions, and surface finishes rather than the brand names themselves. Because aftermarket manufacturers often use slightly different design philosophies, you must carefully evaluate how the shapes transition from one brand’s fender flares to another brand’s bumper guard. Always perform a dry test fit to check the panel gaps and visual alignment before committing to final installation, ensuring the combination looks cohesive.
Do I need to repaint a new bumper guard to match my fender flares?
Repainting is not always necessary, especially if you are aiming for a rugged or high-contrast aesthetic where raw, textured black, or carbon fiber finishes are used to complement the body color. However, if your fender flares and side skirts are color-matched to your vehicle’s paint, a raw plastic bumper guard will look unfinished. In such cases, professional sanding, priming, painting, and clear-coating are highly recommended to achieve a seamless, factory-grade finish that unifies the entire body kit.
Community discussion
Share your experience or ask a question. Comments are reviewed before publication.