
Achieving maximum water beading and long-lasting durability from a Soft99 Glaco glass coating requires more than a quick wipe-on, wipe-off application. The secret to optimal hydrophobic performance lies in meticulous surface preparation, precise application technique, and strict adherence to curing times. When applied correctly, this protective layer causes rainwater to form tight beads that effortlessly fly off the windshield under wind pressure, significantly improving wet-weather visibility.
Skipping preparation steps or applying the product in unfavorable weather conditions will cause the coating to degrade prematurely, often leading to patchy performance or wiper chattering. By following a systematic approach, you can ensure the chemical bond between the coating and your windshield remains strong and effective for its intended lifespan.
Essential Tools and Windshield Preparation
Before opening your glass coating, you must prepare the surface so the formula can bond directly to the silica in the glass. Road grime, traffic film, old wax, and water spots create a barrier that prevents proper adhesion. To get started, gather a dedicated glass cleaner or glass compound, a clay bar, high-quality microfiber towels, and automotive masking tape.
Products mentioned in this guide
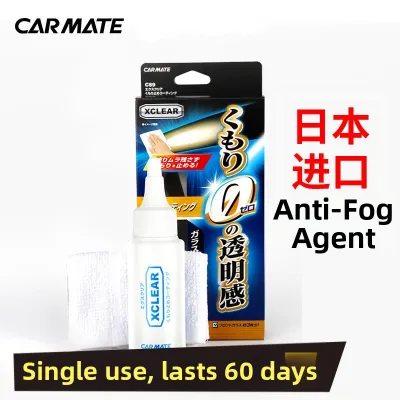

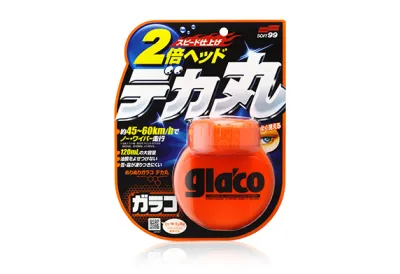
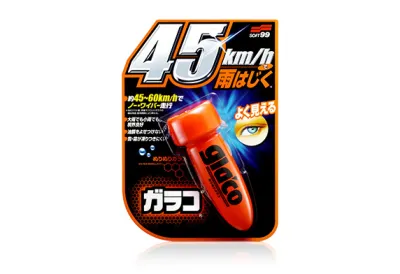
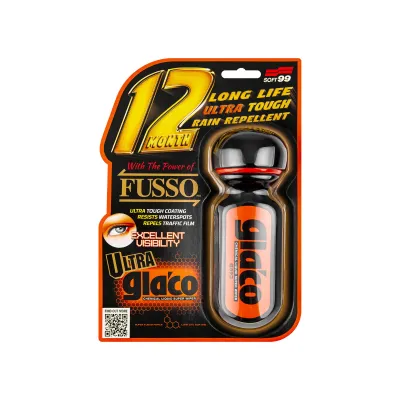

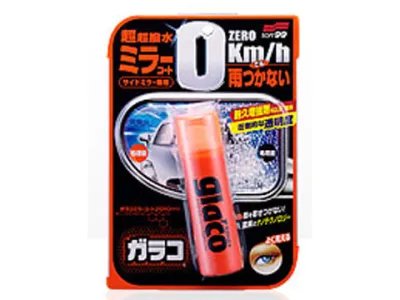
Prices are valid at publication and may change. Please refer to the product page for the latest price.
Begin by thoroughly washing the windshield with a pH-neutral car shampoo to remove loose dirt and dust. Once dry, use an automotive clay bar along with a suitable lubricant to pull out embedded contaminants like industrial fallout, tree sap, and overspray. Run your hand over the glass using a clean plastic sheet as a barrier; if it feels rough, continue claying until the surface is perfectly smooth.
Next, use a specialized glass compound or polish to strip away stubborn water spots, old rain repellents, and oily road films. This step is crucial because even invisible oil residues can cause the new coating to fail prematurely. Work the compound in overlapping circular motions, then rinse the glass thoroughly with clean water. You will know the glass is completely clean when water sheets off in a uniform, unbroken film without pulling apart or forming dry patches.
After drying the windshield with a clean microfiber towel, apply automotive masking tape to all surrounding rubber seals, plastic trim, and wiper cowl plastics. The solvents in glass coatings can stain or degrade these sensitive materials. Finally, perform a visual inspection. If you notice deep scratches, severe pitting, or structural cracks, do not apply the coating. These defects can impair optical clarity and compromise the structural integrity of the glass; in such cases, consult a professional glass technician for repair or replacement before proceeding.
Step-by-Step Application Technique
With the glass clean, dry, and masked, you are ready to apply the coating. Always work in a shaded, well-ventilated area. Direct sunlight or hot glass surfaces will cause the solvents to evaporate too quickly, leading to an uneven application and difficult buffing. High humidity can also interfere with the bonding process, so aim for a dry day or a controlled garage environment.

Start by shaking the product bottle thoroughly to ensure the active ingredients are fully mixed. If your specific Glaco variant features an integrated felt applicator head, remove the cap and hold the bottle upright. Gently press the applicator against the glass to start the product flow, ensuring the felt pad is evenly saturated but not dripping.
Apply the product to the windshield using a firm, overlapping grid pattern. Work in manageable sections, such as one-half of the windshield at a time. Move the applicator in straight vertical lines across the section, then follow immediately with horizontal strokes over the same area. This cross-hatch technique guarantees complete coverage and eliminates missed spots along the edges.
As you apply, look for a uniform, slightly wet film on the glass. Avoid applying the product too thickly, as excess material does not improve performance and only makes the buffing process more difficult. Be careful not to touch the painted pillars or plastic trim with the applicator. If accidental contact occurs, wipe the product off immediately with a clean, damp microfiber towel to prevent staining.
Curing, Buffing, and Immediate Aftercare
Once the section is fully coated, let the product dry until a visible white haze forms on the glass surface. The exact drying time depends on the specific product variant you are using and the ambient temperature. Always refer to the instructions on your product packaging to determine the correct waiting window, as some formulas dry in minutes while others require a slightly longer haze period.
When the white haze is fully formed, take a clean, dry, high-quality microfiber towel to buff the surface. Fold the towel into quarters to give yourself multiple clean faces. Wipe the glass using light to moderate pressure in circular motions, turning the towel frequently to avoid redistributing excess product. Buff until the haze disappears completely, leaving behind a crystal-clear, high-gloss finish.
Avoid aggressive scrubbing during this phase, as excessive friction can disrupt the freshly laid polymer chain before it has fully anchored to the glass. If you notice any stubborn spots or uneven patches, do not use water or glass cleaner to remove them. Instead, gently buff the area with a fresh, dry microfiber towel.
After buffing, the coating enters its critical curing phase. Keep the vehicle completely dry and parked out of the elements for the duration specified on the product label. Avoid using your windshield wipers, exposing the car to heavy rain, or visiting an automated car wash during this time. Introducing moisture or mechanical friction too early will weaken the chemical bond, significantly reducing the longevity and water-beading performance of the treatment.
Long-Term Maintenance and Reapplication Triggers
To maximize the lifespan of your glass coating, you must adapt your routine maintenance. Avoid washing your vehicle with harsh, highly alkaline car shampoos, ammonia-based glass cleaners, or abrasive scrubbing pads. These chemicals and tools will strip the hydrophobic layer. Instead, wash the windshield using pH-neutral car shampoos and soft microfiber wash mitts.
Your windshield wipers are the primary source of mechanical wear on the coating. Over time, dust and road grit accumulate on the wiper blades, acting like sandpaper against the treated glass. Regularly clean your wiper blades by gently wiping the rubber edges with a damp microfiber cloth to remove built-up grime. If your wiper blades are old or torn, replace them to prevent uneven wear on the coating.
Over months of driving, you will eventually notice signs of coating degradation. The most obvious indicator is a change in water behavior. Instead of forming tight, round beads that roll off easily at moderate speeds, the water will begin to form flatter, irregular shapes or start to sheet and pool on the glass. This loss of hydrophobic performance typically starts in the path of the wiper sweeps.
When performance drops, you must decide whether to spot-treat or start over. If the coating is only slightly degraded and the glass is free of heavy contamination, you can deep-clean the surface and apply a fresh maintenance layer. However, if the remaining coating is highly uneven, patchy, or contaminated with road film, it is best to strip the glass completely using a glass compound. Removing the old, degraded layer entirely ensures the new application can bond perfectly to bare glass for maximum longevity.
Frequently Asked Questions (FAQ)
Can I apply this glass coating on side windows and rearview mirrors?
Standard automotive side and rear windows are highly compatible with glass coatings and benefit greatly from the added water repellency. However, you must exercise caution with rearview mirrors. Many modern side mirrors feature specialized anti-glare, hydrophilic, or heated coatings. Applying a hydrophobic glass coating over these factory treatments can ruin their optical properties, cause severe glare, or prevent them from clearing mist properly. Always check your vehicle owner’s manual and the product packaging for specific compatibility warnings before treating mirrors.
What should I do if the coating leaves a white haze or streaks?
Persistent white hazing or streaking usually occurs if the product was applied in high humidity, left to dry for too long before buffing, or if the microfiber towel became saturated with product residue. To resolve this, try buffing the affected area firmly with a fresh, completely dry microfiber towel. If the streaks remain, apply a very small amount of the product directly over the streaked section to reactivate the dried solvents, then immediately buff it clean with a fresh towel. For severe, fully cured streaks that refuse to clear, you will need to polish the section back to bare glass using a glass compound and reapply the coating carefully.

Community discussion
Share your experience or ask a question. Comments are reviewed before publication.