
Applying a ceramic coating spray correctly requires meticulous paint preparation, precise section-by-section application, and adequate curing time. Unlike traditional waxes that sit loosely on top of the paint, ceramic sprays rely on active silicon dioxide (SiO2) or similar chemical compounds that must chemically bond directly with your vehicle’s clear coat. When applied properly, this bond creates a highly hydrophobic, durable barrier that repels water, dirt, and environmental contaminants while enhancing gloss.
In tropical climates characterized by intense heat, high humidity, and sudden heavy downpours, achieving a successful bond is both more challenging and more critical. Moisture in the air can accelerate the flashing process of the spray, while premature exposure to rain can completely ruin an uncured coating. By following a systematic approach to preparation, application, and curing, you can maximize the lifespan of the protective layer and maintain that sought-after water-beading effect for months.
Preparing Your Vehicle's Paint for Ceramic Spray
Surface preparation is the single most important factor determining how long your ceramic spray will last. Any dirt, road grime, old wax, or microscopic contaminants left on the paint will act as a physical barrier, preventing the ceramic polymers from bonding to the clear coat. Skipping this phase often results in the coating washing off after just a few weeks instead of lasting for several months.
Products mentioned in this guide
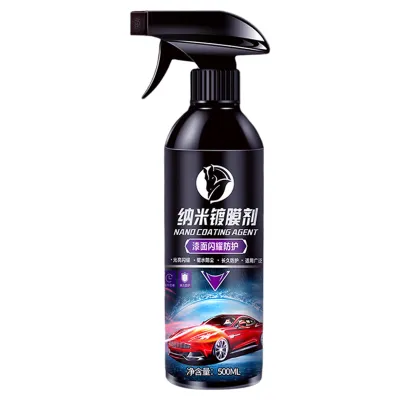
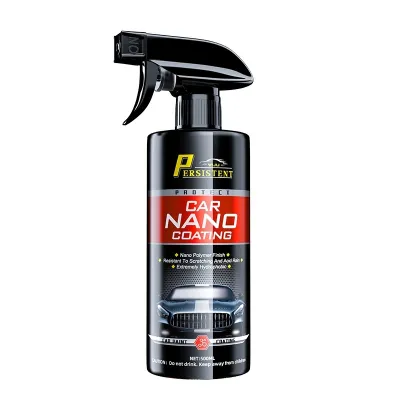
![[SG] Car Coating Spray 🚘 Car Nano Coating Spray Car Wash Car Cloth Ceramic Coating Spray Car Wax Spray](https://img.lazcdn.com/g/ff/kf/S09cf9d0b23bf45fb862bd618558aa2ad0.jpg_400x400q80.jpg_.webp)
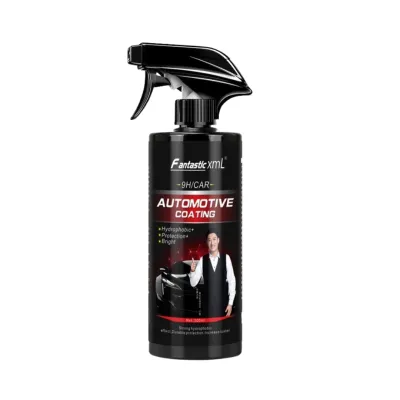
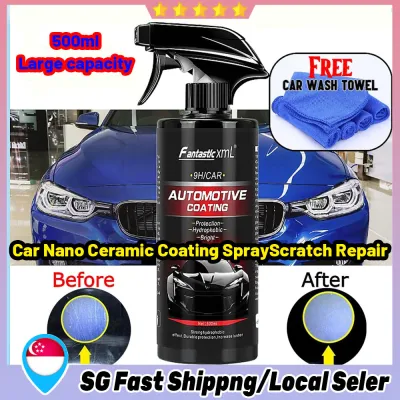
![[SG In Stock]Car Ceramic Coating Automotive Coating Nano Car Care Polish 500ML Nano Ceramic Coating Spray/Automotive Care](https://img.lazcdn.com/g/p/83567248d0f46fa4511871a48952c5d4.jpg_400x400q80.jpg_.webp)
Prices are valid at publication and may change. Please refer to the product page for the latest price.
Begin with a thorough wash using a high-foaming, pH-neutral car shampoo to remove loose dirt and road film. Avoid shampoos that contain built-in waxes or gloss enhancers, as these leave behind surfactants that interfere with the ceramic bond. Use the two-bucket wash method with grit guards and a high-quality microfiber wash mitt to minimize the risk of introducing swirl marks during the wash.
Once the vehicle is clean and dry, perform chemical and mechanical decontamination. Spray a dedicated iron remover over the paintwork to dissolve embedded metallic fallout, which often comes from brake dust and industrial pollution. After rinsing the iron remover thoroughly, use a clay bar along with a dedicated clay lubricant to gently glide over the surface. The clay bar pulls out stubborn, bonded contaminants like tree sap, overspray, and road tar, leaving the paint feeling as smooth as glass. A high-quality clay bar kit typically costs around S$20 to S$40 at local automotive shops or online marketplaces, making it a highly accessible investment for surface prep.
After decontamination, inspect the paint under bright light to assess its condition. If the clear coat has visible swirl marks, light scratches, or oxidation, this is the ideal time to perform machine or hand polishing. Polishing levels the clear coat, removing micro-defects that scatter light and dull the paint’s appearance. A smooth surface not only looks significantly glossier but also provides a uniform foundation for the ceramic spray to adhere to.
The final preparation step is stripping the paint of any remaining polishing oils, silicones, or chemical residues. Spray a dedicated isopropyl alcohol (IPA) surface prep solution or a manufacturer-approved panel wipe onto the paint, then wipe it off with a clean microfiber towel. This step ensures the clear coat is completely bare and chemically clean, which is essential for the ceramic molecules to cross-link effectively with the paint.
Essential Tools and Materials for the Job
Having the right tools on hand before you begin prevents application errors, such as dry-wiping the paint or leaving behind streaks that cure into the finish. High-quality microfiber towels are the most critical tool in this process. You will need several clean, edgeless microfiber towels with a weight of around 300 to 400 grams per square meter (GSM). Strictly segregate these towels: use one set for the initial leveling of the spray and a separate, plush set for the final buffing.

Before starting, verify that your ceramic spray is within its shelf life and check the product label for specific material compatibility. While many modern ceramic sprays are safe for glass, plastic trim, and chrome, some formulations are strictly designed for glossy clear coats. Always check the manufacturer’s instructions to confirm where the product can be safely applied, especially regarding matte finishes or aftermarket wraps.
Adequate lighting is another essential requirement for a successful application. If you are working in a residential garage or a covered multi-storey car park washing bay, standard overhead lighting is rarely sufficient to spot subtle application defects. Arrange portable LED work lights or use a handheld detailing inspection light. Positioning these lights at an angle to the panels allows you to easily identify uneven coverage, smudges, or high spots before they cure.
Step-by-Step Application Process
To achieve an even, streak-free finish, you must control the application environment. Always work in a shaded, cool, and well-ventilated area, completely out of direct sunlight and wind. Direct sunlight heats the vehicle’s panels, causing the carrier solvents in the ceramic spray to evaporate almost instantly, which makes leveling the product nearly impossible. Wind can blow dust and airborne debris onto the wet coating, trapping particles under the cured layer.
Divide the vehicle into small, manageable sections rather than trying to coat an entire panel at once. For example, split the hood into four quarters, and treat doors or fenders as individual sections. This systematic approach ensures you can apply, level, and buff the product within the manufacturer’s recommended time frame before it begins to harden.
Shake the ceramic spray bottle thoroughly to ensure the active ingredients are evenly suspended in the solution. Lightly mist the product onto a clean microfiber applicator pad or directly onto the paint panel, depending on the specific product instructions. A common mistake is oversaturating the surface; using too much product does not increase protection but does make removal extremely difficult and increases the risk of streaking. Spread the spray evenly across the section using a cross-hatch pattern, which involves overlapping horizontal passes followed by overlapping vertical passes.
After spreading the product, observe the surface closely for “flashing.” As the carrier solvents evaporate, the wet layer will begin to bead up, look slightly rainbow-colored, or take on a hazy appearance. This flashing process can take anywhere from thirty seconds to two minutes, depending on the ambient temperature and humidity. In warm, humid climates, this reaction occurs much faster, requiring you to work quickly.
Once the product flashes, execute the two-towel leveling and buffing method. Take your first clean microfiber towel, fold it into quarters, and wipe the section with light pressure to level the coating and remove the bulk of the excess product. Immediately follow up with your second, dry microfiber towel, buffing the surface in circular motions to reveal a high-gloss, streak-free finish. Flip your towels frequently to fresh sides to avoid reapplying removed product back onto the paint.
Curing Conditions and Post-Application Care
The chemical bonding process does not end when you finish buffing; the ceramic polymers require a dedicated curing window to fully cross-link and harden. Keep the vehicle completely dry and sheltered from rain, dew, sprinklers, and high humidity for at least 12 to 24 hours after application. If you live in Singapore or another region prone to sudden tropical downpours, parking the vehicle in a covered garage or a sheltered multi-storey car park during this initial window is essential to protect the vulnerable, uncured layer.
During the first seven days following application, avoid washing the vehicle with any soaps or chemical cleaners. The coating is still undergoing a secondary curing phase where it reaches its maximum hardness and chemical resistance. If the vehicle accumulates light dust or bird droppings during this week, gently rinse the area with clean water or spot-clean it using a dedicated quick detailer that is explicitly labeled as safe for fresh ceramic coatings.
Once the initial week has passed, establish a safe maintenance routine to preserve the coating’s hydrophobic properties and gloss. Always wash the vehicle using a high-quality, pH-neutral car shampoo that does not contain added waxes, silicones, or gloss enhancers. Waxes deposited on top of a ceramic coating will temporarily mask its excellent water-beading and self-cleaning properties, replacing them with the inferior performance of the wax.
Avoid automatic drive-through car washes that use rotating plastic or nylon brushes. These brushes carry dirt from previous vehicles and act like sandpaper, micro-marring the clear coat and rapidly wearing down the ceramic layer. Instead, opt for hand washing or touchless car washes. Additionally, avoid using highly alkaline pre-washes or acidic wheel cleaners on the coated paintwork, as extreme pH levels can chemically degrade the ceramic barrier over time.
Troubleshooting Common Application Mistakes
Even with careful preparation, application errors can occur, particularly for those new to ceramic sprays. The most common issue is the appearance of “high spots,” which are areas where excess product was not fully buffed away during the leveling step. High spots look like dark, oily smudges, cloudy patches, or rainbow-colored streaks. If you spot a high spot within an hour of application, you can often reactivate and remove it by spraying a small amount of product directly onto the spot and buffing it off immediately with a clean microfiber towel.
If the high spot has fully cured and hardened, spraying more product will not resolve the issue. In this case, you must gently remove the cured high spot using a fine hand polish or a light finishing compound on a microfiber applicator pad. Once the spot is gone and the paint is bare, wipe the area with a surface prep spray to remove any polishing oils, and then reapply the ceramic spray to that specific section.
Hazing or smearing across larger areas is usually caused by working in high humidity, applying the product to a warm panel, or using saturated microfiber towels. If you notice the product smearing instead of flashing cleanly, stop application immediately. Switch to fresh, dry towels, reduce the amount of spray you are using, and work in even smaller sections to maintain control over the flashing and leveling process.
While most minor application errors can be resolved at home, some situations require professional intervention. If your vehicle’s paint has deep scratches that require heavy compounding, or if you experience widespread coating failure due to poor preparation, attempting to fix it yourself without proper tools can damage the clear coat. If you are unsure of your ability to safely polish out widespread defects, consult a professional detailer who can evaluate the paint and perform the necessary correction work.
Frequently Asked Questions (FAQ)
Can I apply ceramic spray over existing wax or sealant?
No, you should not apply a ceramic spray over an existing wax or sealant. Ceramic coatings require direct, unobstructed contact with the vehicle’s clear coat to establish a strong chemical bond. If a layer of wax or sealant is present, the ceramic spray will bond to that temporary layer instead of the paint. As the underlying wax naturally degrades and washes away over the following weeks, the ceramic coating will slide off with it, drastically reducing its durability. Always use a dedicated surface prep spray or a wax-stripping shampoo to completely remove old protective layers before applying your ceramic spray.
How do I know when it is time to reapply the coating?
The most reliable way to determine when to reapply a ceramic spray is by observing how water behaves on the paintwork during a wash. When the coating is fully active, water will bead into tight, round droplets and sheet off flat panels almost instantly. As the coating degrades from environmental exposure and washing, you will notice the water beads becoming flatter, larger, and slower to sheet off the surface. Once the self-cleaning effect diminishes and water begins to pool on the panels, it is time to perform a light decontamination wash, prep the surface, and apply a fresh layer of ceramic spray.
Community discussion
Share your experience or ask a question. Comments are reviewed before publication.