
Applying car compound at home is one of the most effective ways to restore a vehicle’s paint, but it requires a careful, methodical approach to avoid causing permanent damage to the clear coat. Compounding is an abrasive process designed to level the microscopic top layer of your vehicle’s paint, effectively removing scratches, swirl marks, oxidation, and water spots. When performed correctly, this process restores a flat, highly reflective surface that makes the paint look brand new. However, because you are physically removing paint material, using the wrong technique or equipment can quickly lead to thin spots, paint burn-through, or unsightly holograms.
To achieve professional-grade results safely in your own garage, you must understand the relationship between paint thickness, abrasive aggressiveness, and mechanical heat. Whether you choose to work by hand for localized spot correction or use a dual-action machine polisher for full-panel restoration, preparation and patience are your most valuable tools. By following a structured process of decontamination, careful execution, and thorough inspection, you can safely eliminate paint defects while preserving the long-term integrity of your vehicle’s finish.
Understanding Compound Types and Paint Safety
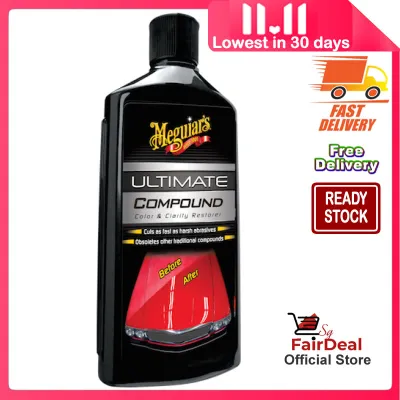
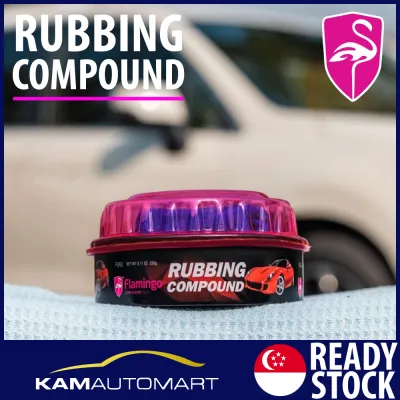
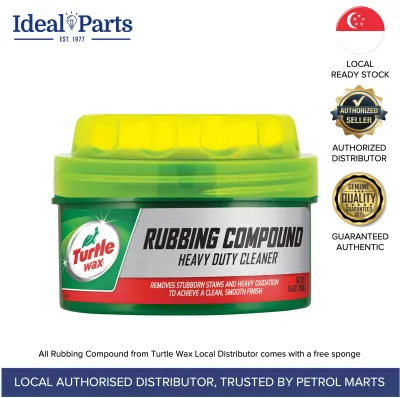
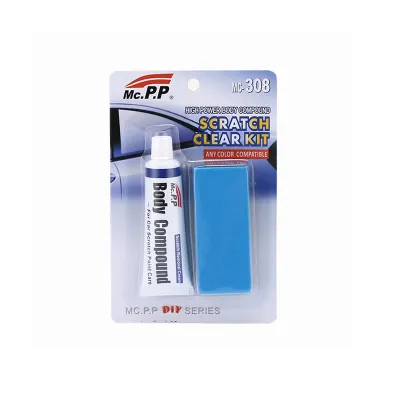
Before touching an abrasive to your vehicle, you must select the correct type of compound based on the severity of the paint defects. Car compounds generally fall into two categories: heavy cutting compounds and fine finishing compounds (often referred to as polishes). Cutting compounds utilize aggressive, hard abrasives to quickly level deep scratches, heavy oxidation, and severe swirl marks. Finishing compounds use much smaller, gentler abrasives designed to clean up minor haze left behind by the cutting step and restore high-gloss clarity. Always start with the least aggressive product and pad combination that can get the job done; jumping straight to a heavy cutting compound on soft paint can unnecessarily strip away valuable clear coat.
Products mentioned in this guide
Prices are valid at publication and may change. Please refer to the product page for the latest price.
Modern automotive paint consists of a primer coat, a color base coat, and a protective clear coat. The clear coat is incredibly thin, often measuring only about 35 to 50 microns thick—roughly the thickness of a single post-it note. Because compounding physically removes a portion of this clear coat, you must exercise extreme caution. If you remove too much clear coat, you risk exposing the base coat beneath, which cannot be polished and requires an expensive professional respray. To mitigate this risk, consider using a digital paint thickness gauge to measure the total paint depth across different panels before you begin. Comparing these measurements to the paint depth inside the door jambs (which typically lack a thick clear coat) can give you a reliable estimate of how much clear coat you have to work with.
In addition to measuring paint depth, always read the manufacturer’s label on your chosen compound bottle. Different formulations have specific requirements regarding paint compatibility, optimal working temperatures, and maximum working times. Some compounds use diminishing abrasives that break down into smaller polishing particles as you work them, requiring a specific work cycle to finish cleanly. Others use non-diminishing abrasives that cut at a constant rate and require careful monitoring of physical pressure. Understanding these product-specific characteristics ensures you do not over-work the product or generate excessive friction on the paint surface.
Essential Tools and Preparation Steps
Proper preparation is the foundation of safe paint correction. To begin, gather high-quality tools and materials: a selection of clean, edgeless microfiber towels (ideally 300 to 500 GSM to prevent scratching), appropriate foam or microfiber applicator pads, and low-tack automotive masking tape. Using dirty towels or low-quality applicators will introduce new scratches to the paint, undoing all of your hard work. Ensure your workspace is well-ventilated, shaded, and completely out of direct sunlight, as heat from the sun will cause compounds to dry out prematurely and stick to the paint.

Never apply compound to a vehicle that has only been washed. Even after a standard wash, microscopic contaminants like road tar, industrial fallout, tree sap, and iron particles remain embedded in the clear coat. If you run a polishing pad over these embedded particles, the pad will pick them up and drag them across the paint, creating deep, circular scratches known as pig-tails. To prevent this, perform a thorough mechanical decontamination. After washing and drying the car, use a dedicated clay bar or synthetic clay mitt along with a generous amount of clay lubricant to gently glide over the paint, pulling out all bonded contaminants until the surface feels as smooth as glass.
Once the paint is completely clean and dry, use automotive masking tape to protect sensitive areas. Tape off all black plastic trim, rubber window seals, chrome accents, emblem edges, and washer nozzles. Compound residue can easily stain textured plastics and rubber, leaving white chalky marks that are incredibly difficult to remove. Additionally, tape off sharp body lines and panel edges. The paint on sharp edges and body creases is naturally much thinner than on flat panels, making these areas highly susceptible to immediate paint burn-through from a machine polisher. Covering these edges with tape provides a vital safety barrier during the compounding process.
Step-by-Step Application: Hand vs. Dual-Action Polisher
When deciding how to apply your compound, you must choose between manual hand application and using a dual-action (DA) machine polisher. Hand application offers maximum control and requires minimal initial investment, making it highly suitable for small, isolated defects, tight spaces like door handle cups, or delicate vintage paint systems. However, hand compounding is physically exhausting and makes it very difficult to apply perfectly uniform pressure across large body panels, which can result in uneven correction and localized dull spots.
In contrast, a dual-action polisher utilizes a backing plate that both rotates and oscillates in an eccentric pattern. This dual-action movement mimics the natural motion of hand polishing but at thousands of orbits per minute, distributing pressure and heat evenly across the pad. This mechanical efficiency makes a DA polisher the preferred choice for correcting entire panels or removing widespread swirl marks. While a machine polisher requires a larger upfront investment and a careful learning curve, it delivers a level of consistency and optical clarity that is virtually impossible to achieve by hand.
Applying Compound by Hand
To apply compound by hand, start by selecting a dedicated foam or microfiber hand applicator pad. Apply three to four pea-sized drops of compound onto the face of the pad. Gently rub the pad against itself or use a clean finger to spread the product evenly across the surface of the pad; this process, known as priming, ensures that there are no dry spots on the pad that could scratch the paint upon initial contact.
Work in small, manageable sections no larger than 30 by 30 centimeters. Place the primed pad flat against the paint and apply moderate, even downward pressure using the flats of your fingers rather than your fingertips, which can create localized high-pressure points. Move the pad in a strict cross-hatch pattern—first horizontally from left to right, then vertically from top to bottom. This overlapping pattern ensures complete, uniform coverage and prevents the formation of directional scratches. Keep the pad perfectly flat against the surface at all times to maintain even abrasive contact.
Be mindful of the physical limitations of hand compounding. Because you cannot replicate the high speed of a machine, removing deep scratches by hand requires patience and multiple light passes rather than excessive physical force. Pushing too hard on the paint can compress the foam pad completely, causing your hand to apply uneven pressure and potentially creating deep marring. If a defect does not resolve after two or three controlled hand passes, it is safer to accept a minor imperfection rather than risking clear coat damage through aggressive manual scrubbing.
Using a Dual-Action Polisher
When using a dual-action polisher, pad selection is critical to safety and performance. Pair a medium-cut foam pad or a microfiber cutting pad with your compound, ensuring the pad size matches your polisher’s backing plate perfectly. Apply four to five pea-sized drops of compound to the pad, and gently press the pad against the paint in several spots within your target work area to distribute the product. This prevents product sling when you turn the machine on.
Set your work area to a maximum size of 50 by 50 centimeters. Place the polisher flat on the paint, set the speed dial to a low setting (typically speed 1 or 2), and turn the machine on to quickly spread the compound across the section. Once spread, increase the speed to the manufacturer’s recommended working range (usually speed 4 or 5 for cutting). Hold the polisher with both hands, applying only light to moderate downward pressure—just enough to guide the machine and keep the pad spinning. Move the polisher slowly across the paint in a cross-hatch pattern, overlapping each pass by fifty percent, and moving at a steady rate of about two to three centimeters per second.
Managing heat and product performance is essential during machine polishing. While dual-action polishers are inherently safer than rotary polishers because their rotation stops if too much pressure is applied, friction still generates heat. Keep the pad perfectly flat; tilting the machine concentrates all the energy on a small edge, rapidly generating localized heat that can melt plastic trim or burn through paint. Monitor the compound as you work; it should transition from an opaque paste to a thin, translucent film. If the product begins to dry out, dust heavily, or gum up on the pad, stop immediately, clean your pad with a pad brush, and apply fresh product according to the label instructions.
Inspecting Your Results and Knowing When to Stop
After completing a set of four to six passes over your work section, turn off the polisher while the pad is still resting on the paint to prevent sling. Lift the machine, and use a clean, plush microfiber towel to gently wipe away the remaining compound residue. Avoid scrubbing the paint with the towel, as the freshly corrected clear coat is highly sensitive to scratching. Use a dedicated panel wipe spray or a diluted isopropyl alcohol solution to dissolve and remove any lingering polishing oils, which can temporarily fill and hide remaining scratches.
Once the surface is completely clean, inspect your work under a direct, bright light source. A dedicated detailing light, a high-lumen LED flashlight, or even direct sunlight will reveal the true state of the paint. Look closely for any remaining swirl marks, deep scratches, or compounding haze. Compounding often leaves behind micro-marring or a slightly dull finish, which is a normal part of the process and indicates that the heavy defects have been successfully leveled, leaving a uniform surface ready for a finer finishing polish.
You must establish clear boundaries and know when to stop compounding. If you observe any absolute stop conditions, cease work immediately. These warning signs include a distinct burning smell, physical degradation or melting of your polishing pad, exposed primer (indicated by a sudden change in color beneath the clear coat), or edge burn-through where the base metal or plastic becomes visible. If any of these conditions occur, do not attempt to correct the area further. Cover the affected spot and consult a qualified professional detailer to assess the paint depth and determine the safest repair options.
Finishing and Protecting the Paint
Because compounding is an aggressive leveling step, it almost always leaves behind a minor amount of haze, micro-marring, or tiny compounding swirls. To achieve a true mirror-like finish with deep optical clarity, you must follow the compounding step with a refining polish. Switch to a soft foam finishing pad and a fine finishing polish. Work this combination using the same dual-action technique but at a lower speed and with lighter pressure. This step refines the paint surface, removes any lingering haze, and maximizes the gloss and depth of the paint.
Once the polishing step is complete, perform a meticulous final wipe-down of the entire vehicle. Use a clean microfiber towel and a dedicated paint preparation spray or a diluted isopropyl alcohol solution to remove all remaining polishing oils and residues. This step is critical because any leftover oils will prevent protective coatings from bonding correctly to the paint surface, drastically reducing their durability and effectiveness.
Finally, immediately apply a protective layer to the bare clear coat. Compounding and polishing completely strip away all existing waxes, sealants, and environmental protection, leaving your clear coat vulnerable to UV damage, acid rain, bird droppings, and road grime. Apply a high-quality car wax, synthetic paint sealant, or ceramic coating to seal the freshly corrected paint. This protective barrier not only locks in the deep gloss and clarity you have achieved but also makes future maintenance washes much easier and safer.
Frequently Asked Questions (FAQ)
Can I use compound on a newly painted car?
No, you should not use compound on newly painted body panels immediately. Fresh automotive paint and clear coat require a curing period to fully dry, harden, and allow solvents to escape (a process known as off-gassing). Compounding or sealing the paint too early can trap these solvents, leading to solvent popping, a permanently dull finish, or soft paint that scratches easily. Always consult with the body shop or paint manufacturer for their specific curing timeline, which typically ranges from 30 to 90 days, before performing any aggressive polishing or applying protective coatings.
How often should I compound my car?
Compounding should be performed as infrequently as possible, ideally only when correcting severe defects or restoring heavily oxidized paint. Because compounding physically removes a microscopic layer of your vehicle’s clear coat, repeating this aggressive process regularly will eventually thin the clear coat to the point of failure. For routine maintenance and gloss enhancement, rely on safe washing techniques to prevent scratches, and use light finishing polishes or non-abrasive glazes that clean the paint surface without removing measurable clear coat material.
Community discussion
Share your experience or ask a question. Comments are reviewed before publication.