
Applying Autosol metal polish effectively requires a systematic approach that balances chemical oxidation removal with physical agitation. To achieve a mirror-like, scratch-free finish on your vehicle’s metal components, you must first identify the exact material of the surface, prepare the area to eliminate abrasive contaminants, and apply the polish with controlled, even pressure. Because different automotive surfaces—such as robust bare metals, delicate chrome plating, and coated interior trims—react differently to abrasive polishes, success depends entirely on verifying surface compatibility, adhering strictly to the product label instructions, and using the correct application tools. Taking the time to understand these variables prevents permanent surface damage and ensures a professional-grade restoration.
Verify Surface Compatibility and Gather Supplies
Before opening a tube of Autosol metal polish, you must thoroughly read the specific product label to understand its intended uses, material warnings, and safety precautions. Not all metal polishes are formulated for every reflective surface on your vehicle. For instance, some formulations are designed strictly for robust, uncoated metals like brass, copper, or stainless steel, while others are gentle enough for chrome. Working in a well-ventilated space and wearing nitrile gloves are standard safety practices recommended on most product labels to protect your skin from the solvents used to suspend the polishing abrasives.
Distinguishing between bare metal, chrome plating, clear-coated alloys, and plastic interior trim is the most critical step in this process. Bare metals, such as uncoated aluminum or magnesium alloys, will react chemically with the polish, leaving a characteristic black residue on your applicator pad as the oxidation is lifted. Chrome plating, on the other hand, is an extremely thin layer of chromium applied over a base metal or plastic; it requires very light pressure because aggressive polishing can wear right through the plating to expose the dull underlayer. Clear-coated alloys are essentially painted with a protective, transparent polyurethane layer; treating them with an abrasive metal polish will scratch and dull the clear coat rather than shine the metal underneath. Interior trim pieces are frequently made of metallized plastic, which cannot tolerate the abrasive action of standard metal polishes and will quickly lose their reflective coating if treated improperly.
Products mentioned in this guide
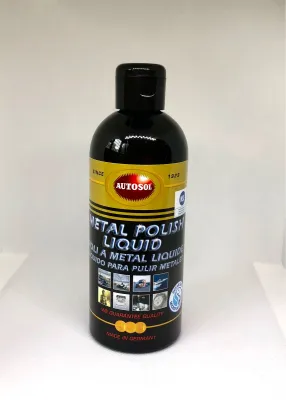
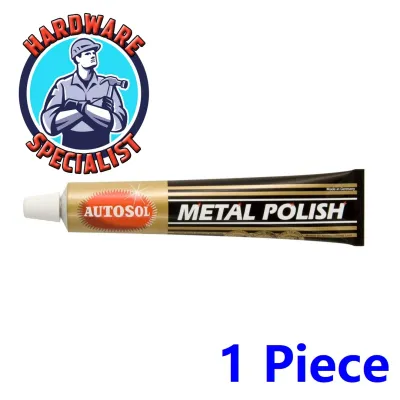
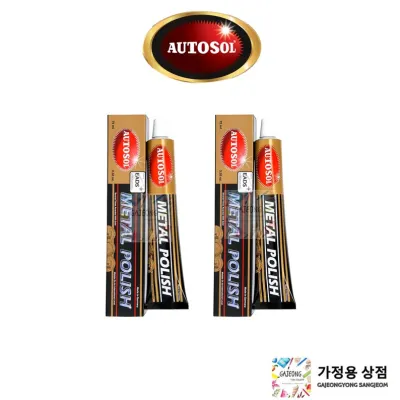
![Autosol Metal Polish Rust Remover [75ml]](https://img.lazcdn.com/g/p/396b092d54d071af3753aa524c22615d.jpg_400x400q80.jpg_.webp)
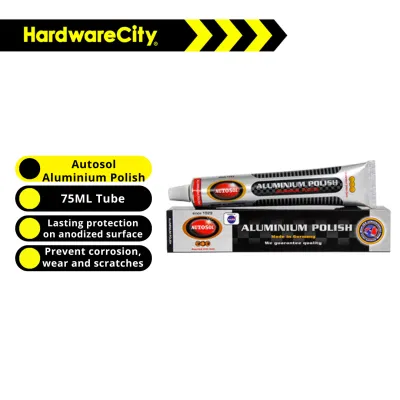
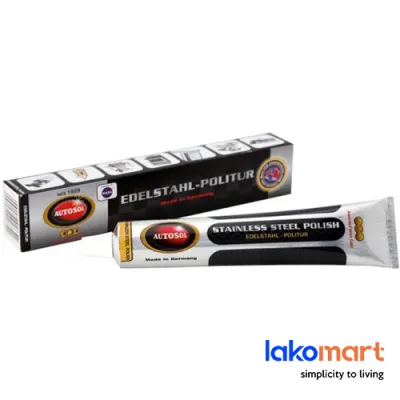
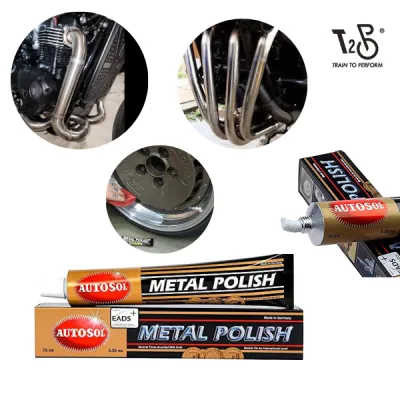
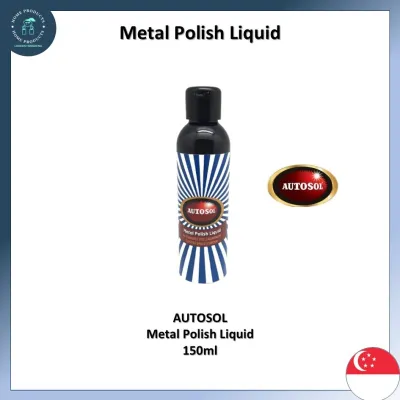
Prices are valid at publication and may change. Please refer to the product page for the latest price.
To prepare for the application, gather high-quality detailing supplies. You will need several clean, high-gsm (grams per square meter) microfiber towels, which are soft enough to prevent micro-marring during the buffing stage. For the application itself, prepare dedicated foam applicator pads or soft cotton cloths, depending on the level of oxidation you need to address. Having a mild, pH-neutral automotive shampoo or a dedicated surface prep spray on hand is also essential for removing surface dirt before you begin.
Apply Polish to Chrome and Bare Metal Alloys
The key to a flawless polish job begins with a perfectly clean surface. Any lingering road grit, brake dust, or dirt particles will act as an abrasive under your polishing pad, leading to deep, unsightly scratches. Wash the target area thoroughly with automotive shampoo, rinse it completely, and dry it with a clean microfiber towel. If you are working on wheels or exhaust tips that have stubborn road tar or iron deposits, consider using a clay bar or a dedicated fallout remover to ensure the metal is completely smooth to the touch before applying any polish.

Once the surface is clean and dry, squeeze a small, pea-sized amount of Autosol metal polish onto your applicator pad. A common mistake is using too much product, which leads to messy buildup and makes the buffing process significantly more difficult. Work in small, manageable sections—such as a ten-by-ten centimeter area—to maintain complete control over the application. Using light to moderate pressure, work the polish into the metal using tight, circular motions or back-and-forth strokes. If you are working on a surface with a visible grain, such as brushed stainless steel, always polish parallel to the grain to avoid creating cross-scratches.
As you work the polish into bare metal, you should observe the paste turning black. This color change is a normal chemical reaction indicating that the polish is successfully lifting oxidized metal from the surface. For chrome surfaces, this black residue may be minimal or absent, as chrome does not oxidize in the same manner as bare aluminum. Continue working the product until it begins to break down into a thin, semi-transparent film. Refer directly to your specific Autosol product label to determine whether the polish should be buffed off immediately while wet or allowed to dry to a light haze. Some formulations require immediate removal to prevent the binders from hardening, while others perform best when allowed to dry slightly.
Handle Interior Trim and Coated Surfaces Safely
Automotive interiors and modern exterior accents often feature materials that mimic the appearance of solid metal but require entirely different care. Abrasive metal polishes are designed to cut through oxidation on hard metal surfaces, meaning they can easily destroy clear coats, painted plastics, and delicate interior trim. Applying a heavy metal polish to a clear-coated alloy wheel or a lacquered trim piece will cut micro-scratches into the protective coating, resulting in a cloudy, dull appearance that can only be corrected by professional refinishing or complete replacement.
If you are uncertain whether a surface is bare metal, chrome, or a coated imitation, you must perform a spot test in an inconspicuous area before proceeding. Select a hidden spot, such as the underside of a trim piece or the inner barrel of a wheel spoke. Apply a tiny speck of polish using a soft microfiber cloth and rub gently for a few seconds. Immediately wipe the area clean and inspect it under strong, direct light.
Establish strict stop conditions during this test and the main application. If you notice any transfer of paint color onto your cloth, if the finish begins to look dull or cloudy, or if the surface texture feels rough, stop immediately. Wipe the product off completely using a clean, damp microfiber towel to neutralize the polish. These signs indicate that the surface is either coated, painted, or made of soft plastic, making standard abrasive metal polishes highly unsuitable. For these sensitive areas, stick to dedicated plastic polishes, light cleaner waxes, or mild interior detailers designed specifically for coated surfaces.
Buff the Surface and Inspect the Finish
After applying the polish and allowing it to sit for the label-recommended duration, the next step is to buff the surface to a high-gloss finish. Use a clean, dry, high-density microfiber towel for this stage. Hold the towel flat against the surface and use light, rapid circular motions to sweep away the dried polish residue. You should not need to apply heavy downward pressure; the microfiber’s split fibers are designed to grab and lift the spent polish particles naturally.
As you buff, the surface will transition from a dull, hazy film to a bright, reflective shine. To maintain this clarity, fold your microfiber towel into quarters frequently. This practice ensures that you are always using a clean face of the towel. If you continue buffing with a section of the cloth that is saturated with spent polish and black metal oxidation, you risk rubbing those abrasive particles back into the freshly polished surface, which can cause micro-marring and diminish the final gloss.
Once all residue is removed, inspect your work under direct, bright lighting. A handheld detailing light, a bright LED flashlight, or direct sunlight will reveal the true state of the finish. Look closely for any remaining haze, uneven patches, or missed spots. If you spot areas where oxidation persists, you can repeat the application process locally, ensuring you clean the area again before reapplying. If the finish is uniform, clear, and highly reflective, the polishing process is complete.
Clean Up and Store the Polish Properly
The final phase of the detailing process involves cleaning up the workspace and preserving your products for future use. Metal polish residue can easily migrate to adjacent surfaces during application. If left to dry on textured black plastic trim, rubber window seals, or painted body panels, the polish can leave stubborn, unsightly white stains that are difficult to remove once fully cured. Take a clean, damp microfiber cloth and carefully wipe down all surrounding areas, paying close attention to panel gaps, crevices, and rubber weatherstripping where residue may have collected.
Proper storage of your Autosol metal polish is essential to prevent the product from drying out or separating over time. Wipe any excess polish from the nozzle or threads of the tube to ensure a clean seal. Screw the cap on tightly to prevent air from entering the container. Store the tube in a cool, dry place away from direct sunlight and extreme temperatures. Allowing the polish to freeze or exposing it to high heat can cause the chemical solvents to separate from the abrasive paste, rendering the product ineffective for future detailing sessions.
Frequently Asked Questions (FAQ)
Can I use metal polish on clear-coated alloy wheels?
No, you should not use traditional abrasive metal polish on clear-coated alloy wheels. Clear-coated wheels are covered with a protective layer of paint-like clear coat, which will scratch, cloud, and degrade when exposed to the abrasives in metal polish. Instead, treat clear-coated wheels the same way you would treat your vehicle’s exterior paintwork: wash them with dedicated wheel cleaners, use a clay bar for embedded contaminants, and protect them with a high-quality wheel sealant or wax. Always check your wheel manufacturer’s care specifications to confirm whether your wheels are bare metal or clear-coated before applying any product.
How do I remove polish residue from rubber seals?
If you accidentally get metal polish on rubber seals or plastic trim, act quickly before the product dries. Dampen a clean microfiber cloth with warm water and a few drops of mild, pH-neutral automotive soap. Gently agitate the affected area to break down the polish binders, then wipe the surface clean with a dry section of the towel. Avoid using harsh household solvents, degreasers, or stiff-bristled brushes, as these can dry out, discolor, or permanently degrade the rubber components of your vehicle. For stubborn, dried-on residue, a dedicated rubber and trim cleaner or a soft detailing brush can help safely lift the particles from the textured surface.
Community discussion
Share your experience or ask a question. Comments are reviewed before publication.