
Applying a custom graphic, stripe, or business logo to your vehicle is an excellent way to personalize your ride, but the fear of trapped air bubbles, crooked alignment, and unsightly wrinkles often holds car owners back from attempting a DIY installation. Achieving a smooth, professional-grade finish requires meticulous surface preparation, selecting the correct application method based on the decal’s size, and using a structured squeegee technique to displace air systematically. By understanding how vinyl adhesive interacts with automotive paint and learning how to manage complex body contours, you can complete this project in your own garage with confidence.
What tools and preparation steps are essential before starting car decal application?
Successful decal installation depends entirely on a sterile surface and having the right mechanical tools to press the vinyl down. Before beginning, you should gather a felt-edged squeegee, lint-free microfiber cloths, isopropyl alcohol, masking tape, and a reliable heat gun or high-wattage hair dryer. A felt-edged squeegee is highly recommended over a hard plastic one, as the soft edge glides over the transfer tape without scratching or tearing the underlying vinyl.
Surface preparation is the most critical step of the entire process. Any wax, road grime, grease, or ceramic coating on your paint will prevent the vinyl adhesive from bonding securely, leading to premature lifting and peeling. Begin by washing the target area thoroughly with a dedicated car shampoo that does not contain waxes, gloss enhancers, or protective sealants.
Products mentioned in this guide
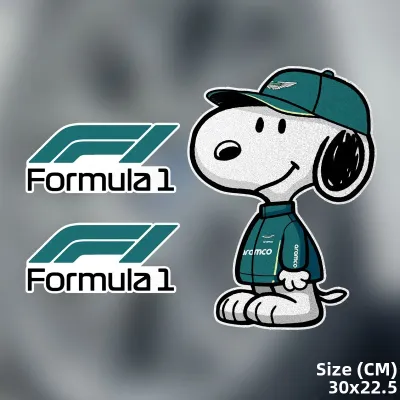
9 Lazada user ratings
It's so good. Pretty nice and very high-end.
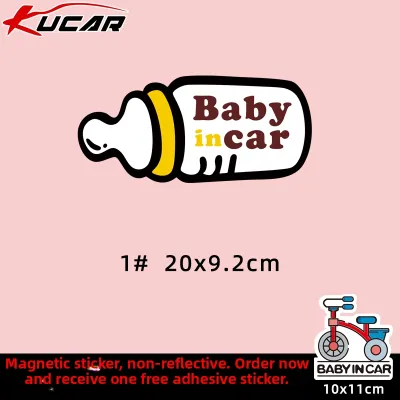
68 Lazada user ratings
Works great. Strong suction and the pattern is very clear.
The texture is nice! The little freebies are great too!!
The product quality is great and meets my expectations.
It's pretty good, just a very compact and handy size.
Great product! I highly recommend it to everyone.
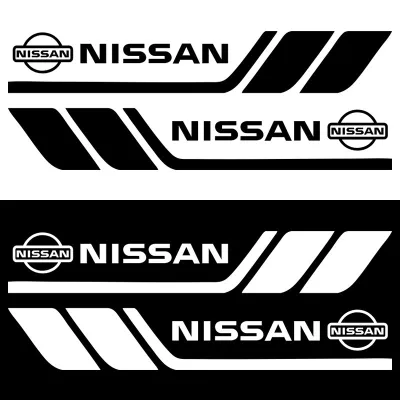
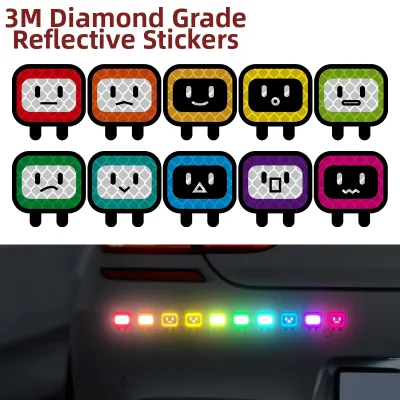
8 Lazada user ratings
It's pretty good.

33 Lazada user ratings
This is a standard product that is very similar to others I have used before.
Extremely beautiful and made of really good material
Extremely beautiful and really great quality.
The quality is really good.
25 Lazada user ratings
The product offers great value for the price!
Not as bright as the picture shows.
Looks great and sticks really well!
Not bad at all, quite good.
Prices are valid at publication and may change. Please refer to the product page for the latest price.
After washing, perform a quick water-beading test on the dry paint. If water beads up on the surface, a protective wax or sealant layer is still present. To strip this layer, wipe the area down with a solution of isopropyl alcohol diluted to 50% or 70% with distilled water. Always test this alcohol solution on an inconspicuous spot first to ensure it does not react negatively with your specific paint finish, and avoid using harsh household degreasers that can damage the clear coat.
Finally, verify your environmental conditions before peeling any adhesive. The ideal ambient temperature for vinyl application is between 15°C and 25°C, away from direct sunlight and wind. Working in direct sunlight can make the vehicle’s metal panels too hot, causing the adhesive to grab instantly and stretch out of shape. If you are working in a warm, humid climate like Singapore, finding a shaded, wind-free area—such as a sheltered multi-story car park—is essential to prevent airborne dust particles from blowing under the vinyl during the application.
Should you choose the wet or dry method for your car decal application?
The choice between the wet and dry application methods depends on the size of the decal and your experience level with vinyl. The dry method is best suited for small to medium decals, typically those under 30 centimeters in length, as it offers immediate adhesion and requires no drying time. However, this method is highly unforgiving because once the adhesive touches the dry paint, it bonds quickly, making repositioning difficult without stretching the material.

For larger graphics, long racing stripes, or beginners who want to minimize mistakes, the wet method is the preferred option. This technique involves spraying a mild slip solution—typically water mixed with a single drop of baby shampoo or a dedicated vinyl application fluid—onto both the vehicle paint and the exposed adhesive side of the decal. The liquid barrier temporarily neutralizes the adhesive, allowing you to slide and reposition the decal until it is perfectly aligned.
Before choosing the wet method, you must consult the decal manufacturer’s instructions to verify compatibility. Some modern vinyl films feature advanced air-release technology, which utilizes tiny micro-channels in the adhesive layer to let air escape during dry application. Using water on these specific air-release films can trap moisture in the channels, ruining the adhesive and causing permanent cloudiness or failure to bond. Additionally, reflective vinyls and some paper-backed decals should only be applied dry to prevent water damage to the backing material.
How do you properly apply a car decal using the squeegee technique?
Applying a decal smoothly requires securing its position with a tape hinge and using overlapping squeegee strokes from the center outward to expel air. To start, place the decal—with its backing paper and transfer tape intact—onto the clean car surface and use masking tape to hold it temporarily. Measure from key body lines, such as door seams or fender edges, to ensure the graphic is aligned straight.
Once you are satisfied with the alignment, place a vertical strip of masking tape directly down the center of the decal to create a secure hinge. If you are working with a smaller decal, you can place the hinge tape along the top edge instead. Flip one half of the decal back over the hinge and carefully peel away the backing paper, exposing the adhesive. If you are using the dry method, hold the exposed vinyl slightly elevated off the car surface to prevent premature contact.
Hold your felt-edged squeegee at a 45-degree angle to the surface. Starting from the center hinge line, use firm, overlapping downward strokes to press the vinyl onto the paint. The 45-degree angle is critical because it pushes a wave of air ahead of the squeegee, preventing pockets from becoming trapped. Once the first half is secured, remove the center hinge tape, peel the remaining backing paper, and repeat the squeegee process on the second half.
After the entire decal is squeegeed down, rub the surface firmly with the squeegee one more time to maximize adhesion. If you used the wet method, you must wait for the slip solution to dry completely—which can take anywhere from 30 minutes to several hours depending on the temperature—before attempting to remove the transfer tape. To remove the tape, peel it back slowly at a sharp 180-degree angle, keeping it flat against the vehicle surface. Do not pull the tape straight up at a 90-degree angle, as this creates upward tension that can lift the freshly applied vinyl edges off the paint.
What are the most effective techniques for handling large decals on curved car surfaces?
Managing complex vehicle contours requires controlled heat to soften the vinyl and strategic relief cuts to prevent tension buildup. Car bodies feature compound curves on bumpers, fenders, and side mirrors that naturally cause vinyl to bunch up or stretch. To make the vinyl pliable, apply gentle heat using a heat gun or hair dryer on a low setting, keeping the heat source moving constantly and holding it at least 15 to 20 centimeters away from the surface.
While warmed vinyl can stretch to fit curves, overstretching is a common mistake that leads to future failure. If you stretch the vinyl too far to force it into a deep recess, the material will thin out, distorting the printed graphic or color. More importantly, vinyl has a physical memory and will attempt to shrink back to its original flat shape when exposed to hot weather, leading to lifting and peeling along the edges. Limit stretching to a minimum and guide the vinyl naturally with your hands and squeegee.
For extreme curves where bunching is inevitable, make small relief cuts in the excess, non-printed areas of the transfer tape or the vinyl backing to release the tension. This allows the vinyl to overlap cleanly without creating thick, unsightly folds. Once the decal is fully installed on a curved surface, perform a process called post-heating. Run the heat gun over the curved areas, warming the vinyl to approximately 80°C to 90°C (refer to the manufacturer’s specification). This high temperature breaks the vinyl’s original shape memory and locks it into its new, contoured shape permanently.
How can you fix minor bubbles or wrinkles after the decal is applied?
Minor post-application imperfections can often be resolved with a fine needle for trapped air or gentle heat for small creases. If you notice small bubbles after installation, first determine if they contain air or water. Water bubbles from a wet application will often dry out and disappear on their own over a few days as the moisture evaporates through the semi-porous vinyl.
For persistent air bubbles, do not try to flatten them by rubbing hard with your thumb, as this can stretch the vinyl and create a permanent wrinkle. Instead, take a very fine sewing needle or a hobby knife with a fresh blade. Gently prick the very edge of the bubble. Use your felt-edged squeegee or a soft cloth to press the air out through the tiny hole, working from the opposite side of the bubble toward the puncture.
Small wrinkles or “fingers” near the edges can sometimes be smoothed out using targeted heat. Apply a brief burst of low heat to relax the vinyl fibers, then use your squeegee to press the wrinkle flat, working it toward the outer edge where the excess air can escape.
It is important to recognize when a decal is beyond repair. If a wrinkle is deeply creased, or if a piece of dirt or hair is trapped underneath the vinyl, attempting to scrape or heat it will only damage the paint or ruin the graphic. In these cases, the contaminated section must be carefully peeled off. Leaving a poorly adhered decal with open edges can trap moisture and road grime against your car’s clear coat, which may eventually damage the underlying paint finish.

Community discussion
Share your experience or ask a question. Comments are reviewed before publication.