
Restoring the clarity of your vehicle’s headlights is essential for maintaining nighttime visibility and ensuring road safety. When deciding how to restore or protect your headlights, the right choice depends entirely on the current condition of the polycarbonate lenses and your long-term maintenance goals. Polishing is mandatory for removing existing oxidation and yellowing, while waxing and ceramic coatings are protective layers that require a clear surface to work effectively. Understanding how these methods interact with plastic lenses allows you to choose an approach that fits your available tools, time, and the specific level of wear on your vehicle.
In tropical environments with intense sunlight and high humidity, headlight degradation occurs rapidly. The constant exposure to ultraviolet (UV) radiation breaks down the outer layer of the headlight plastic, leading to a cloudy appearance that scatters light rather than focusing it on the road. By evaluating whether your headlights require physical restoration, routine maintenance, or long-term environmental shielding, you can select a method that preserves both the appearance and the safety of your vehicle.
Understanding the Core Differences in Headlight Restoration
To make an informed decision, you must first distinguish between corrective processes and protective treatments. Polishing is an abrasive corrective process designed to physically remove a microscopic layer of damaged polycarbonate plastic. This process cuts through the yellowed, oxidized outer layer to expose the fresh, clear plastic underneath. Without this physical removal of damaged material, no amount of cleaning or coating can restore clarity to a severely degraded lens.
Products mentioned in this guide
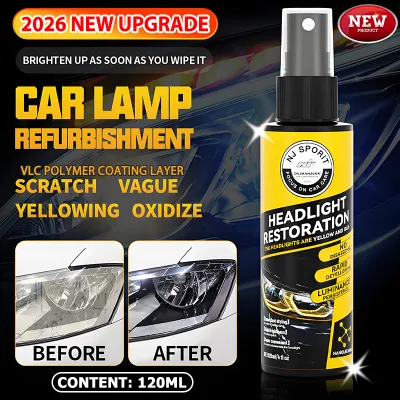
![[24 hours delivery] Car headlight polish car headlamp polish 3 second yellow removal head lamp coating polish car care product car headlamp cleaner car headlight repair fluid headlamp restoration kit](https://img.lazcdn.com/g/p/ef96e4350c1290671a3d03149f43970d.jpg_400x400q80.jpg_.webp)
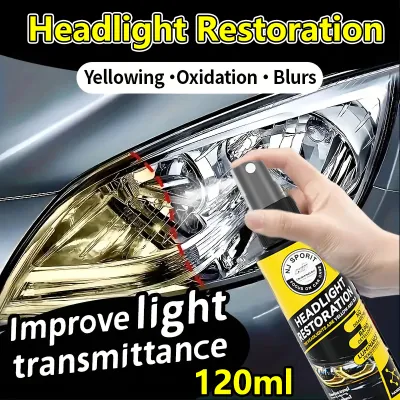
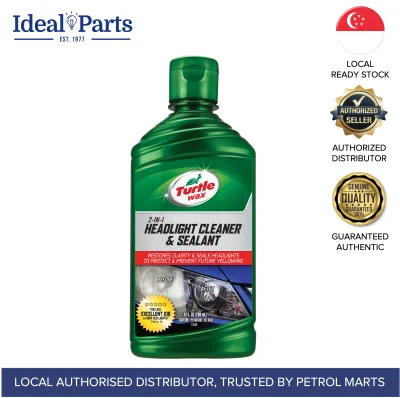
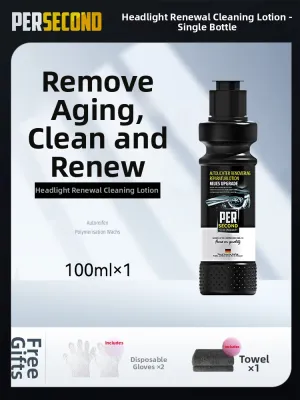
Prices are valid at publication and may change. Please refer to the product page for the latest price.
In contrast, waxing and ceramic coatings are purely protective measures. They do not possess the abrasive qualities required to eliminate physical damage, deep yellowing, or severe hazing. Instead, they are designed to bond with a clean, clear surface to act as a sacrificial barrier against environmental hazards. Applying a protective wax or ceramic coating directly over an oxidized headlight will not restore clarity; it will simply seal in the cloudy, yellowed damage beneath the clear layer, rendering the treatment ineffective.
The primary driver of headlight degradation is UV radiation from the sun, which breaks the chemical bonds within the polycarbonate plastic. This process, known as photo-oxidation, is accelerated by road grime, industrial fallout, and acidic rain. Over time, these factors cause the factory-applied UV protective clear coat to fail, leading to yellowing, micro-pitting, and a chalky surface texture. Recognizing whether your headlights have reached this stage of structural degradation is the first step in planning your restoration strategy.
Polishing: Restoring Clarity to Severely Oxidized Lenses
Polishing is the necessary starting point when headlights exhibit clear signs of physical degradation. These signs include deep yellowing, heavy hazing that obscures the bulbs inside, a rough or chalky surface residue, and visible micro-pitting from road debris. When these conditions are present, the factory UV protective coating has completely broken down, and the underlying polycarbonate has begun to oxidize. At this stage, only physical abrasion can restore the optical clarity required for safe night driving.

The polishing process typically involves a progressive series of steps, often starting with wet sanding. Wet sanding uses specialized ultra-fine abrasive papers, starting with coarser grits such as 1000 or 1500 to level the heavy oxidation, followed by finer grits like 2000, 2500, or 3000 to refine the sanding scratches. After sanding, a liquid polishing compound is applied using either a microfiber applicator pad by hand or a dual-action machine polisher equipped with a foam polishing pad. Machine application generally provides more consistent results and faster defect removal, but hand polishing remains a viable option for minor hazing.
A critical limitation of the polishing process is that it removes the remaining factory UV clear coat along with the oxidized plastic. Because bare polycarbonate has virtually no natural resistance to UV radiation, polished headlights left unprotected will degrade and turn yellow again within a matter of weeks or months, especially in high-UV climates. Therefore, polishing must always be treated as a preparatory step that requires the immediate application of a dedicated UV-resistant protectant to seal the newly exposed plastic.
Waxing: Quick Protection for Mild Hazing and Routine Maintenance
Waxing serves as a highly accessible, low-effort method for maintaining headlights that are already in good condition or exhibit only the mildest surface dullness. Typically utilizing natural carnauba wax or synthetic polymer sealants, this method is designed to lay down a temporary, sacrificial UV barrier over the lens. It is an excellent choice for routine maintenance after a standard car wash, helping to shed water, repel road grime, and slow down the natural aging process of the plastic.
The application of headlight wax is straightforward and requires minimal preparation compared to more advanced coatings. After thoroughly washing and drying the headlight assembly, the wax is applied in a thin, even layer using a foam or microfiber applicator, allowed to haze according to the product label instructions, and then buffed off with a clean microfiber towel. Because this process does not involve heavy abrasives, it can be performed frequently without risk of thinning the underlying polycarbonate lens.
However, waxing has significant limitations in terms of durability and environmental resistance. Natural carnauba wax has a relatively low melting point and can degrade quickly under the high operating temperatures generated by headlight bulbs and intense engine bay heat, as well as exposure to harsh road detergents and heavy tropical downpours. Synthetic polymer waxes and sealants offer slightly better heat tolerance and longevity, but they still require regular reapplication—often every few weeks to a few months—to maintain effective UV protection.
Ceramic Coating: Long-Term Shielding Against UV and Environmental Damage
Ceramic coatings represent the most durable and technologically advanced method for protecting headlight lenses from UV rays and environmental contaminants. These coatings utilize liquid silicon dioxide (SiO2) or silicon carbide (SiC) formulations that chemically bond with the polycarbonate surface at a molecular level. This bond creates a hard, hydrophobic, and highly heat-resistant barrier that can protect the lens from yellowing, acid rain, road salt, and micro-scratching for a significantly longer period than traditional waxes.
The long-term durability of a ceramic coating comes with strict surface preparation requirements. Because the coating must form a direct chemical bond with the polycarbonate, the lens surface must be completely free of oils, polishing residues, old wax, and environmental contaminants. After polishing the headlights to optimal clarity, the surface must be thoroughly cleaned with a dedicated isopropyl alcohol (IPA) prep spray or a panel wipe solution. Any remaining residue or moisture will prevent the coating from bonding properly, leading to premature failure or an uneven, cloudy finish.
Before applying any ceramic product, it is essential to verify the manufacturer’s product specifications to ensure compatibility with polycarbonate and automotive plastics. Some ceramic coatings formulated strictly for glass or paint contain strong solvents that can etch or craze sensitive plastics. Additionally, users must carefully follow the manufacturer’s instructions regarding application temperature, flash times, and curing conditions. Many ceramic coatings require several hours of dry, sheltered curing time before the vehicle can be exposed to moisture or driven on the road.
Decision Matrix: Which Method Fits Your Situation?
Choosing the right headlight restoration and protection method requires balancing the current physical condition of your lenses with the amount of effort and maintenance you are willing to invest. If your headlights are severely yellowed, cloudy, or rough to the touch, you must begin with polishing to restore optical clarity before applying any form of protection. If your headlights are brand new or have just been polished, you must decide between the low-cost, high-frequency maintenance of waxing or the high-prep, long-lasting protection of a ceramic coating.
For vehicle owners who prefer a quick, budget-friendly solution and do not mind performing regular maintenance, waxing is a highly practical choice. It requires no specialized tools and can be easily integrated into a monthly car washing routine. Conversely, if you want to minimize long-term maintenance and secure a robust level of UV protection, investing the time and effort into a proper polish followed by a dedicated ceramic coating is a highly effective strategy.
The following comparison table outlines the primary functions, required surface conditions, application effort, and ideal use cases for each headlight restoration and protection method:
| Method | Primary Function | Required Surface Condition | Application Effort | Ideal Use Case |
|---|---|---|---|---|
| Polishing | Corrective: Removes oxidized plastic and restores optical clarity | Yellowed, hazy, or pitted lenses with failed factory clear coat | High (Requires sanding, compounding, and polishing tools) | Restoring severely degraded headlights before applying protection |
| Waxing | Protective: Provides a temporary, sacrificial UV and moisture barrier | Clear, clean lenses with no active oxidation or heavy hazing | Low (Simple wipe-on, buff-off application with microfiber) | Routine maintenance for clear headlights or newly polished lenses |
| Ceramic Coating | Protective: Creates a semi-permanent, highly durable chemical bond | Thoroughly polished, decontaminated, and residue-free lenses | Medium to High (Requires meticulous prep and controlled curing) | Long-term UV and environmental protection for restored or new lenses |
Essential Preparation and Safety Boundaries
Regardless of the method you choose, proper preparation is critical to achieving a successful result and preventing accidental damage to your vehicle. Before performing any sanding, polishing, or coating work, you must thoroughly protect the surrounding paint, rubber seals, chrome trim, and plastic grilles. Apply multiple layers of high-quality, automotive-grade masking tape around the perimeter of the headlight assembly. This prevents abrasive sanding paper or high-speed polishing pads from burning through the vehicle’s clear coat or damaging delicate rubber weatherstripping.
Always read and follow the specific instructions on all product labels to verify safety for polycarbonate and automotive plastics. Avoid using household glass cleaners, harsh chemical solvents, or abrasive compounds not formulated for automotive plastics, as these can cause micro-scratching, chemical etching, or stress-crazing of the lens. If you are using a machine polisher, maintain a low speed and keep the pad moving constantly to prevent heat buildup, which can permanently distort or melt the polycarbonate plastic.
While many headlight restoration tasks can be completed safely at home, certain conditions require professional intervention. If your headlights exhibit deep physical cracks that penetrate through the lens, severe internal moisture condensation, or heavy pitting that cannot be safely leveled with fine sanding, the structural integrity of the headlight assembly may be compromised. In these cases, or if you are uncomfortable performing abrasive work near your vehicle’s paint, consult a qualified automotive detailing professional or consider replacing the headlight assemblies entirely to ensure road safety and compliance with local vehicle lighting regulations.
Frequently Asked Questions (FAQ)
Can I apply ceramic coating directly over yellowed headlights?
No, you should not apply a ceramic coating directly over yellowed or oxidized headlights. Ceramic coatings are designed to bond with clean, clear surfaces and do not contain any abrasive properties to remove oxidation. Applying a coating over damaged plastic will only seal in the yellow, cloudy appearance and prevent you from properly polishing the lens in the future without first chemically or mechanically stripping the cured ceramic layer. Always polish the headlights to restore full clarity and decontaminate the surface before applying a ceramic coating.
Does toothpaste work as a headlight polish?
While toothpaste contains mild abrasives that can temporarily scrub away very light surface grime and minor oxidation, it is not a suitable substitute for dedicated automotive headlight restoration products. Toothpaste lacks the consistent, graded abrasive particles needed to level deep oxidation or refine sanding scratches properly. Furthermore, toothpaste provides absolutely no UV protection, meaning any temporary clarity achieved will quickly fade, and the headlights will re-oxidize rapidly when exposed to sunlight. For lasting results, always use dedicated automotive polishing compounds and follow up with a UV-resistant protectant.
Community discussion
Share your experience or ask a question. Comments are reviewed before publication.