
Addressing a car interior scratch at home requires matching the right tool to the specific material and depth of the damage. Your vehicle’s cabin is a complex mix of hard plastics, soft-touch vinyl, leather, and delicate trim pieces, each requiring a distinct restoration strategy. Using the wrong tool can easily turn a minor cosmetic blemish into permanent, costly damage. By assembling a targeted home detailing kit—ranging from ultra-fine microfiber towels and specialized plastic polishes to heat tools and color-matched fillers—you can safely restore your cabin’s pristine look.
Quick Guide: Matching Tools to Car Interior Scratch Types
Before reaching for any repair compound, you must identify the material of the damaged panel and how deeply the scratch penetrates. Surface scuffs on hard plastics often require nothing more than a mild abrasive polish or a carefully controlled heat application to draw out the material’s natural oils. In contrast, deep gouges that have physically removed material demand structural fillers, high-grit sanding blocks, and color-matching dyes to rebuild the surface.
For soft surfaces like leather and vinyl, abrasive polishes will strip away protective topcoats and pigments. These materials require dedicated leather prep cleaners, flexible binders, and precise color-matching applicators. Regardless of the tool you select, always verify material compatibility by testing the product on a hidden, inconspicuous area first, and strictly follow the manufacturer’s label instructions to prevent unintended discoloration or surface melting.
Products mentioned in this guide
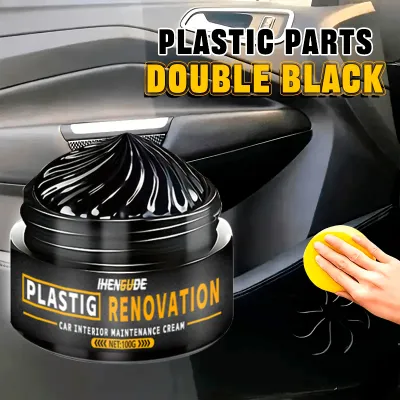
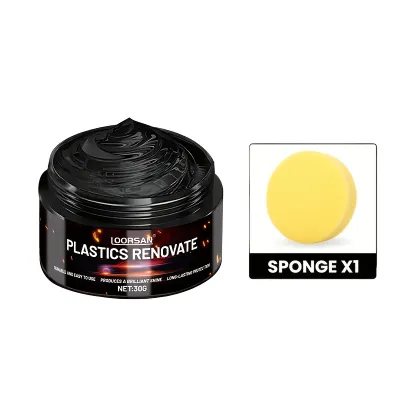
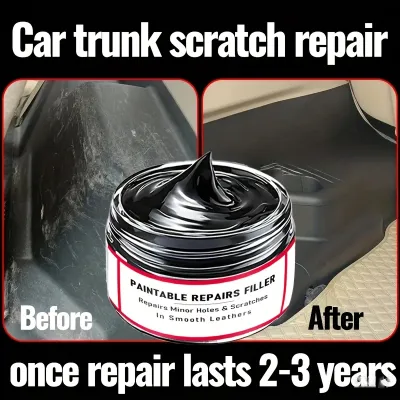
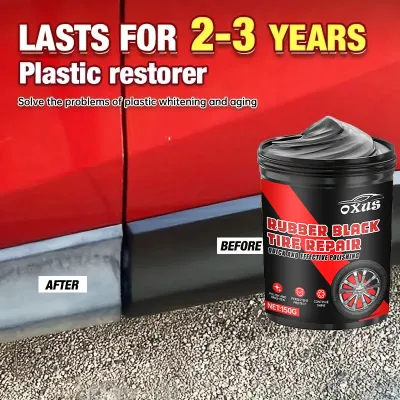
Prices are valid at publication and may change. Please refer to the product page for the latest price.
How to Assess Your Car Interior Scratch Before Choosing a Tool
Accurate diagnosis is the most critical step in any DIY interior restoration. Before you can choose the correct tool, you must determine whether the mark is a true scratch or simply a surface transfer. Scuff marks from shoes, luggage, or handbags often leave behind a layer of rubber, dirt, or dye that sits on top of the panel rather than cutting into it.

Begin by thoroughly cleaning the affected area using a dedicated, pH-balanced interior cleaner and a clean microfiber towel. This initial step removes surface contaminants and reveals the true extent of the damage. Once the area is clean, perform the fingernail test by gently running your fingernail across the scratch. If your nail glides over the mark without catching, the scratch is superficial and can typically be resolved with light polishing or mild heat.
If your fingernail catches in the groove, the scratch has penetrated the material’s outer layer. For hard plastics, this means material has been displaced, requiring a filler or sanding. For leather, vinyl, or soft-touch coatings, a catch indicates a tear or puncture in the protective polyurethane layer or the hide itself. Identifying these boundaries prevents you from wasting time with ineffective polishing compounds on deep structural damage.
Essential Tools for Light Surface Scratches on Hard Plastics and Trim
Restoring light scratches on hard plastic dashboards, door panels, and center consoles requires a delicate touch and progressive abrasion. Your primary tools for this task are high-quality microfiber towels (ideally 300 to 350 GSM) and soft detailing brushes. These brushes allow you to clear out dust and debris from the scratch channel without adding new micro-scratches to the surrounding plastic.
To buff out shallow marks, you will need a dedicated plastic polish or a very mild rubbing compound paired with a non-abrasive foam applicator pad. Apply a small, dime-sized amount of polish to the pad and work it into the scratch using light, circular motions. Avoid heavy downward pressure, as excessive friction can create localized heat that glazes or discolors the plastic. Wipe away the residue frequently with a clean microfiber towel to inspect your progress.
For textured, unpainted plastics that have faded or suffered light scuffing, a heat gun or a high-powered hairdryer can be an effective restoration tool. When plastic is scratched, the damaged fibers bend and turn white, reflecting light. Applying controlled heat coaxes the plastic’s polymers to return to their original shape and brings natural oils to the surface. However, this technique requires extreme caution: keep the heat tool at least 15 to 20 centimeters away from the surface, set it to a low-to-medium temperature, and keep it in constant, sweeping motion. Never hold the heat source over one spot, as you risk melting the texture pattern or warping the underlying panel.
Repair Tools for Scratches on Leather and Vinyl Surfaces
Leather and vinyl require entirely different tools than hard plastics because their surfaces are painted, coated, and flexible. To prepare these delicate surfaces, you need a mild, solvent-free leather cleaner and a soft-bristle horsehair detailing brush. This combination lifts oils and dirt from the grain without stripping the protective factory topcoat.
Once clean, light scratches can often be masked and protected using a high-quality leather conditioner or cream. For deeper scratches that have breached the color layer, you will need a specialized leather and vinyl repair kit. These kits typically include a liquid leather filler, color-matching pigments, mixing cups, and small sponge applicators. You must carefully mix the pigments to match your interior’s exact shade, applying the mixture in thin, buildable layers with a fine-tip brush or sponge to avoid a thick, unnatural patch.
It is vital to recognize the physical limits of DIY leather repair tools. While they work exceptionally well for minor surface scuffs and shallow cracks, they cannot safely restore deep structural cuts, wide tears, or heavily worn seat bolsters that endure constant flexing and body weight. Attempting to patch high-stress areas with basic consumer kits often results in the repair cracking and peeling away within a few weeks of regular use.
Advanced DIY Tools for Deep Scratches and Gouges
When dealing with deep gouges where plastic or vinyl has been physically gouged out, simple polishing or heating will not suffice. To repair this level of damage, you must rebuild the lost material using specialized interior plastic fillers or flexible putties. These compounds are designed to bond with automotive plastics while remaining flexible enough to withstand temperature fluctuations inside the cabin.
You will need a set of flexible plastic putty knives or mini-spreaders to apply and level the filler precisely within the gouge. Once the filler cures according to the manufacturer’s instructions, use high-grit sanding sponges—typically ranging from 1500 to 3000 grit—wet-sanded gently to level the repair flush with the surrounding panel. Always sand with light pressure and keep the area lubricated with water to avoid creating flat spots on textured surfaces.
Because sanding and filling will leave a smooth, discolored patch on textured trim, you must use texture-matching pads or grain paper. These tools are pressed into the wet filler or a specialized texturing spray to replicate the factory grain pattern. Finally, restore the color using a dedicated automotive trim paint pen or a mini-airbrush kit. For a seamless blend, obtain the exact interior color code from your vehicle’s identification plate or user manual, rather than guessing the shade from online photos.
When to Stop DIY Repairs and Seek Professional Detailing
While home detailing tools are highly capable, certain interior damages carry significant safety and financial risks if handled incorrectly. The most critical boundary involves safety restraint systems and airbag deployment zones. Never attempt to repair, heat, or apply heavy fillers to airbag covers on the steering wheel, passenger dashboard, or seat pillars. Original-vehicle instructions strictly prohibit modifying these covers, as DIY materials can alter the plastic’s engineered tear points, potentially preventing the airbag from deploying correctly or turning dried filler into dangerous projectiles during an accident.
Additionally, high-end trim materials require specialized professional restoration. Attempting to sand or heat-treat real wood veneers, carbon fiber panels, or glossy piano black trims almost always results in irreversible clouding, cracking, or stripping of the clear coat. If a scratch penetrates the clear lacquer of these premium materials, home tools will likely worsen the blemish.
If you encounter deep structural tears in leather seats, warped panels from previous heat gun attempts, or damage across safety-critical components, stop immediately. In these scenarios, seeking a professional automotive upholsterer or ordering an original equipment manufacturer (OEM) replacement panel is the safest and most cost-effective path to restoring your vehicle’s interior value.
Frequently Asked Questions (FAQ)
Can I use a magic eraser on car interior plastics?
You should avoid using magic erasers on most car interior surfaces. Melamine foam acts as an extremely fine micro-abrasive, essentially functioning like ultra-fine sandpaper. While it may quickly rub away a stubborn scuff mark, it will also permanently strip away the protective matte clear coats, soft-touch paint finishes, and delicate leather dyes, leaving behind a permanent shiny or discolored spot. Instead, use a soft microfiber towel paired with a dedicated, non-abrasive automotive interior cleaner or a mild plastic polish.
Do I need a special heat gun for car interior plastics?
While you do not necessarily need a highly specialized detailing heat gun, using a standard high-temperature industrial paint-stripping heat gun carries a high risk of melting your trim. If you use a standard heat gun, it must have adjustable temperature settings so you can keep it on a low-to-medium heat range. A high-quality hairdryer can often provide a safer, more controllable heat output for beginners. Regardless of the tool, always maintain a safe distance of at least 15 centimeters, keep the tool in constant motion, and avoid using heat entirely near sensitive electronics, infotainment screens, airbag covers, or glued panel seams.
Will toothpaste work as a scratch remover for car interiors?
Toothpaste is not recommended as a reliable scratch remover for automotive interiors. Although toothpaste contains mild abrasives, its particle size and consistency are not engineered for automotive plastics, often leaving behind a dull, hazy patch on glossy trims. Furthermore, the white paste can easily dry inside the textured grain of dashboard plastics, leaving a stubborn, chalky residue that is incredibly difficult to clean out. For predictable and safe results, always rely on purpose-built automotive plastic polishes and compounds designed to break down cleanly without staining.
Community discussion
Share your experience or ask a question. Comments are reviewed before publication.