
To keep your motorcycle looking pristine and preserve its long-term value, you must use the correct tools and specialized cleaning agents. Unlike a car, a motorbike exposes its engine, delicate electrical connectors, suspension seals, and various complex materials directly to the elements. Using harsh household detergents or abrasive sponges can quickly scratch the delicate clear coat, fade unpainted plastics, and cause corrosion on metal surfaces.
Proper motorbike body cleaning requires a dedicated kit designed to lift abrasive road grime safely without causing mechanical or chemical damage. By choosing high-pile microfiber mitts, a dual-bucket system with grit guards, and pH-neutral cleaning formulas, you protect your bike’s finish while ensuring a thorough clean. This guide details the essential hardware, specialized chemicals, and material-specific tools you need to establish a safe and highly effective motorcycle washing routine.
Quick Checklist: Essential Motorbike Body Cleaning Tools
Before you begin washing your motorcycle, gathering the correct tools ensures a smooth, scratch-free process. Having everything within arm’s reach prevents soap from drying on the panels while you search for a tool.
Products mentioned in this guide
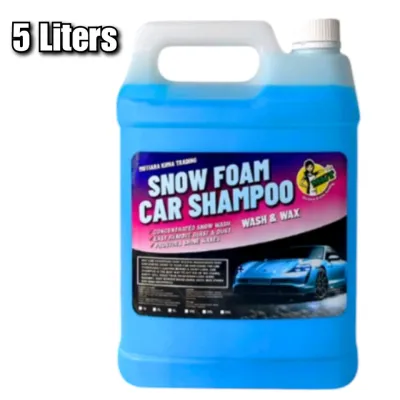
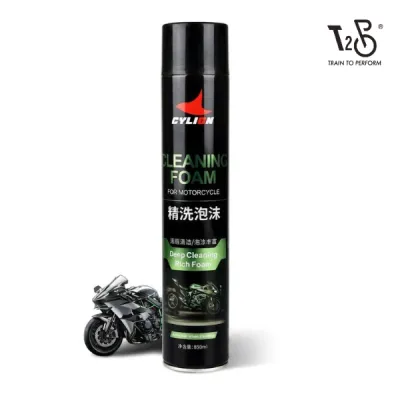
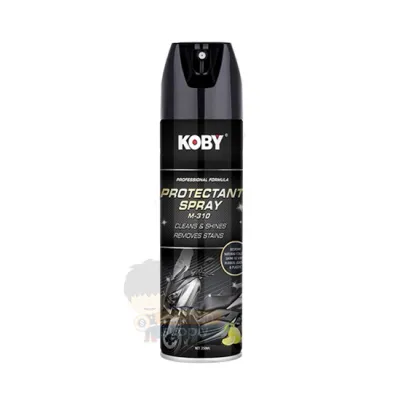
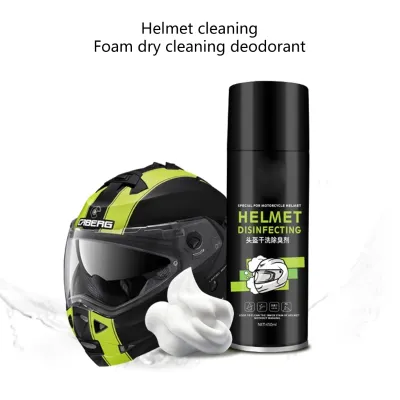
Prices are valid at publication and may change. Please refer to the product page for the latest price.
Here is a quick checklist of the essential physical tools and chemicals required for a proper motorbike body wash:
| Tool Category | Specific Item | Primary Purpose |
|---|---|---|
| Physical Hardware | Microfiber Wash Mitt | Safely lifts and traps dirt away from painted surfaces |
| Physical Hardware | Two Buckets with Grit Guards | Separates clean soapy water from contaminated rinse water |
| Physical Hardware | High-GSM Microfiber Drying Towel | Absorbs water rapidly without leaving swirl marks or scratches |
| Physical Hardware | Soft-Bristle Detailing Brushes | Agitates dirt in tight crevices, engine fins, and badges |
| Chemicals | pH-Neutral Motorcycle Wash Soap | Cleans safely without stripping wax or damaging rubber seals |
| Chemicals | Bug and Tar Remover | Dissolves stubborn organic contaminants and road grime |
| Chemicals | Protective Wax, Sealant, or Ceramic Spray | Shields paint from UV rays, rain, and road contaminants |
Using this baseline setup allows you to target different areas of your bike effectively. The primary goal of these tools is to remove abrasive road grime, salt, and dust without dragging them across the clear coat. By investing in these essentials, you avoid the common pitfalls of paint scratching and material degradation.
How to Choose Safe and Effective Cleaning Tools
Selecting the right tools requires understanding how different materials interact with your motorcycle’s surfaces. Standard household cleaning items are often too abrasive or chemically aggressive for the delicate finishes found on modern bikes.

Material Safety
When it comes to physical contact with your bike’s paintwork, material safety is paramount. Traditional cellulose sponges have flat, dense surfaces that trap dirt particles directly between the sponge and the paint. As you wipe, these trapped particles act like sandpaper, creating microscopic scratches known as swirl marks. In contrast, high-pile microfiber and natural lambswool wash mitts feature deep, open fibers. These fibers pull dirt away from the paint surface and hold it deep within the pile, preventing it from scratching the clear coat during the wash process.
Chemical Compatibility
The chemical formulas you apply to your motorcycle must be chosen with equal care. Many household detergents, such as dishwashing liquids, are formulated to strip grease and will quickly strip away protective wax or paint sealants. Furthermore, highly acidic or strongly alkaline cleaners can permanently stain anodized aluminum, cloud clear plastics, and dry out rubber seals or suspension boots. Opting for strictly pH-neutral formulas ensures that you remove road grime effectively without compromising the integrity of these sensitive components.
Before applying any cleaner, fluid, or care product to your motorcycle, always check the applied product’s label and your motorcycle manufacturer’s instructions. If instructions conflict, the treated item is unidentified, or the specific use is not covered on the product label, stop immediately and consult the manufacturer or a qualified professional. This precaution is vital to prevent permanent damage to paint, leather, plastics, sensors, or seals.
Climate Considerations
Riding in tropical, high-humidity, and frequently rainy environments like Singapore presents unique detailing challenges. High humidity slows down natural evaporation, which can lead to unsightly water spots if the bike is left to dry slowly. Utilizing rapid-drying tools, such as electric air blowers, helps clear water from hidden recesses before mineral deposits can form. Additionally, applying highly hydrophobic water-repellent protectants is crucial in tropical regions. These coatings encourage heavy rainwater to sheet off the body panels, carrying surface dust away and preventing water spots from etching into the clear coat.
Ergonomics
Motorcycles are incredibly compact machines with numerous intricate, hard-to-reach areas. Standard car-washing sponges are simply too bulky to clean behind fairings, around the swingarm, or between engine cooling fins. Ergonomically designed detailing brushes with long, slender handles and soft synthetic bristles are essential for these tight spaces. They allow you to agitate dirt in recessed areas without scraping your knuckles or causing accidental impact damage to delicate components. Choosing tools with comfortable, non-slip rubber grips also ensures precise control when working around sensitive electrical wiring.
Top Washing Hardware and Physical Tools for the Job
To achieve a professional-grade finish, you must rely on high-quality washing hardware that minimizes physical friction on your paintwork. The following tools form the backbone of a safe, scratch-free washing process.
Wash Mitts and Sponges
Your primary contact tool should always be a high-quality, deep-pile microfiber or natural lambswool wash mitt. Microfiber mitts are highly durable, machine-washable, and excellent at absorbing large volumes of soapy water to provide maximum lubrication. Lambswool mitts offer an even softer touch, making them ideal for ultra-sensitive clear coats, though they require more delicate hand-washing and air-drying after use. Both options utilize a deep-pile design that safely traps abrasive grit deep within the fibers, keeping it far away from your delicate painted fairings. Avoid using flat sponges or old cotton rags, as they lack the fiber depth needed to isolate dirt particles.
The Two-Bucket System with Grit Guards
The two-bucket system is a fundamental technique used by professional detailers to prevent wash-induced scratches. This setup requires two separate buckets: one filled with clean, soapy water (the wash bucket) and another filled with clean, plain water (the rinse bucket). Each bucket should be fitted with a grit guard, which is a plastic grate that sits slightly above the bottom of the bucket. The grit guard acts as a baffle, trapping heavy dirt particles at the very bottom of the bucket and preventing them from being stirred back up into the water.
To use this system, dip your dirty wash mitt into the rinse bucket first, gently agitating it against the grit guard to release trapped dirt and grit. Once the mitt is clean, wring it out and dip it into the wash bucket to collect fresh, clean soapy water. Repeating this cycle throughout the wash ensures that you never transfer abrasive road grime back onto your motorcycle’s paintwork. This simple discipline drastically reduces the risk of creating swirl marks on your clear coat.
Drying Towels and Air Blowers
Properly drying your motorcycle is just as important as washing it, especially when trying to prevent unsightly water spots. High-GSM (grams per square meter) microfiber drying towels, typically ranging from 600 to 1200 GSM, are incredibly absorbent and can dry an entire motorcycle in a single pass. For glass mirrors, instrument screens, and chrome accents, a specialized waffle-weave microfiber towel is preferred because its unique texture traps moisture without leaving lint or streaks. Always glide the towel gently across the surface rather than rubbing vigorously.
To complement your drying towels, using an electric air blower or a dedicated motorcycle dryer is highly recommended. These tools generate a warm, filtered stream of high-velocity air that forces water out of deep, inaccessible crevices where towels cannot reach. This includes areas like spark plug wells, handlebar switchgear, radiator fins, mirror housings, and bolt holes. Removing trapped water from these spots prevents long-term corrosion, eliminates unsightly water runs that appear when you ride, and protects sensitive electrical connections from moisture damage.
Essential Cleaning Chemicals and Paint Protectants
While high-quality hardware physically removes dirt, specialized chemicals are required to break down stubborn road contaminants and protect your motorcycle’s body panels from environmental damage.
pH-Neutral Motorcycle Wash Soaps
The foundation of your chemical kit should be a high-quality, pH-neutral motorcycle wash soap. These specialized shampoos are formulated with high-lubricity agents that create a slick barrier between your wash mitt and the paint, allowing the mitt to glide effortlessly. Unlike harsh household dish soaps or industrial degreasers, pH-neutral formulas will not strip away existing wax or synthetic sealant coatings. They are also engineered to be completely safe for delicate, porous rubber hoses, suspension seals, and anodized metal finishes that are easily damaged by aggressive chemicals.
Bug, Tar, and Grime Removers
Motorcycles frequently collect stubborn organic contaminants, such as dried bug splatter, asphalt tar, and tree sap, which standard wash soaps cannot easily dissolve. Attempting to scrub these spots off with a wash mitt can lead to severe scratching. Instead, use a dedicated bug and tar remover to chemically break down the proteins and petroleum bonds of these contaminants.
You can choose between solvent-based and citrus-based removers. Solvent-based formulas are highly effective at dissolving heavy road tar and asphalt spots but must be used with caution on unpainted, porous plastics. Citrus-based removers offer a safer, more natural alternative that is generally gentler on various surfaces but may require a slightly longer dwell time to work. Always check the manufacturer’s instructions on the product label before application. Apply the remover to a cool surface, let it dwell for the recommended time without letting it dry, and gently wipe it away with a clean microfiber cloth.
Waxes, Sealants, and Spray Detailers
After thoroughly washing and drying your motorcycle, applying a protective layer is essential to shield the paint from UV rays, acid rain, and road grime. You have three primary options for paint protection, each offering distinct characteristics:
- Carnauba Wax: This natural wax provides a deep, warm, liquid-like shine that is highly prized by enthusiasts. However, carnauba wax has a lower melting point and tends to degrade quickly in hot, humid climates, typically lasting only four to six weeks.
- Synthetic Sealants: Made from advanced polymers, synthetic sealants offer excellent heat resistance and durability. They create a strong, clear protective barrier that can last anywhere from three to six months, making them a practical choice for daily riders.
- Ceramic Spray Coatings: Infused with silicon dioxide (SiO2), ceramic sprays provide extreme hydrophobic properties. This causes water to bead up and slide off the panels effortlessly, carrying dust and dirt with it. They offer superior durability against harsh tropical downpours and make subsequent washes much easier.
For quick maintenance between washes, keep a bottle of high-quality spray detailer and a clean microfiber cloth handy. Spray detailers contain light cleaning agents and lubricants that allow you to safely wipe away light dust, fingerprints, and fresh water spots without scratching the paint.
Specialized Tools for Different Motorcycle Materials
A motorcycle body is a complex mix of painted fairings, textured plastics, bare metals, and delicate optical surfaces. Each material requires specific tools and techniques to prevent accidental damage.
Unpainted Plastics and Trim
Many motorcycles feature textured, unpainted black plastic panels around the inner fairings, mudguards, and chain guards. These porous surfaces easily trap fine road dust, giving them a dull, grey appearance over time. To clean them properly, use a soft-bristle detailing brush to gently agitate the soapy wash water into the textured grain, lifting out embedded dirt. Never apply standard paint waxes or sealants to these matte plastics, as they will leave unsightly white, chalky residues that are difficult to remove. Instead, apply a dedicated plastic restorer or protectant containing UV blockers to restore the deep black finish and shield the material from sun damage.
Metal Parts, Exhausts, and Chrome
Exhaust pipes, engine casings, and metal brackets are subjected to extreme heat, which bakes road grime and boot scuffs onto their surfaces. Always wait for the engine and exhaust pipes to cool completely before applying any cleaning agents or metal polishes to avoid thermal shock or burning chemicals onto the metal.
To clean and restore these components, use a non-abrasive metal polish paired with a microfiber applicator pad. For chrome surfaces, ensure your polish is specifically labeled safe for chrome to avoid micro-scratching the thin plating. When dealing with anodized aluminum components, such as aftermarket levers or triple clamps, avoid using acidic or highly alkaline wheel cleaners. These aggressive chemicals can permanently etch or discolor the anodized finish; stick strictly to mild, pH-neutral soap and water.
Windshields and Helmet Visors
Windshields and helmet visors are typically made from polycarbonate or acrylic, both of which are highly susceptible to scratching. Never use standard household glass cleaners containing ammonia, as ammonia chemically attacks these plastics, causing them to become brittle, yellow, and hazy over time. Always use a dedicated, ammonia-free plastic cleaner or a specialized visor cleaner. To avoid rubbing hard debris into the surface, use the “bug-soaking” technique: drape a clean microfiber towel soaked in warm water over the windshield for five minutes to soften dried bugs. Afterward, gently wipe the surface clean using an ultra-soft waffle-weave microfiber towel, applying minimal pressure.
Frequently Asked Questions (FAQ)
Can I use standard car wash soap on my motorbike?
While high-quality, pH-neutral car wash soaps are generally safe for motorcycles, you must avoid cheap, low-grade car soaps or those containing heavy gloss enhancers and wax additives. Motorcycle bodies feature far more exposed mechanical components, delicate rubber seals, and electrical wiring than cars, which are protected by large body panels. Cheap car soaps may contain aggressive surfactants that can dry out rubber suspension boots or leave a slippery residue on brake discs and footpegs. If you choose to use a car wash soap, ensure it is a premium, highly diluted, strictly pH-neutral formula without added waxes, and apply it carefully.
Is a pressure washer safe for washing a motorbike body?
Using a pressure washer on a motorcycle is highly controversial and carries significant risks if done improperly. High-pressure water can easily bypass rubber seals, forcing water into wheel bearings, suspension pivots, steering head bearings, and electrical connectors, leading to premature wear and electrical failures. If you must use a pressure washer, select a low-pressure setting (under 1,500 PSI), use a wide-angle spray nozzle, and maintain a distance of at least one meter from the bike. Avoid spraying water directly at bearings, radiator fins, chain links, handlebar switches, and the dashboard. For most riders, a standard garden hose with a gentle spray nozzle is the safest option.
How often should I apply wax or sealant to my motorbike body panels?
The frequency of applying paint protection depends heavily on your riding habits, storage conditions, and the type of product you choose. If your motorcycle is a daily commuter parked outdoors under the intense tropical sun and rain, you should apply protection more frequently. A natural carnauba wax should be reapplied every four to six weeks to maintain its protective barrier. Synthetic sealants generally require application every three months, while high-quality ceramic spray coatings can last up to six months. Regularly checking how water behaves on your paintwork—if it stops beading and begins to pool—is a clear indicator that it is time to reapply your protective layer.
Community discussion
Share your experience or ask a question. Comments are reviewed before publication.