
To comply with Singapore’s Land Transport Authority (LTA) regulations, your dash cam must be mounted in a position that does not obstruct your forward view of the road or interfere with any vehicle controls. The most compliant and safest location is typically high up on the windshield, tucked neatly behind the rearview mirror on the passenger side. If you choose to use a car dashboard mount instead, you must ensure the device sits low enough to keep your sightline completely clear and remains entirely outside of any airbag deployment zones.
Understanding Singapore LTA Rules and Safety Boundaries
Under the Road Traffic (Motor Vehicles, Construction and Use) Rules in Singapore, drivers must maintain a clear and unobstructed view of the road ahead and to the sides at all times. While the LTA does not explicitly ban dash cams, the placement of any aftermarket accessory is strictly regulated to prevent safety hazards. If an enforcement officer or a vehicle inspector at an authorized inspection center—such as VICOM, STA, or JIC—determines that your dash cam blocks your view, your vehicle can fail its periodic inspection, or you could face regulatory penalties.
The primary rule is that the device, its mount, and all associated wiring must not encroach upon the driver’s primary line of sight. This line of sight is generally defined as the area directly ahead of the steering wheel, extending across the driver’s side of the windshield. Placing a camera directly in this zone creates a dangerous blind spot, especially when navigating tight turns, pedestrian crossings, or roundabouts in busy estates.
Products mentioned in this guide
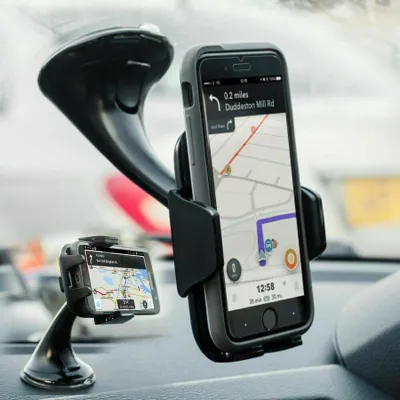
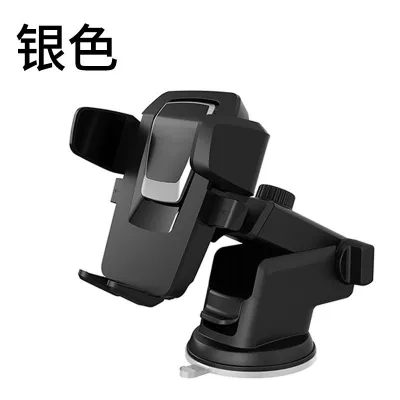

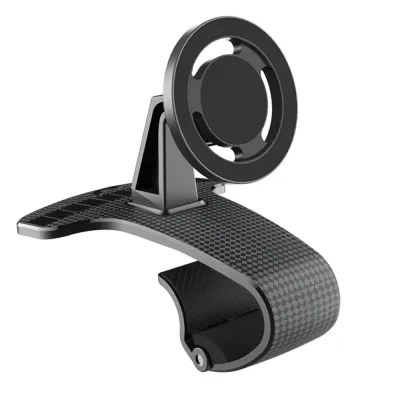
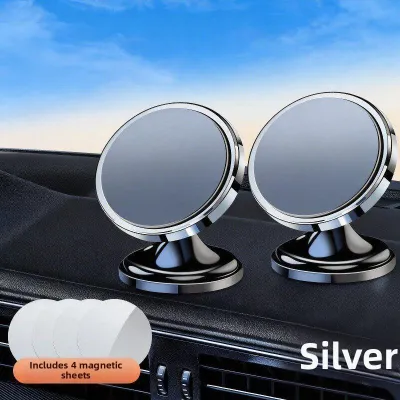
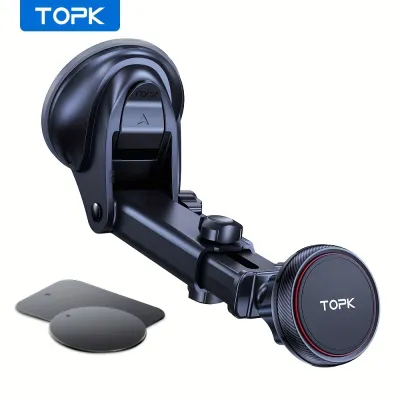
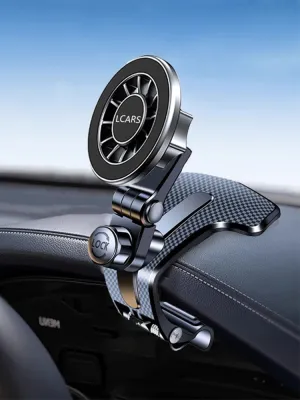

Prices are valid at publication and may change. Please refer to the product page for the latest price.
Furthermore, mounting accessories on the steering wheel boss or anywhere on the dashboard that covers the instrument cluster is strictly prohibited. The instrument cluster provides critical safety information, such as your current speed and warning lights, which must remain visible at all times.
Airbag deployment zones represent another non-negotiable safety boundary. Modern vehicles are equipped with multiple airbags, including frontal passenger airbags housed inside the dashboard and side-curtain airbags running along the A-pillars and roofline. If a dash cam or its cabling is positioned within these deployment paths, the force of an inflating airbag can launch the camera into the cabin as a high-velocity projectile, causing severe injury. Always consult your vehicle’s owner’s manual to identify the exact locations of these safety systems before planning your installation.
Choosing the Legal and Safe Mounting Position
When deciding where to position your camera, you must balance legal compliance with the practical need to capture clear, usable footage. The two primary options are windshield mounting and using a dedicated car dashboard mount.

The Optimal Windshield Position For the vast majority of vehicles in Singapore, the most compliant location is on the passenger side of the windshield, directly behind the rearview mirror. Placing the camera here utilizes the natural blind spot created by the mirror itself from the driver’s perspective. It keeps the camera body completely out of your direct line of sight while allowing the lens to remain centered enough to capture both sides of the road.
Dashboard Mounting Considerations If you prefer not to attach anything to your glass, or if your vehicle’s windscreen geometry makes windshield mounting difficult, a car dashboard mount is a viable alternative. However, this method requires careful planning. You must select a flat, non-sloping section of the dashboard that sits low enough to avoid protruding into your view of the hood or the road ahead. Avoid placing the mount on soft-touch plastics or leather dashboards without verifying the material’s compatibility, as some adhesives can permanently discolor or damage these premium surfaces. Additionally, consider that dashboard-mounted cameras sit closer to the windshield glass, which can create severe reflections and glare, particularly under the intense Singapore sun.
Airbag Clearance Whether you mount on the glass or the dash, you must map out the deployment paths of your vehicle’s airbags. Side-curtain airbags deploy downward from the roof lining and A-pillars, while the front passenger airbag deploys upward and outward from the top of the dashboard. Ensure that neither the camera, the mount, nor the power cable crosses these zones. If you are unsure of the deployment boundaries, seek professional guidance from an authorized specialist.
Wiper Sweep Area Singapore is prone to sudden, heavy monsoon downpours that can instantly reduce visibility. To ensure your dash cam remains useful during these storms, the camera lens must be positioned within the swept area of your windshield wipers. If the lens is placed too high or too far to the side where the wipers do not reach, rainwater, road grime, and water spots will quickly blur the recorded footage, rendering it useless for insurance or legal purposes.
Step-by-Step Installation and Cable Routing
A secure installation is essential to prevent the camera from detaching while driving, which could cause a sudden distraction or physical hazard. Follow these systematic steps to mount your device and route the cables safely.
Preparation and Cleaning Before applying any adhesive or suction mount, you must prepare the surface thoroughly. Singapore’s high relative humidity and tropical temperatures cause interior cabin surfaces to collect moisture, oils, and outgassed plasticizers from the dashboard. Clean the mounting area on the glass or dashboard using a clean microfiber cloth and high-purity isopropyl alcohol. Let the surface dry completely. Avoid using household glass cleaners, as many contain silicones or surfactants that leave a slippery residue, preventing proper bonding.
Attaching the Mount You will typically choose between a suction cup mount and an adhesive pad mount. Suction cups offer the flexibility of easy removal and adjustment, but they are more susceptible to temperature fluctuations. Adhesive pads, particularly those using high-temperature automotive acrylic foam tape, provide a much more permanent and heat-resistant bond. When applying an adhesive mount, press it firmly against the prepared surface for at least 30 to 60 seconds to activate the pressure-sensitive adhesive. For the strongest bond, allow the adhesive to cure for 24 hours before attaching the heavy camera body to the mount.
Secure Cable Routing Loose, dangling wires are a major safety hazard and can lead to an LTA compliance failure. To route the power cable safely, start from the camera and tuck the wire into the gap between the headliner and the windshield. Run the cable toward the passenger-side A-pillar. If your vehicle has side-curtain airbags housed in the A-pillar, do not simply tuck the cable behind the rubber weatherstripping across the pillar. Doing so can block the airbag or pull it out of position during deployment. Instead, carefully remove the A-pillar plastic trim panel (following your manufacturer’s service instructions) and route the cable behind the airbag module, securing it to the existing factory wiring harness using cable ties. Continue routing the cable down the side of the dashboard, behind the glove box, and toward your power source.
Final Lens Adjustments Once the camera is securely mounted and powered, adjust the lens angle. Many drivers make the mistake of pointing the camera too high, capturing too much of the sky. This causes the camera’s auto-exposure sensor to calibrate for the bright sky, leaving the road and vehicles ahead dark and underexposed. Adjust the lens so that the horizon sits roughly in the middle of the frame, with the bottom edge of the video capturing a small portion of your car’s hood. This provides a clear reference point for perspective and distance while ensuring optimal exposure for license plates and road markings.
Verifying Your Setup for Compliance and Clear Footage
Before taking your vehicle onto the road, you must conduct a thorough verification process to ensure your setup is fully compliant with LTA regulations and operates reliably.
Driver’s Sightline Check Sit in your normal driving position and adjust your seat and mirrors. Look straight ahead and check your left and right fields of view. The dash cam and its mount should be almost entirely hidden behind your rearview mirror or sit low enough on the dashboard that they do not block your view of the road, oncoming traffic, or pedestrians at junctions. If you have to crane your neck or lean to see around the device, you must reposition it.
Interference Test Start your vehicle and turn the steering wheel fully from lock to lock. Shift through all gears and operate the foot pedals. Ensure that no part of the dash cam wiring is loose or hanging down where it could snag on your hands, feet, or vehicle controls. Additionally, listen for any rattles or vibrations while driving over uneven surfaces; a loose mount can distract you and degrade video quality.
Adhesion and Heat Check Vehicles parked in open-air HDB carparks or outdoor industrial estates in Singapore are subjected to extreme solar heating, with cabin temperatures frequently climbing above 60°C. Monitor your mount closely during the first week of installation. Check for any signs of peeling, sagging, or weakening of the adhesive. If the mount feels loose, do not attempt to re-stick it; remove the old adhesive completely, clean the surface again, and apply a fresh, high-quality automotive-grade adhesive pad.
Footage Review Retrieve the memory card or connect to the dash cam via its mobile application to review the recorded footage. Verify that the video is sharp, the horizon is level, and the license plates of vehicles in front of you are clearly legible under different lighting conditions. Check for distracting reflections from your dashboard on the windshield. If reflections are severe, consider installing a polarizing filter (CPL filter) on your camera lens to cut down the glare and improve image contrast.
Frequently Asked Questions (FAQ)
Why does my suction cup mount keep falling off in the heat?
Singapore’s intense tropical heat causes the air trapped inside a suction cup to expand, while the windshield glass itself expands and flexes slightly. This thermal expansion, combined with the high humidity that degrades the seal, causes the suction cup to lose its vacuum grip and fall off. To resolve this, clean both the glass and the suction cup thoroughly with isopropyl alcohol, apply a tiny drop of moisture to the rim of the cup before mounting, or switch to a high-temperature automotive adhesive mount for a more reliable, permanent solution.
Can I mount the dash cam on the tinted or dotted portion of my windshield?
Many modern cars feature a black, dotted ceramic pattern (known as the frit) around the rearview mirror, as well as aftermarket window tinting films. Mounting an adhesive pad directly onto the dotted frit can be problematic because the textured surface prevents the adhesive from making 100% contact, leading to premature failure. Furthermore, applying strong adhesives directly onto aftermarket solar films can damage or bubble the film if you ever need to remove the mount. To protect your tint and ensure a secure hold, use a specialized static cling sticker designed for dash cams on the glass first, and then apply the adhesive mount directly onto the cling sticker.
Will hardwiring the dash cam void my car's warranty?
Hardwiring your dash cam to the vehicle’s fuse box is popular for enabling 24-hour parking monitoring, but improper installation can lead to battery drain or electrical faults. In Singapore, authorized dealer workshops may void the warranty on your vehicle’s electrical system if they find that the wiring was spliced, tapped incorrectly, or caused a component failure. To safeguard your warranty, always use a dedicated hardwire kit equipped with an adjustable low-voltage cutoff to protect your battery. Have the installation performed by a qualified automotive technician, or consult your car’s authorized distributor to confirm their specific warranty policies regarding aftermarket accessories.
Community discussion
Share your experience or ask a question. Comments are reviewed before publication.