
Preparing your vehicle’s paintwork for a fresh layer of wax or a high-durability ceramic coating is a precise process where the very first step dictates the success of the final bond. When using an electric foam spray, the choice of foam solution is not merely about creating thick, visually satisfying suds; it is a critical chemical decision. The correct solution ensures that the paint surface is completely free of contaminants, oils, and residues that could otherwise prevent your chosen protection from adhering correctly. Selecting the wrong soap can leave behind microscopic barriers, leading to premature failure of your wax or coating, wasting both your time and your investment.
To achieve the best results, you must match the chemical properties of your foam solution to your specific paint protection goals. If you are preparing to apply a traditional carnauba or synthetic wax, your primary objective is to remove surface dirt without leaving behind gloss-enhancing polymers that interfere with the wax’s ability to bond with the clear coat. Conversely, if you are preparing for a ceramic coating application, the requirements are far more stringent. You will need a dedicated stripping foam solution designed to chemically break down and lift away old waxes, sealants, and polishing oils, leaving a completely bare, clinically clean surface.
Why Your Soap Choice Matters for Paint Protection Adhesion
To understand why your choice of foam solution is so critical, it helps to look at how modern paint protection products interact with your vehicle’s clear coat. Waxes, sealants, and ceramic coatings rely on direct contact with the paint’s microscopic pores to establish a secure bond. When a protection product is applied to a truly clean, bare surface, it can cross-link or adhere uniformly, maximizing its durability, hydrophobic properties, and gloss. If any foreign substance remains on the paint, even at a microscopic level, it acts as a barrier, preventing the protection from anchoring itself to the clear coat.
Products mentioned in this guide
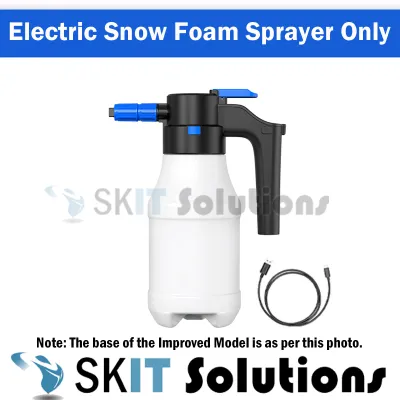
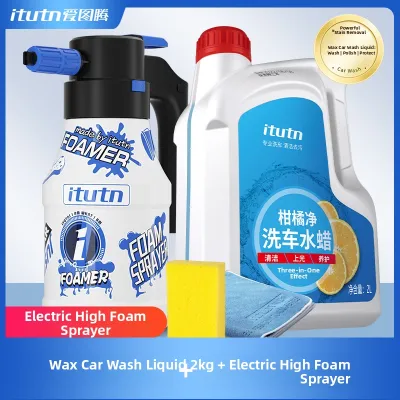
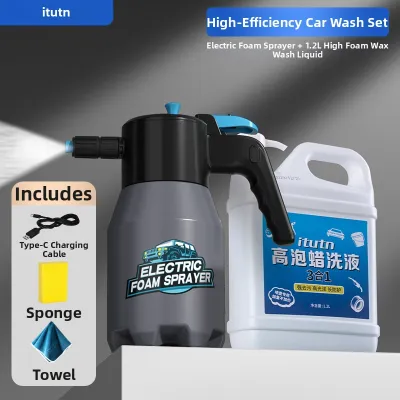
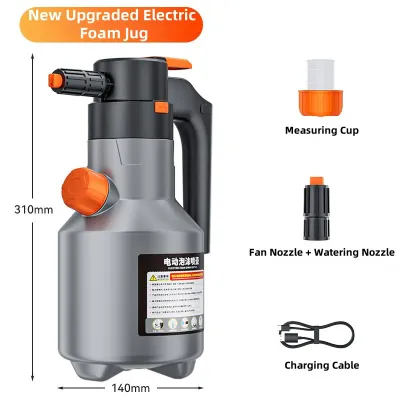
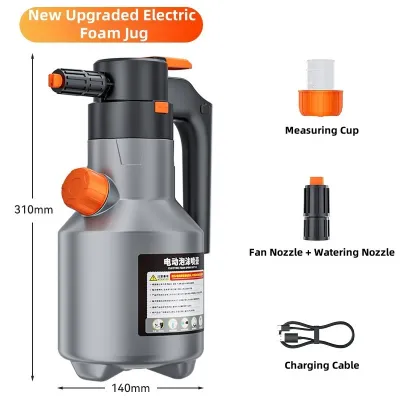
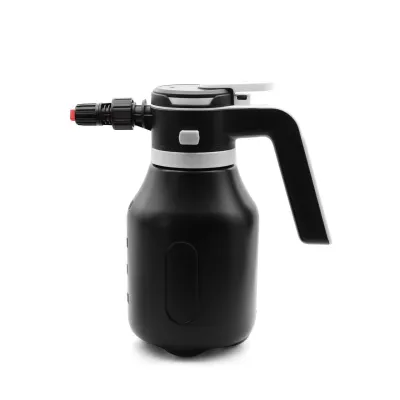
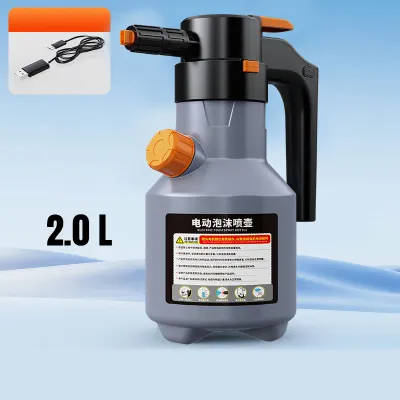
Prices are valid at publication and may change. Please refer to the product page for the latest price.
Standard retail car wash soaps are frequently formulated with gloss enhancers, liquid silicones, or sacrificial waxes. These ingredients are designed to remain on the vehicle after rinsing to provide a temporary shine and water-beading effect. While this is highly desirable for a quick maintenance wash, it is highly detrimental when preparing for a new protection application. The gloss agents and silicones fill the microscopic valleys of the paint, creating a low-energy surface that repels the incoming wax or ceramic coating. Instead of bonding to the paint, your new protection layer attempts to bond to these unstable soap residues, resulting in a significantly shorter lifespan and compromised performance.
This chemical interference is particularly problematic for ceramic coatings, which require a high-energy surface to facilitate covalent bonding. When a surface has high surface energy, liquids spread out flat rather than beading up, indicating that there are no hydrophobic barriers preventing the coating from making direct contact with the silica in the clear coat. If a soap leaves behind gloss-boosting polymers, it artificially lowers the surface energy. Applying a ceramic coating over this film prevents the chemical reaction from occurring, which often leads to the coating washing off after just a few routine maintenance cleans.
Before purchasing a foam solution for your electric foam spray, it is essential to carefully inspect the product labels and avoid specific marketing terms. Avoid any products labeled as “wash and wax,” “gloss-boosting,” “ceramic-infused,” or “two-in-one” formulas. These solutions are chemically engineered to deposit a film on the paint surface. For pre-protection preparation, you must seek out pure, additive-free cleaning agents that prioritize surfactant action—the lifting and suspending of dirt—over cosmetic enhancement.
Foam Solution Requirements: Pre-Wax vs. Pre-Ceramic Coating
The preparation path diverges significantly depending on whether you plan to apply a traditional wax or a semi-permanent ceramic coating. For a pre-wax preparation, the ideal foam solution is a high-lubricity, pH-neutral, wax-free car wash shampoo. Traditional waxes are relatively forgiving compared to ceramic coatings, but they still require a surface free of heavy road grime and oily films. A pH-neutral, additive-free soap safely softens and lifts abrasive dirt particles within the foam blanket, allowing them to be rinsed away without scratching the clear coat. Because these soaps are pH-balanced, they do not degrade sensitive rubber seals or plastic trim, making them an excellent choice for a safe, deep clean that prepares the surface for mechanical claying or light polishing before waxing.

Preparing for a ceramic coating demands a much more aggressive chemical approach. Ceramic coatings form a semi-permanent covalent bond with the silica in your vehicle’s clear coat, a process that requires absolute chemical purity on the surface. To achieve this, you must use a dedicated stripping foam solution or an alkaline prep wash. These specialized solutions feature a higher pH level, typically formulated to break down organic compounds, road films, grease, and stubborn remnants of old waxes or polymer sealants. The stripping foam must actively dissolve these old layers so they can be completely flushed away during the rinse cycle, leaving the paint in a high-energy state that is highly receptive to the ceramic coating.
Attempting to use a single, universal maintenance soap for both preparation scenarios is rarely optimal. A mild, pH-neutral maintenance soap lacks the chemical strength required to strip away old, weathered sealants or stubborn polishing oils left behind from paint correction. On the other hand, using a highly alkaline stripping soap as a general-purpose cleaner can gradually dry out exterior plastics, fade delicate anodized aluminum trim, and strip away existing protection if used during a routine maintenance wash. Understanding this distinction allows you to select the precise chemical tool for the job, ensuring your paint is neither under-prepared nor unnecessarily subjected to harsh chemicals.
Furthermore, the chemical composition of stripping soaps requires careful handling compared to standard maintenance shampoos. Alkaline prep washes are designed to dwell and break down tough bonds, but they must never be allowed to dry on the paint surface, especially on hot days. If left to dry, the highly concentrated alkaline surfactants can leave etched water spots or chemical stains on the clear coat that may require machine polishing to correct. Therefore, matching the chemical strength of your foam solution to your specific environmental conditions and protection goals is a fundamental step in a successful detailing workflow.
Equipment Checks for Using Solutions in an Electric Foam Spray
An electric foam spray operates differently than a traditional foam cannon attached to a high-pressure washer. While a foam cannon draws concentrated soap from a bottle and mixes it with a high-volume stream of water from your garden hose, an electric foam sprayer relies on a battery-powered internal pump to pressurize the air inside a sealed container. This pressurized air is forced through a specialized nozzle along with the pre-mixed solution inside the tank. Because there is no external water source mixing with the solution at the moment of spraying, the dilution ratio you mix inside the container is exactly what is applied to the vehicle.
To ensure optimal performance and prevent equipment damage, you must carefully check the manufacturer’s instructions on both your electric sprayer and your chosen foam solution. Standard dilution recommendations on soap bottles are often written for traditional bucket washes or pressure-washer foam cannons, which can be misleading. For an electric foam sprayer, you generally need to mix a much more precise, often highly diluted ratio of soap to water to achieve a consistency that the small, battery-powered pump can handle. If the mixture is too concentrated, the solution will be too viscous, resulting in a sputtering spray pattern, rapid battery drain, or a completely clogged nozzle.
Water hardness is another critical factor that influences how your foam solution performs inside an electric sprayer. Hard water contains high concentrations of calcium and magnesium ions, which chemically bind with soap surfactants, reducing their ability to create a stable foam structure. If you live in an area with hard water, you may find that your foam is thin and watery, tempting you to add more soap concentrate. However, adding more soap increases viscosity and strains the electric pump. A highly effective solution is to use distilled or demineralized water to mix your foam solution inside the sprayer tank, which maximizes foam density while keeping the viscosity low and safe for the equipment.
Evaluating the foam quality is a matter of observing its behavior on the vehicle’s panels rather than relying on unverified marketing claims of “ultra-thick shaving cream foam.” For effective pre-protection cleaning, the foam should have a balanced density that allows it to cling to vertical surfaces for several minutes—known as dwell time—without drying out. If the foam is too thick and dry, it will not flow down the panel to carry away loosened dirt; if it is too thin and watery, it will run off the paint too quickly to soften contaminants. Additionally, always monitor your electric sprayer for signs of physical strain, such as a laboring motor sound or a drop in pressure, which indicates that the solution is too thick or that the internal aeration filters require cleaning.
Building Your Pre-Protection Washing Checklist
To guarantee that your vehicle’s paint is perfectly prepared for a new layer of wax or ceramic coating, you should follow a structured, step-by-step washing and decontamination routine. Begin by parking the vehicle in a shaded area with the panels cool to the touch, as working in direct sunlight can cause your foam solution to dry prematurely, leaving unsightly water spots and chemical residues. Fill your electric foam sprayer with clean water and the precisely measured amount of your selected pre-wax or stripping foam solution, shaking the container gently to ensure thorough mixing.
Step 1: Apply the foam solution evenly across the dry vehicle, starting from the bottom panels and working your way up to the roof. Allowing the foam to dwell on a dry surface gives the surfactants more time to interact directly with the dirt and road film without being diluted by standing water. Let the foam dwell for three to five minutes, keeping a close eye on the panels to ensure the solution does not begin to dry.
Step 2: Rinse the vehicle thoroughly from the top down using a clean source of pressurized water to flush away the loosened surface contaminants. Once the initial rinse is complete, proceed with a careful hand wash using the two-bucket method and a clean microfiber wash mitt, utilizing a fresh mixture of your chosen preparation soap. This step provides the mechanical agitation necessary to remove the stubborn “road film” that static foaming alone cannot fully dissolve.
Step 3: Perform a final, meticulous rinse and dry the vehicle completely using high-quality, clean microfiber drying towels or a dedicated automotive air blower. Once dry, inspect the paint surface. If you are preparing for a ceramic coating, you must perform a post-wash inspection and apply a dedicated panel wipe or isopropyl alcohol (IPA) prep spray to remove any lingering polishing oils or microscopic soap surfactants. If you observe that water still beads up or sheets slowly in certain areas, this indicates that residual wax or soap film is still present. In such cases, stop the process, consult the instructions on your stripping agent, and repeat the decontamination step on those specific panels before proceeding with your protection application.
During this final inspection, pay close attention to the physical feedback of the paint. When you gently slide a clean, dry microfiber towel across a truly bare, decontaminated clear coat, you should feel a slight resistance or hear a clean “squeak” sound, indicating the absence of slick silicone or wax residues. If the surface feels slick or if water continues to bead aggressively, the stripping process is incomplete. Do not attempt to apply a ceramic coating over these areas, as the coating will fail to bond. Instead, re-evaluate your dilution ratio or consider a dedicated chemical decontamination step to ensure a perfectly prepared canvas.
Frequently Asked Questions (FAQ)
Can I use household dish soap in my electric foam spray before waxing?
While household dish soap is a powerful degreaser that can strip away surface oils and old waxes, it is not recommended for automotive paint preparation. Dish soaps are formulated with high pH levels and harsh surfactants designed to cut through baked-on food grease, which can strip the essential plasticizers out of your vehicle’s exterior rubber seals, plastic trim, and vinyl accents. Over time, repeated use of dish soap can cause these delicate materials to dry out, fade, crack, or turn a chalky white. Furthermore, many household dish soaps contain sodium chloride (salt) as a thickening agent, which can promote corrosion if trapped in body seams or scratches. To safely strip old protection, always use a dedicated automotive stripping soap that is chemically engineered to target waxes and road films while remaining safe for automotive plastics, rubbers, and clear coats.
Does an adjustable nozzle change the type of foam solution I need?
An adjustable nozzle on your electric foam sprayer changes how air and liquid are mixed at the tip, but it does not alter the fundamental chemical requirements of your foam solution. Adjusting the nozzle allows you to customize the spray pattern from a wide fan to a concentrated stream, and it can alter the physical density of the foam by changing the aeration level. However, you must still match the viscosity of your soap mixture to the capabilities of your sprayer. If you adjust the nozzle to produce a highly aerated, thick foam, you may need to slightly adjust your dilution ratio to ensure the solution flows smoothly through the internal filters. Always consult your electric sprayer’s user manual to verify the maximum viscosity and compatible chemical types, ensuring you do not use highly acidic or highly caustic solutions that could degrade the internal seals and pump components of your specific equipment.

Community discussion
Share your experience or ask a question. Comments are reviewed before publication.