
Finding the ideal car phone mount for rear seat passengers on long drives depends on your vehicle’s seat design, the devices being used, and the specific viewing needs of your passengers. There is no single universal solution; instead, the right choice balances secure attachment, viewing comfort, and driving safety. This guide will help you evaluate mounting mechanisms, essential features, and safety checks to select a setup that keeps passengers entertained without obstructing the driver or compromising cabin safety.
Comparing Headrest and Seatback Mounting Mechanisms
Headrest pole mounts clamp directly onto the exposed metal support bars of the front seats. These mounts are highly stable because they anchor to the structural frame of the vehicle’s seating. Before purchasing, measure the distance between your headrest poles and check their diameter, as clamp designs vary in compatibility. Some mounts feature a telescoping arm that extends between the two front seats, allowing a single device to be centered for multiple rear passengers.
Seatback mounts offer an alternative for vehicles without accessible headrest poles, such as those with integrated or sport-style seats. These designs typically use adjustable straps that wrap around the upper portion of the seat structure. When evaluating strap-on mounts, consider the material compatibility of your cabin. Tight straps can leave permanent indentations on soft leather upholstery or cause friction wear on delicate fabrics over long journeys.
Products mentioned in this guide
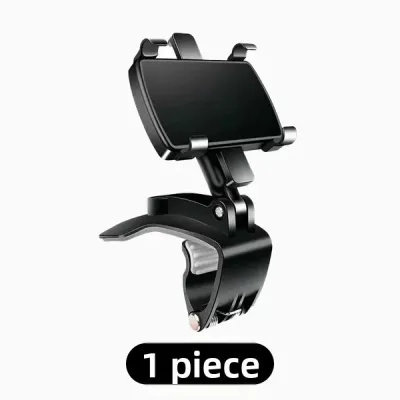
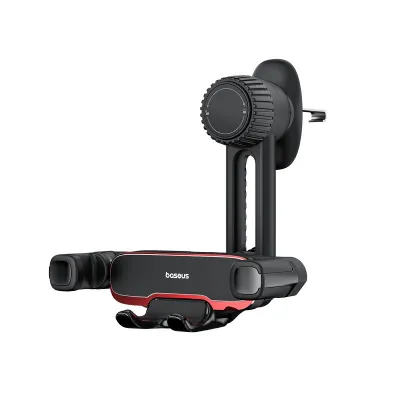
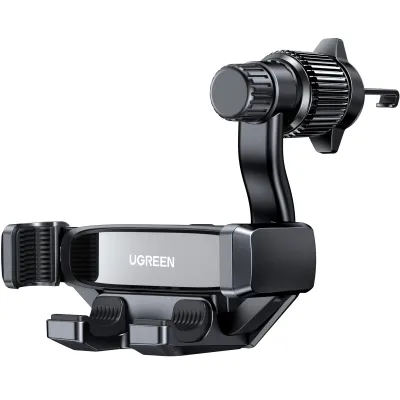
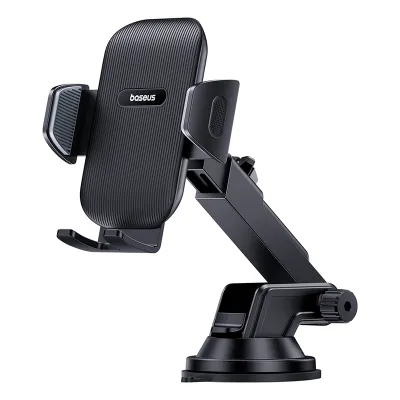
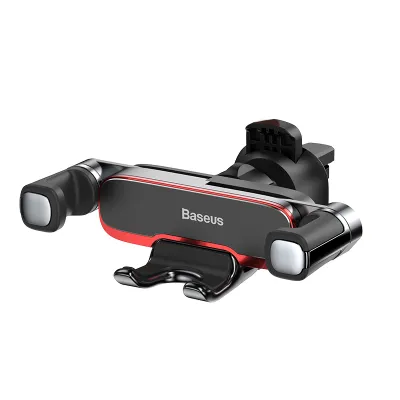
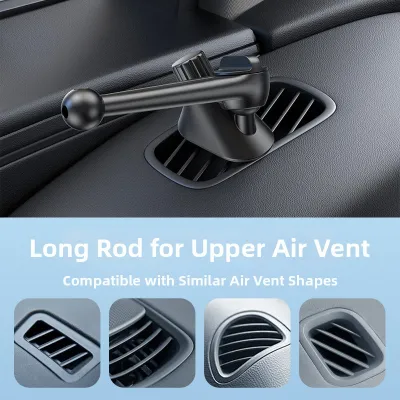
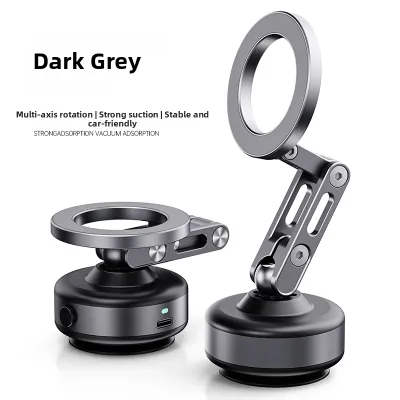
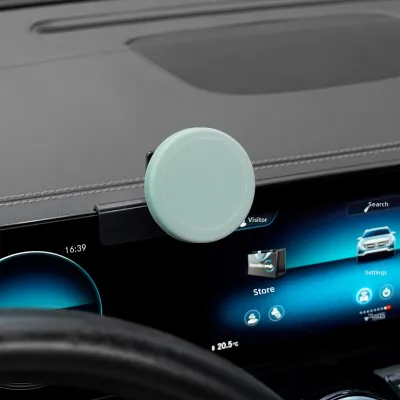
Prices are valid at publication and may change. Please refer to the product page for the latest price.
Tray-table style mounts are suitable for larger family vehicles or multi-purpose vehicles (MPVs) equipped with fold-down seatback tables. These tables often feature built-in slots or shallow grooves designed to hold mobile devices. If your vehicle has these tables, look for low-profile friction mounts or weighted stands that sit securely within the slots, ensuring the device does not slide off during acceleration or braking.
Essential Features for Long-Drive Viewing Comfort
Articulating arms and 360-degree rotation are crucial for preventing neck strain during extended trips. Passengers of different heights, especially children in booster seats versus adults, require different viewing angles. A mount with a multi-jointed arm allows the screen to be pulled closer or pushed back, while a ball-joint mechanism lets users switch easily between portrait mode for reading and landscape mode for watching videos.

Anti-vibration and stabilization mechanisms prevent screen shake on uneven roads, which is a primary cause of eye strain and motion sickness. Look for mounts constructed with reinforced aluminum alloy arms and dual-spring tension clamps. Internal rubber dampening pads also help absorb micro-shocks from the road, keeping the display steady even when traveling over expressways or rougher terrain.
Glare management is essential for maintaining visibility without forcing passengers to squint. Sunlight streaming through the rear and side windows can easily wash out mobile screens. An adjustable mount allows passengers to tilt the device away from direct light sources. In Singapore’s bright tropical climate, positioning the mount slightly lower on the seatback can also help shield the screen from high-angle sunlight.
Safety Boundaries and Driver Distraction Checks
Driver safety must remain the primary concern when installing any interior accessory. Before setting off, the driver should sit in the driving position to verify that the rear passenger’s phone mount and device do not obstruct the view through the central rearview mirror. The mount must not block the driver’s line of sight to the rear or side windows.
Secure locking mechanisms prevent devices from becoming dangerous projectiles inside the cabin during sudden braking or an emergency stop. Ensure the mount features a robust mechanical lock, such as a screw-tightened clamp or a heavy-duty spring-loaded grip. Avoid relying solely on weak magnetic connections or simple friction fits for heavy devices on long journeys.
Cable management is necessary when routing charging cables from the front console or rear USB ports to the mounted device. Loose, dangling cables present a tripping hazard for passengers entering or exiting the vehicle and can easily snag, pulling the device out of its mount. Route charging cables neatly along the seat seams, securing them with hook-and-loop fasteners or cable clips.
Verifying Device Compatibility and Weight Limits
Clamp width and depth specifications must match your specific smartphone or tablet. Measure the total width and thickness of your device with its protective case installed before choosing a mount. Rugged, heavy-duty cases or those with integrated ring holders often require extra depth clearance that standard clamps cannot accommodate.
Weight capacity labels indicate the maximum load a mount can safely support without slipping or breaking. Overloading a mount leads to gradual joint slipping, arm droop, or complete structural failure over bumpy roads. Ensure the combined weight of your phone and its case falls well within the manufacturer’s rated limit to maintain a stable viewing position throughout the trip.
Side-button clearance is an easily overlooked detail that can disrupt your drive. A poorly designed clamp can press directly against your phone’s side buttons, causing accidental volume adjustments, screen lockouts, or emergency calls. Look for mounts with offset grip arms, notched silicone pads, or adjustable bottom feet that hold the device securely while leaving physical buttons completely unobstructed.
Installation and Pre-Trip Inspection Steps
Surface preparation ensures a secure and lasting attachment. Before installing any mount, clean the attachment surfaces thoroughly. For headrest poles, wipe away any accumulated dust, grease, or interior detailing sprays using a clean microfiber cloth. If using adhesive or strap-based mounts, ensure the seatback surface is dry and free of debris to maximize grip and prevent surface scratching.
Joint tightening should be performed systematically prior to departure. Check and secure all adjustable knobs, hinges, and tension screws on the mount. In warm climates, interior cabin temperatures can rise significantly when parked outdoors, which may cause materials to expand or contract and loosen joints that were previously secure.
Rest-stop inspections provide natural opportunities to monitor your equipment during a long journey. During scheduled breaks, take a moment to inspect the mount’s stability, check the clamp tension, and ensure the device remains firmly seated. This simple routine check prevents unexpected failures while driving.
Frequently Asked Questions (FAQ)
Can I use a headrest mount if my car has integrated or fixed headrests?
Standard pole-clamp mounts cannot be installed on integrated or fixed headrests because they lack the necessary exposed metal support bars. For these seat designs, alternative solutions include heavy-duty strap mounts that wrap securely around the entire upper portion of the seatback, or specialized organizer bags with clear device pockets that hang from the headrest structure. Always verify that any strap-based mount does not interfere with the deployment of seat-integrated side airbags, and check your vehicle’s owner manual for specific safety guidelines regarding seat accessories.
Are suction cup mounts safe for the back of leather seats?
Suction cup mounts are generally unsuitable and unsafe for use on the back of leather seats. Leather is a porous, textured material that prevents suction cups from forming the airtight vacuum seal required to hold weight, leading to inevitable mount failure and dropped devices. Furthermore, the suction pressure and any adhesive gel rings can leave permanent circular indentations, discoloration, or strip away the protective finish on both natural and synthetic leather upholstery. For leather interiors, stick to mechanical pole clamps or non-marring strap systems.
Community discussion
Share your experience or ask a question. Comments are reviewed before publication.