
Driving across the Causeway or Second Link for a weekend getaway in Johor Bahru is a favorite pastime for many motorists. While these road trips are usually filled with great food and shopping, unexpected vehicle breakdowns can happen on dark stretches of the highway. A reliable torch light is an indispensable tool for these situations, allowing you to inspect your engine bay, change a flat tire, or signal for help safely. You do not need to spend a fortune on professional tactical gear to stay safe; instead, choosing a budget-friendly, dependable light involves understanding which core features matter most and how to avoid common product traps.
Essential Features to Prioritize on a Budget
When shopping for a budget torch light, it is easy to get distracted by flashy marketing terms and excessive feature lists. For roadside emergencies, your primary focus should be on practical usability rather than extreme specifications. A light output of 150 to 300 lumens is more than adequate for most automotive tasks, such as inspecting a dark engine bay or searching for a dropped tool in the footwell. This level of brightness provides a clear view without draining the battery too quickly or causing blinding glare when reflected off metallic car parts.
Beam distance is another critical factor to consider before making a purchase. A torch light with a focused beam that reaches 50 to 100 meters allows you to scan the road ahead or signal to oncoming traffic if your vehicle breaks down on an unlit highway shoulder. Many budget models feature an adjustable zoom, allowing you to transition from a wide floodlight for close-up repairs to a narrow spotlight for long-range visibility.
Products mentioned in this guide
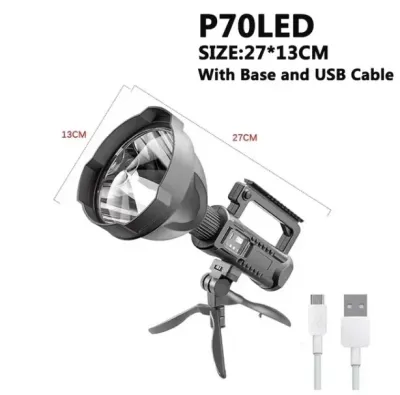
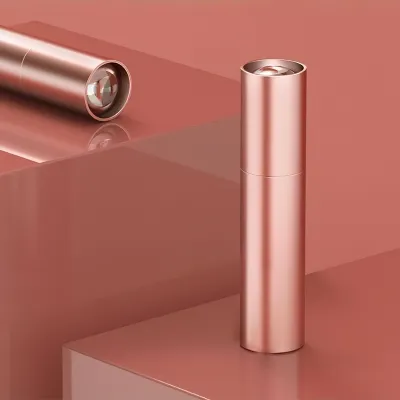
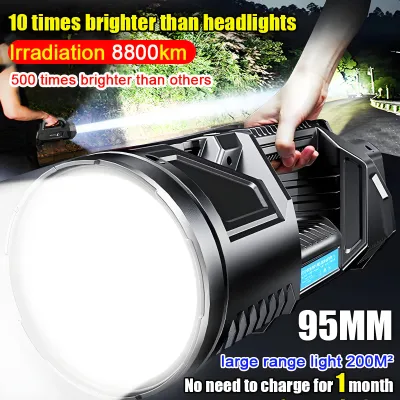
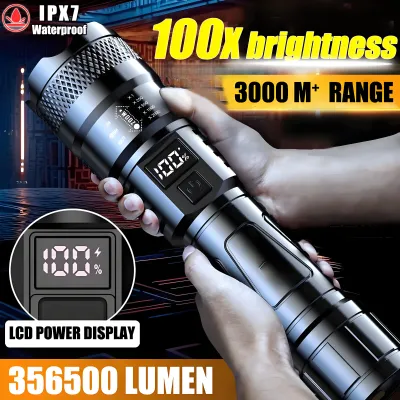
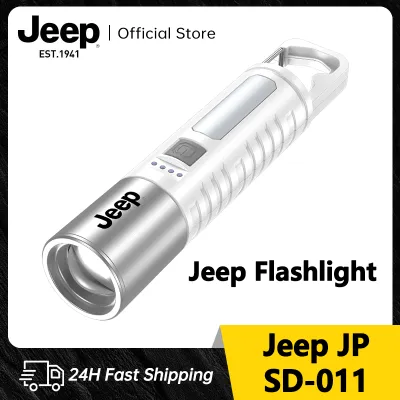
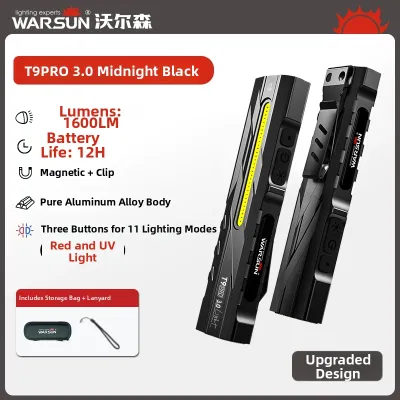
Prices are valid at publication and may change. Please refer to the product page for the latest price.
Durability is non-negotiable when a tool is stored in a vehicle. While premium lights use aerospace-grade aluminum, a budget torch light made of high-impact ABS plastic or basic aluminum alloy can perform exceptionally well if constructed properly. Look for models that explicitly state a drop resistance rating, typically around one meter, to ensure the device survives an accidental fall onto hard asphalt during a stressful roadside tire change.
Water resistance is equally vital, especially given the sudden and heavy downpours common in the region. Vague marketing claims like “waterproof” should be treated with caution; instead, look for verified International Protection (IP) ratings on the product packaging. An IPX4 rating indicates resistance to water splashes from any direction, which is sufficient for light rain, while an IPX7 rating means the light can withstand complete submersion in shallow water. Verifying these ratings on the manufacturer’s official documentation or product label ensures you will not be left in the dark during a tropical storm.
Power Sources and Battery Management for Long Trips
The choice of power source determines whether your torch light will actually work when an emergency strikes after months of sitting idle in your glove box. Rechargeable lithium-ion batteries offer excellent brightness and can be topped up using your car’s USB ports. However, these batteries experience natural self-discharge over time, meaning they slowly lose power even when the light is turned off. To prevent a dead battery when you need it most, establish a routine to recharge the device every two to three months, or right before embarking on a trip across the border.

Alkaline batteries, such as standard AA or AAA cells, are highly convenient because they are cheap and easy to replace on the go. However, they pose a significant risk when left inside a vehicle parked under the hot sun, where cabin temperatures can easily exceed 60 degrees Celsius. Extreme heat can cause alkaline batteries to rupture and leak corrosive chemicals, permanently damaging the internal contacts of your torch light. If you choose an alkaline-powered light, store the batteries separately in a protective plastic case inside the car, and only insert them into the torch light when it is time to use it.
Some budget emergency lights feature built-in hand cranks or small solar panels as backup power options. While these features sound appealing in theory, they often have severe practical limitations in real-world emergencies. Hand-crank mechanisms rely on delicate plastic gears that can easily strip under pressure, and generating just a few minutes of light can require exhausting physical effort. Solar panels on small torch lights are typically too small to charge the battery efficiently, especially when stored in a dark glove compartment or trunk where they receive no sunlight. Treat these features as minor novelties rather than primary power solutions.
Smart Shopping: Navigating Budget Options and Avoiding Traps
Finding a high-quality torch light for under S$20 or S$30 requires a critical eye when browsing online marketplaces or local hardware stores. One of the most common traps in the budget segment is the exaggeration of performance specifications. Listings claiming tens of thousands of lumens or impossibly high battery capacities at incredibly low prices are almost always inaccurate. A genuine high-lumen light requires massive heat dissipation and expensive battery systems; if a cheap pocket-sized light claims an extreme output, it is best to look elsewhere for a seller that provides realistic specifications.
Electrical safety should always be a priority, particularly for rechargeable models that plug into your vehicle’s electrical system or home outlets. Before purchasing, inspect the product packaging or the device body for recognized safety certification marks, such as CE, FCC, or local regulatory safety labels. These marks indicate that the device has undergone basic testing for overcharging protection, short-circuit prevention, and thermal safety, reducing the risk of electrical fires or damage to your car’s charging ports.
When shopping on ecommerce platforms, protect your budget by leveraging customer return policies and warranty terms. Look for sellers that offer at least a basic warranty or a hassle-free return window, allowing you to test the torch light immediately upon arrival. Once you receive the product, test all its functions, check the charging port stability, and ensure the beam is consistent. If the light flickers, overheats rapidly, or fails to hold a charge, utilize the platform’s return system promptly to secure a replacement or refund before your scheduled trip.
Storing and Integrating the Torch Light in Your Car
Proper storage is key to ensuring your torch light remains functional and accessible when an emergency occurs. Avoid storing the light on the dashboard, parcel shelf, or any area exposed to direct sunlight, as extreme heat accelerates battery degradation and can warp plastic components. Ideal storage locations include the glove compartment, center console, or door pockets, where the device remains shielded from the sun while staying within arm’s reach of the driver. For larger lights, securing them in a dedicated trunk organizer prevents them from rolling around and sustaining damage during transit.
A torch light is only one part of a complete roadside safety strategy for your road trip. For any roadside repairs, always prioritize safety by parking your vehicle on a flat, stable surface away from active traffic lanes. Turn on your hazard lights, set up your reflective warning triangle, and consult your vehicle’s owner manual before attempting to change a tire or inspect mechanical parts. When planning your budget, allocate a portion of your funds to complementary safety items that work alongside your light. A high-visibility reflective vest is essential for making yourself visible to other motorists while working on the roadside at night. Additionally, keeping a basic first-aid kit and a pair of durable work gloves in your trunk ensures you are prepared for a wide range of minor roadside incidents.
Before you drive up to the checkpoint, perform a quick pre-trip inspection of your emergency gear. Turn on the torch light to verify the beam strength, cycle through the different light modes, and check the battery indicator to ensure it is fully charged. If your light uses removable batteries, inspect the battery compartment for any signs of white powdery corrosion or rust on the metal contacts. Taking five minutes to perform these simple checks before you leave can save you hours of frustration on a dark highway.
Frequently Asked Questions (FAQ)
Can I rely on my smartphone flashlight instead of carrying a dedicated torch light?
While a smartphone flashlight is convenient for finding keys in the dark, it is not a reliable substitute for a dedicated torch light during a car emergency. Using your phone’s light for extended periods rapidly drains its battery, leaving you without a way to call for roadside assistance, navigate, or communicate with emergency services. Furthermore, smartphones are difficult to position hands-free when you need both hands to change a tire or inspect an engine, and they lack the physical durability to withstand drops onto concrete or exposure to heavy rain. A dedicated torch light offers a far more powerful, focused beam that is specifically designed to handle these harsh conditions.
How often should I test the torch light if it remains in the car permanently?
If your torch light is kept permanently in your vehicle, you should inspect and test it at least once a month, as well as before any long-distance road trip. During these checks, turn the light on to ensure the battery has not self-discharged, and open the battery compartment to look for signs of leakage, such as white crusty deposits, rust, or sticky residue. If you notice minor corrosion on the metal contacts, you can safely clean them by removing the batteries and gently rubbing the contacts with a dry cotton swab or a small piece of fine sandpaper. For rechargeable models, plug the light in to verify that the charging circuit is functioning correctly and top up the battery to full capacity.

Community discussion
Share your experience or ask a question. Comments are reviewed before publication.