
Selecting a reliable bicycle front and back light set is one of the most critical decisions for daily commuting in Singapore. The unique combination of highly illuminated urban roads, dedicated park connectors, and sudden tropical downpours requires a balanced approach to selecting safety equipment. Rather than simply purchasing the brightest light available, commuters must evaluate how a light set performs under specific environmental conditions and traffic scenarios. A well-chosen light set ensures you remain visible to motorists, pedestrians, and other cyclists without causing hazardous glare or failing during a sudden storm.
To make an informed decision, you need to understand the technical specifications provided by manufacturers and match them to your actual riding routes. This guide establishes a practical framework for evaluating visibility needs, weatherproofing standards, power management, mounting security, and local regulatory compliance. By focusing on verifiable product specifications and physical design features, you can select a durable light set that enhances your safety throughout your daily commute.
Assessing Visibility Needs for Well-Lit City Streets
When riding through Singapore’s urban landscape, your visibility requirements differ significantly from those of off-road trail riders. Most commuter routes, including major arterial roads and the Park Connector Network (PCN), feature extensive overhead street lighting. In these well-lit environments, the primary function of your bicycle lights is not to illuminate the path ahead, but to make your presence known to other road users. This distinction is often categorized by manufacturers as “to see” versus “to be seen” lighting.
Products mentioned in this guide
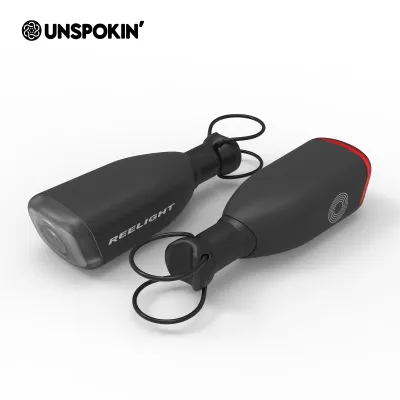
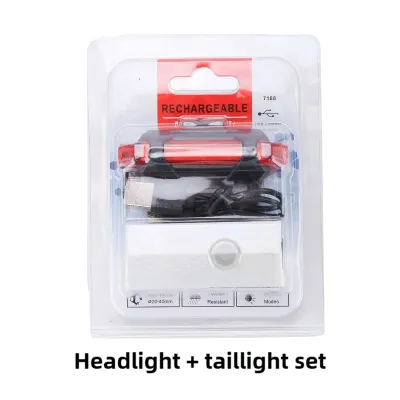
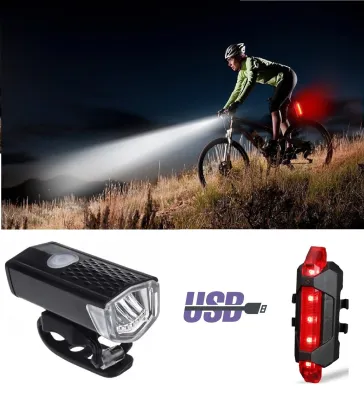
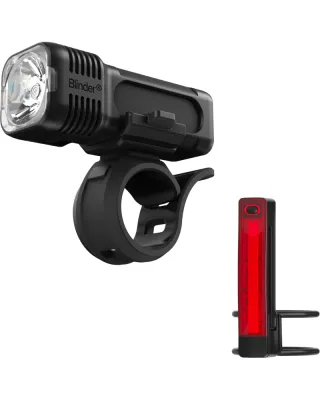
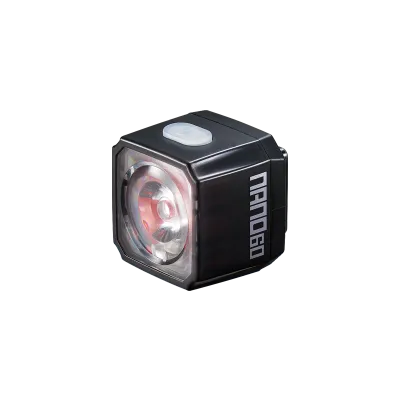
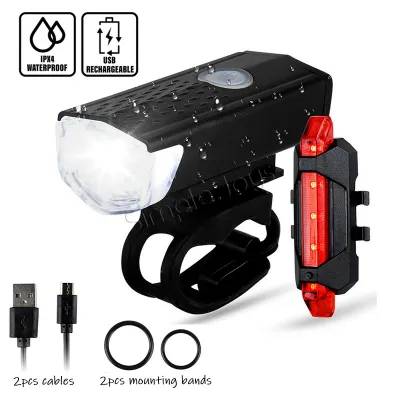
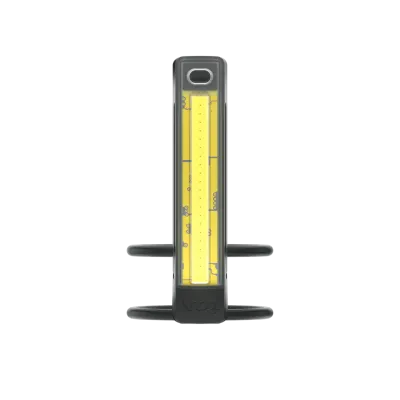
Prices are valid at publication and may change. Please refer to the product page for the latest price.
For “to be seen” purposes in illuminated areas, a front light emitting between 100 and 300 lumens is generally sufficient to alert oncoming traffic. Rear lights, which serve as the primary warning to vehicles approaching from behind, perform exceptionally well within a range of 20 to 50 lumens. Selecting a light with excessively high lumens for urban streets can be counterproductive and dangerous. High-intensity beams without proper optical control can blind oncoming drivers, transit operators, and other cyclists, temporarily obscuring their vision and increasing the risk of a collision.
To prevent blinding other road users, pay close attention to the beam pattern and lens design of the front light. Look for lights engineered with a cut-off beam or a shaped lens that directs light downward onto the road surface rather than dispersing it upward into the eyes of oncoming traffic. Some manufacturers design lenses specifically to comply with strict European road standards, which require a flat beam cutoff. While you do not necessarily need a certified model, choosing a light that utilizes these directional optics ensures your light path remains focused where it is needed most.
Daytime visibility is another crucial factor for daily commuters navigating busy intersections and changing weather conditions. Daytime running light (DRL) modes use highly visible, irregular flash patterns designed to stand out against bright sunlight and complex urban backgrounds. Additionally, look for light designs that incorporate side-visibility features, such as amber side-marker lights or translucent cutouts in the light housing. These features allow light to spill out laterally, ensuring you remain visible to vehicles pulling out of side streets or turning across your path.
Evaluating Weather Resistance and Durability Labels
Singapore’s tropical climate presents severe challenges for electronic bicycle accessories. High humidity, intense ambient heat, and sudden, torrential downpours can easily penetrate poorly sealed light housings, leading to short circuits, corroded contacts, and permanent battery failure. To ensure your light set survives daily exposure to these elements, you must look beyond generic “waterproof” marketing claims and verify the product’s official Ingress Protection (IP) rating.

The IP rating system provides a standardized measure of a product’s resistance to solids and liquids. The rating consists of two digits: the first represents protection against solid objects and dust, while the second represents protection against moisture. For daily commuting in a tropical climate, you should look for a minimum rating of IPX4, which protects against splashing water from any direction. However, for complete peace of mind during heavy monsoon downpours, a rating of IPX6 (protection against powerful water jets) or IPX7 (protection against temporary immersion in water) is highly recommended.
Beyond the IP rating, inspect the physical construction and material quality of the light housing. High-quality lights typically feature housings made from anodized aluminum or UV-stabilized polycarbonate, which resist degradation from prolonged exposure to intense sunlight. Pay close attention to the charging port cover, as this is the most common point of water ingress. The cover should consist of a thick, pliable rubber or silicone seal that fits deeply and securely into the port opening, remaining tightly closed even when subjected to vibrations.
Examine the overall seam construction and assembly of the light unit. Premium light sets often utilize ultrasonic welding or high-grade rubber O-rings to seal the joints between the lens, body, and battery compartment. If you choose a light with a replaceable battery, ensure the battery compartment door features a robust gasket and a secure locking mechanism. Taking the time to verify these physical design details before purchase prevents the premature failure of your safety equipment during a sudden afternoon storm.
Comparing Power Options and Charging Convenience
Selecting the right power source for your bicycle lights directly impacts your daily routine and the long-term cost of ownership. Modern commuter lights generally fall into two categories: those powered by integrated, rechargeable lithium-ion or lithium-polymer batteries, and those utilizing replaceable alkaline or lithium cells. For daily commuting, integrated USB-rechargeable systems are widely preferred due to their consistent power output, lower environmental impact, and long-term cost savings.
When evaluating rechargeable options, calculate your weekly commuting duration to determine your runtime requirements. If your daily round-trip commute takes approximately one hour, a light set with a minimum runtime of five to six hours on your preferred setting will allow you to charge the units once a week. Keep in mind that flashing modes consume significantly less power than steady, high-output modes, allowing you to extend battery life during longer rides. Always check the manufacturer’s runtime specifications for each specific operating mode to ensure they align with your commuting habits.
The charging interface and ease of removal are critical convenience factors for daily riders. Look for lights that utilize standard USB-C interfaces, which allow you to use the same charging cables and power adapters as your modern mobile devices or laptops. Additionally, consider how easily the light unit detaches from its mounting bracket. A quick-release system allows you to easily remove the lights and charge them at your office desk or home, reducing the risk of leaving them exposed to theft or extreme heat on a parked bicycle.
Battery degradation is an inevitable characteristic of all rechargeable devices. Over several hundred charge cycles, the maximum capacity of lithium batteries will naturally decline, reducing the overall runtime of your lights. To manage this, choose lights equipped with multi-stage battery level indicators, such as color-coded LEDs, which provide clear warnings when the charge drops below specific thresholds. Some manufacturers design their lights with replaceable internal batteries or offer dedicated servicing, which extends the lifespan of the product and prevents you from having to discard the entire unit when the battery degrades.
Mounting Systems and Anti-Theft Considerations
A secure and reliable mounting system is essential to ensure your lights remain in the correct position and do not detach during your ride. Bicycle lights are subjected to constant vibrations from road surfaces, speed bumps, and tactile paving on shared paths. If a mount is unstable, the light angle can shift during travel, either pointing directly into the eyes of oncoming traffic or slipping downward toward the wheel, rendering the light ineffective and potentially causing a safety hazard.
Common mounting mechanisms include flexible silicone straps, rigid plastic brackets with thumb screws, and semi-permanent bolt-on mounts. Silicone straps offer excellent versatility, allowing you to quickly transfer the lights between different bicycles or mount them on non-standard handlebar and seatpost shapes, such as aerodynamic profiles. However, for daily commuting, rigid brackets that remain permanently attached to the bicycle frame often provide greater stability. These brackets typically feature a quick-release clip that allows you to slide the light unit off in a single motion when parking.
Anti-theft considerations are paramount when parking your bicycle in public areas, such as MRT station bicycle bays, bus interchanges, or shopping mall racks. Leaving expensive lights attached to an unattended bicycle makes them highly vulnerable to opportunistic theft. A quick-release mounting system is the most practical solution, enabling you to remove the lights in seconds and slip them into your bag. If you prefer to leave your lights on the bicycle, look for bolt-on mounting systems that require specific security hex keys to remove, deterring casual thieves who do not carry specialized tools.
Before finalizing your choice, verify the physical compatibility of the mounting system with your specific bicycle model. Measure the diameter of your handlebars and seatpost, and check for potential obstructions, such as brake cables, gear wires, or saddlebags. Ensure the rear light mount allows for angle adjustment, as seatposts are angled backward; the mount must compensate for this angle to keep the rear light projecting horizontally rather than pointing down at the rear tire.
Verifying Compliance and Finalizing Your Shortlist
Before purchasing any bicycle light set, you must ensure that the equipment complies with local traffic regulations in Singapore. Under local transport authority rules, bicycles ridden on public roads during the hours of darkness must be equipped with a front light showing a visible white light and a rear light showing a visible red light. Additionally, a red rear reflector must be fitted to the bicycle. Ensuring your light set adheres to these color specifications is not only a legal requirement but also a critical safety measure to prevent confusing other road users about your direction of travel.
When compiling your final shortlist, create a structured comparison based on verified technical specifications rather than marketing descriptions found on online marketplaces. Cross-reference the claims made on retail listings with the official technical documentation provided on the manufacturer’s website. Pay close attention to the warranty terms offered by the brand; a reputable manufacturer typically provides a warranty of at least one to two years, which serves as a strong indicator of build quality and long-term reliability.
Purchasing your light set from authorized local retailers or established bicycle shops offers several advantages over unverified online sellers. Local retailers can provide direct support, assist with mounting compatibility checks, and handle warranty claims efficiently if a defect arises. By systematically evaluating visibility needs, weatherproofing, battery performance, mounting security, and legal compliance, you can confidently select a high-quality front and back light set that ensures a safe, reliable, and hassle-free daily commute.
Frequently Asked Questions (FAQ)
Can I use a single light unit for both the front and rear?
No, you should never attempt to use a single light unit to serve as both a front and rear light simultaneously, nor should you use a single reversible unit that you constantly move depending on your ride. Traffic safety standards and local regulations strictly dictate that front lights must be white and rear lights must be red. This color coding allows motorists, pedestrians, and other cyclists to instantly determine your direction of travel in the dark. Using a white light at the rear or a red light at the front can confuse other road users, leading to dangerous misjudgments of your movement and significantly increasing the risk of a collision. For complete safety and compliance, always install a dedicated white light on your handlebars and a dedicated red light on your seatpost or rear rack.
How should I clean and maintain the charging ports?
Maintaining the charging ports of your bicycle lights is essential to prevent corrosion and electrical failure, particularly in Singapore’s highly humid and wet environment. Before connecting any charging cable, perform a visual inspection of the port to check for moisture, dirt, sweat, or road grit. If you detect debris, gently clean the port using a dry, soft-bristled brush or a can of compressed air. Never insert metal pins, needles, or conductive tools into the port, as this can damage the delicate contact pins or cause a short circuit. Avoid using water, liquid detergents, or harsh chemical solvents, which can degrade the protective seals and accelerate corrosion. Always ensure the port is completely dry before plugging in a cable, and make sure the rubber protective cover is fully sealed after charging is complete.
Community discussion
Share your experience or ask a question. Comments are reviewed before publication.