
When preparing your vehicle’s paint for a fresh layer of wax or a high-durability ceramic coating, the initial wash is the foundation of the entire process. If you are considering using an armor all car wash formula for this step, the short answer is: it depends entirely on the specific formula you choose, but standard maintenance washes are generally not suitable as a standalone preparation step.
For a ceramic coating to bond successfully, the paint must be completely bare, surgically clean, and free of any gloss-enhancing residues, waxes, or silicones. While some basic pH-neutral washes can clean away loose dirt, many popular retail car wash soaps leave behind gloss agents that actively interfere with paint protection. If you use a “Wash & Wax” formula, the left-behind polymers will block the chemical bonding of a ceramic coating, leading to immediate failure, and will cause new waxes to layer unevenly. Achieving a flawless finish in Singapore’s humid, tropical climate requires a dedicated decontamination process rather than a standard wash.
Why a Residue-Free Surface is Critical for Wax and Coatings
Paint preparation, commonly referred to as “prep” in the professional detailing community, is the most influential factor determining the lifespan and performance of any paint protection film, wax, or ceramic sealant. Before applying any protective layer, the vehicle’s clear coat must be stripped of all road grime, environmental fallout, previous wax layers, and chemical oils. Think of the clear coat as a microscopic landscape of peaks and valleys; any foreign substance trapped in these valleys prevents the new protective layer from making direct contact with the paint.
Products mentioned in this guide
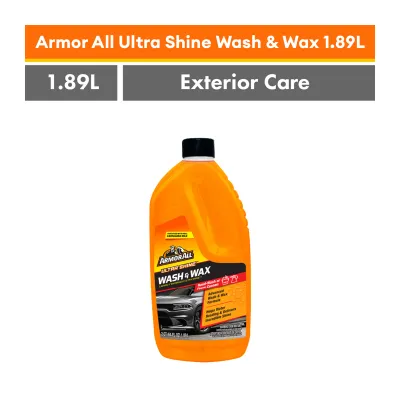
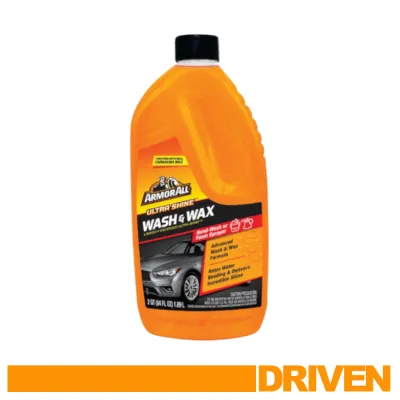
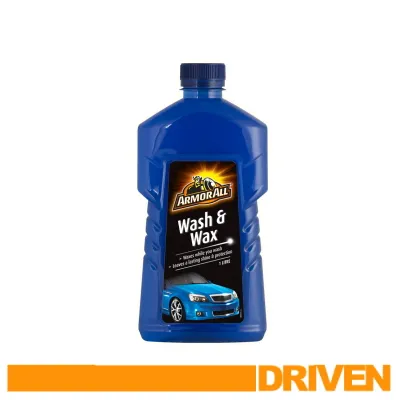
Prices are valid at publication and may change. Please refer to the product page for the latest price.
Ceramic coatings rely on a highly sophisticated chemical reaction to protect your vehicle. Unlike traditional waxes that sit on top of the paint, ceramic coatings contain silicon dioxide (SiO2) or silicon carbide (SiC) formulations that must form a covalent bond directly with the clear coat at a molecular level. If there is even a microscopic film of surfactant, silicone, or oil on the surface, the coating cannot cross-link with the paint. This results in weak adhesion, poor hydrophobic performance, and a coating that may wash off after just a few weeks instead of lasting for years.
Traditional carnauba waxes and synthetic polymer sealants are slightly more forgiving than ceramic coatings, but they still require a clean surface to perform optimally. When applied over a layer of road film, old wax, or soap residue, the new wax cannot adhere properly. Instead of bonding to the stable clear coat, it bonds to the unstable layer of contamination. This traps dirt and oils underneath, dulling the paint’s natural gloss, and causes the fresh wax to degrade rapidly under intense tropical UV rays and heavy rainstorms.
Using the wrong car wash product right before applying protection introduces significant risks. Leftover surfactants, gloss-enhancing agents, or protective waxes act as a stubborn barrier. This barrier leads to poor product durability, unsightly water spotting, uneven flashing (curing) during application, or complete bonding failure. To protect your investment and effort, you must ensure the paint is completely bare before proceeding.
Check Your Formula: Standard Wash vs. Wash and Wax
When looking at the lineup of armor all car wash products, it is vital to understand that not all formulas are created equal. The brand offers several distinct car wash products, and whether a specific bottle is safe or effective for prep work depends entirely on the chemical formulation inside. Before pouring any soap into your wash bucket, always check the product label for keywords such as “wax,” “shine,” “active polymers,” “gloss enhancers,” or “ceramic protection.”

Standard pH-Neutral Car Washes
Basic, pH-neutral car washes that do not contain added waxes or gloss enhancers are designed primarily for safe, routine maintenance cleaning. These formulas excel at lifting loose dirt, dust, and road grime away from the paint surface without stripping away existing protection. Because they are engineered to preserve your existing wax or sealant, they lack the aggressive stripping power needed to prepare paint for a new coating. While they will not necessarily deposit heavy gloss polymers, they are insufficient as a standalone prep wash because they cannot dissolve old wax layers, stubborn traffic films, or embedded silicones.
Wash and Wax or Gloss-Enhancing Formulas
Car wash formulas labeled as “Wash & Wax” or featuring gloss-enhancing technology are specifically engineered to deposit a thin layer of synthetic polymers, silicones, or carnauba wax onto the paint during the washing and rinsing phases. This is excellent for a quick weekly wash to boost shine, but it is highly detrimental to paint preparation. These intentional residues fill in the microscopic pores of your clear coat, creating a slick barrier. If you attempt to apply a ceramic coating over this barrier, the coating will fail to bond entirely. Even traditional waxes applied over these uneven synthetic polymers can smear, cloud, or fail prematurely, leaving your paint unprotected against the elements.
The Correct Paint Preparation Steps for Flawless Adhesion
To achieve a professional-grade finish with maximum durability, you must follow a systematic decontamination process. This ensures that every trace of old wax, environmental contamination, and soap residue is completely eliminated before you apply your chosen paint protection. Always consult your vehicle’s paint care manual and the specific chemical product labels before beginning.
- Step 1: The Strip Wash: Instead of a standard maintenance wash, start with a dedicated automotive "strip wash" or a high-pH decontamination shampoo designed specifically to strip away old waxes, sealants, grease, and stubborn road silicones. If you are using a standard car wash soap, it must be followed by dedicated stripping agents. A true strip wash breaks down the stubborn chemical bonds of old waxes, leaving the paint clean but completely unprotected.
- Step 2: Chemical and Mechanical Decontamination: Washing only removes loose surface dirt. To tackle embedded contaminants, start with chemical decontamination by spraying an iron-remover over the paint. This product dissolves microscopic brake dust and industrial iron particles that have embedded themselves into the clear coat. Rinse the vehicle thoroughly. Next, perform mechanical decontamination using a clay bar or a synthetic clay mitt along with a dedicated clay lubricant. Gently glide the clay over the wet surface to shear off stubborn bonded contaminants like tree sap, overspray, and industrial fallout, leaving the paint feeling smooth as glass.
- Step 3: Panel Wipe / IPA Wipe Down: The final, most critical step before applying any wax or ceramic coating is the panel wipe. Even after washing and claying, microscopic polishing oils, surfactant residues, or lubricating agents can remain on the paint. Spray a dedicated isopropyl alcohol (IPA) prep spray or a professional surface eraser onto a clean, high-quality microfiber towel and wipe down each panel systematically. This step strips away any remaining chemical traces, leaving a truly bare clear coat ready for optimal bonding.
Safety and Verification Checks Always verify that the prep products you use are labeled as safe for your specific paint type or clear coat. Work exclusively in a shaded, cool area out of direct sunlight, as high surface temperatures can cause prep chemicals to dry too quickly, leaving stubborn water spots or chemical stains. If you are unsure about a product’s stripping strength or compatibility with your vehicle’s trim, test it on a small, inconspicuous area first. If instructions conflict or if you are working on aftermarket paint or custom wraps, stop and consult a professional detailer.
Troubleshooting Poor Adhesion and Coating Failure
If the paint preparation steps were bypassed or if a residue-depositing wash was used beforehand, you will likely encounter clear signs of poor adhesion during or shortly after application. Recognizing these symptoms early allows you to take corrective action before the finish is permanently affected.
For ceramic coatings, symptoms of failed preparation include the coating “flashing” (drying) too quickly, capping (forming hazy, oily streaks that refuse to buff off easily), high spots, or inconsistent water beading during the initial rinse test. For traditional waxes, poor prep typically manifests as greasy smearing during buffing, poor dust resistance, or a complete loss of water-beading performance after just one heavy rainstorm or maintenance wash.
- Corrective Action for Wax: If your wax application has smeared or failed to adhere, the correction is relatively straightforward and low-risk. Wash the vehicle again using a dedicated automotive strip wash to remove the compromised wax layer. Follow this with a thorough panel wipe using an IPA prep spray to ensure no residues remain. Once the surface is verified clean and dry, reapply your wax in thin, even layers according to the manufacturer's instructions.
- Corrective Action for Ceramic Coatings: Correcting a failed ceramic coating is more complex and depends heavily on how long the coating has been curing. If the coating was applied within the last 24 to 48 hours and has not fully cured, you may be able to carefully polish it off using a dual-action (DA) polisher paired with a mild finishing polish and a soft foam pad. After polishing, perform a meticulous IPA wipe down to remove all polishing oils, then reapply the coating.
Safety Warning If the coating has fully cured, or if you are dealing with severe high spots, aggressive compounding may be required. Never attempt aggressive compounding without first checking your clear coat thickness or consulting a professional detailer, as over-polishing can permanently thin or damage your vehicle’s factory clear coat.
Frequently Asked Questions (FAQ)
Can I use dish soap to strip my car's paint before waxing?
Using household dish soap is a common DIY myth in the car care community. While dish soap is highly effective at stripping away grease and old wax due to its high alkalinity and strong degreasers, it is not formulated for automotive finishes. Continuous use of dish soap can dry out plastic trim, rubber window seals, and headlight surrounds, leading to premature fading, cracking, and degradation. Dedicated automotive strip washes are engineered to safely strip waxes and oils without harming sensitive rubber and plastic components, making them the much safer choice.
Do I need to clay bar my car before applying a ceramic coating?
Yes, mechanical claying is an essential step before applying any ceramic coating. Even if the paint looks clean after a thorough wash, microscopic contaminants like industrial fallout, brake dust, tree sap, and road tar remain embedded in the clear coat. If you apply a ceramic coating over these contaminants, you will permanently seal them beneath the glass-like barrier, resulting in a rough texture and reduced gloss. Furthermore, these contaminants prevent the coating from forming a uniform chemical bond, significantly reducing its lifespan and hydrophobic performance.
Community discussion
Share your experience or ask a question. Comments are reviewed before publication.