
Pairing a reliable shampoo like Armour All Car Wash with the right accessories is the foundation of a safe, scratch-free home detailing routine. While the soap provides the necessary lubrication and cleaning agents to lift road grime, the physical tools you use determine whether that dirt is safely swept away or dragged across your clear coat. In Singapore’s warm, humid climate, where vehicles are frequently exposed to tropical rain, road salt, and industrial fallout, maintaining a pristine finish requires a systematic approach. Setting up a dedicated home wash kit ensures that every wash session preserves your vehicle’s paintwork and keeps it looking clean without accidental damage.
Selecting the right tools is just as important as the soap itself. Using improper equipment, such as harsh household sponges or old bath towels, can quickly lead to fine scratches and unsightly swirl marks that dull your car’s paint over time. By assembling a kit that includes dedicated wash buckets, grit guards, high-quality wash mitts, and specialized drying towels, you create a protective barrier between the abrasive road dirt and your vehicle’s delicate clear coat.
Essential Buckets and Grit Guards for Safe Washing
The foundation of any safe wash setup is the two-bucket method, a simple yet highly effective technique designed to isolate dirt and protect your vehicle’s paint. This system requires two separate buckets: one filled with your diluted Armour All Car Wash solution, and another filled with clean, plain water. Every time you wipe a section of your car, you rinse the dirty wash mitt in the plain water bucket first before dipping it back into the soapy water. This prevents the abrasive dirt you just lifted from being reintroduced to your clean wash solution and rubbed back onto the vehicle.
Products mentioned in this guide
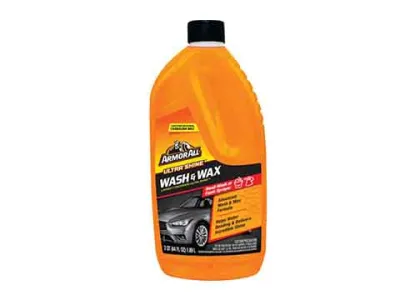
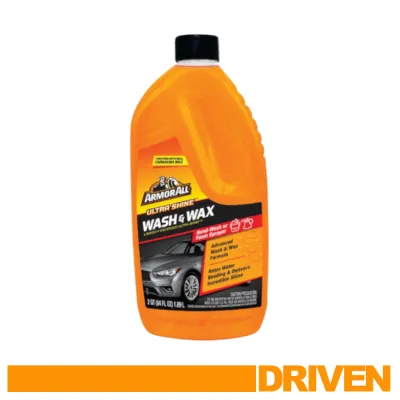
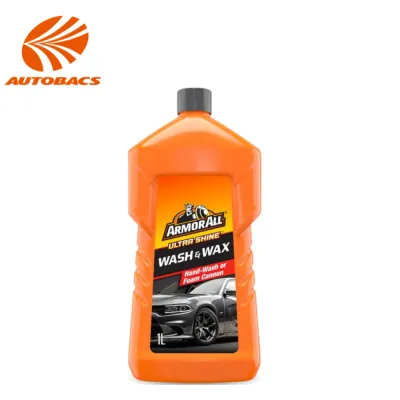
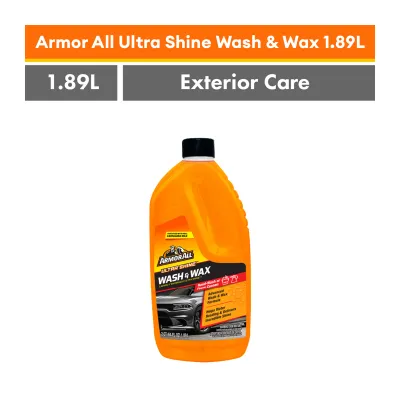
Prices are valid at publication and may change. Please refer to the product page for the latest price.
To make this system highly effective, each bucket should be equipped with a grit guard. A grit guard is a radial plastic insert that sits at the bottom of the bucket, raised slightly off the floor. It acts as a one-way barrier, allowing heavy dirt particles, sand, and road grit to settle to the bottom of the bucket while preventing your wash mitt from reaching down and picking them back up. When you dunk your dirty mitt into the rinse bucket, rubbing it gently against the grit guard helps release trapped debris, keeping your rinsing water cleaner.
When selecting buckets for your home kit, look for a capacity of at least 15 to 20 litres to ensure you have enough water volume to dilute the soap properly and rinse your tools effectively. Sturdy, heavy-duty plastic construction prevents the buckets from cracking under the weight of the water. Ergonomic handles, preferably with comfortable rubber or plastic grips, make carrying the heavy buckets from your home to the wash bay or driveway much easier.
Choosing the Right Wash Mitts to Prevent Swirl Marks
The choice of wash mitt directly impacts how safely dirt is lifted from the vehicle’s surface. Microfiber and chenille (often called “noodle” mitts) are the two most common and effective materials. Chenille mitts feature thick, woven strands that excel at trapping larger dirt particles deep within the pile, keeping them away from the paint. Microfiber mitts offer a dense, plush surface that provides excellent lubrication and is ideal for lifting fine dust and film.

A secure, elastic wrist cuff is an essential feature of any high-quality wash mitt. If a mitt slips off your hand and falls onto the ground, it will instantly pick up tiny rocks, sand, and debris from the concrete. Once a mitt touches the ground, it must be set aside and thoroughly washed before it can ever touch your paint again; a tight cuff prevents this common accident.
Regularly inspect your wash mitts before and during each wash. Run your fingers through the fibers to check for embedded twigs, small stones, or hardened debris that washing did not remove. If the fibers feel stiff, matted, or rough to the touch, the mitt has reached the end of its safe life for paintwork and should be replaced or downgraded to wheel-cleaning duties.
Drying Towels and Techniques for a Streak-Free Finish
Drying is often where the most scratch damage occurs, making high-quality drying towels a critical investment. Look for plush, high-density microfiber towels with an edgeless design or soft satin binding. These features prevent the hard stitched edges of the towel from dragging against the clear coat and causing fine swirl marks. High absorbency is key, as it allows you to dry the vehicle quickly before the tropical heat causes water spots to form.
Silicone water blades are sometimes used to quickly sweep water off flat panels, but they carry a risk of scratching. If even a single speck of dust remains on the paint or the blade itself, dragging the silicone edge across the panel will scrape that grit directly into the clear coat. For this reason, water blades should only be used on completely clean glass, and never on painted surfaces unless you are absolutely certain the panel is entirely free of contaminants.
To minimize friction during the drying process, employ safe techniques like the “pat dry” method. Instead of dragging a towel back and forth across the paint, lay the large microfiber towel flat over a section of the vehicle, pat it gently to absorb the water, and lift it off. Alternatively, you can hold the towel by two corners and gently glide it across the surface with minimal downward pressure, letting the fibers do the work.
Step-by-Step Workflow: Combining Your Tools and Car Wash
Begin your wash routine with a thorough pre-rinse using a hose or pressure washer. This step removes loose dirt, mud, and surface dust before you make physical contact with the paint, significantly reducing the risk of dragging abrasive particles across the clear coat. Pay special attention to the wheel arches, lower door panels, and bumpers where road grime accumulates.
Next, prepare your wash buckets. Always check the back label of your Armour All Car Wash bottle for the manufacturer’s recommended dilution ratio. Pouring too much soap can leave a stubborn residue that is difficult to rinse off, while using too little will reduce the lubrication needed to glide the mitt safely. Use clean, cool water to mix the solution, as hot water can cause the soap to dry too quickly on the vehicle’s panels.
When washing, always work from the top of the vehicle downward. Start with the roof, then move to the glass, hood, trunk, upper door panels, and finally the lower panels and wheels. Because the lower sections of a car accumulate the heaviest road grime, washing them last prevents you from transferring that heavy dirt to the cleaner upper sections.
After cleaning a single panel or section, dunk your wash mitt into the plain rinse bucket first. Agitate the mitt against the grit guard to release trapped dirt, wring it out, and then dip it back into the soapy bucket to reload it with fresh, lubricated suds. This continuous cycle ensures that you are always applying clean soap and a clean mitt to your paint.
Tool Care and Maintenance to Prolong Kit Life
Proper care of your microfiber towels and wash mitts is essential to maintain their soft, scratch-free properties. Wash them separately from regular household laundry to prevent them from picking up cotton lint. Use a dedicated microfiber wash detergent or a mild liquid detergent, and strictly avoid fabric softeners or bleach, as these chemicals coat the fibers, clogging them and drastically reducing their absorbency.
Air-drying your microfiber tools in a clean, dust-free indoor area is a safe method to prevent contamination. If you use a clothes dryer, select a low-heat or no-heat setting, as high heat can melt the delicate synthetic fibers, turning them stiff and abrasive. Once dry, store your towels and mitts in clean, sealed plastic bins to protect them from airborne dust, garage grime, or pests.
Before starting any wash session, perform a quick quality check on all your tools. Inspect the buckets for leftover dirt, rinse out the grit guards, and feel the wash mitts and drying towels for any stiffness or embedded grit. Taking two minutes to verify the cleanliness of your gear can save you hours of paint correction work later.
Frequently Asked Questions (FAQ)
Can I use regular household sponges instead of a dedicated wash mitt?
No, using regular household sponges is not recommended for washing vehicle paint. Household sponges typically have flat, dense surfaces that trap dirt and grit directly between the sponge and the paintwork. As you wipe, these trapped particles are dragged across the clear coat, acting like fine sandpaper and creating swirl marks. Dedicated automotive wash mitts, such as those made of microfiber or chenille, feature deep piles or long fibers that pull dirt away from the surface and hold it deep within the material, safely isolating it from your paint.
How do I know when it is time to replace my microfiber drying towels?
You can determine when to replace your microfiber drying towels by performing simple visual and tactile checks. If the fibers feel stiff, rough, or scratchy to the touch even after washing, they have likely become clogged with dried wax, polish, or mineral deposits and are no longer safe for paint. Other signs of degradation include a noticeable loss of absorbency, persistent sour odors, or frayed edges that could scratch the clear coat. Once a drying towel is no longer suitable for your vehicle’s paint, you can repurpose it for less sensitive tasks like cleaning wheels, engine bays, or interior plastics.
Community discussion
Share your experience or ask a question. Comments are reviewed before publication.