
A clean bicycle drivetrain is essential for smooth shifting, optimal power transfer, and preventing premature wear on expensive components. While a high-quality bicycle degreaser is the foundation of this maintenance task, the chemical alone cannot lift compacted road grime, grit, and old lubricant from the intricate recesses of your drivetrain. To achieve a professional-grade clean, you must pair your degreaser with a dedicated suite of brushes, applicators, and rags designed to reach every crevice without damaging sensitive finishes or seals.
By selecting the right mechanical tools, you transform a messy chore into an efficient, highly effective maintenance routine. This guide will help you identify the essential components of a complete drivetrain cleaning kit, ensuring you have the correct tool for every gear, link, and pulley.
Understanding the Roles of Brushes and Applicators
Building an effective drivetrain cleaning kit requires understanding that different areas of your bicycle’s propulsion system face distinct types of contamination. The chain, cassette, chainrings, and derailleur pulleys each have unique geometries and clearance constraints. A tool that excels at scrubbing a flat chainring will struggle to reach the narrow gaps between cassette cogs, making a single-brush approach highly inefficient.
Products mentioned in this guide
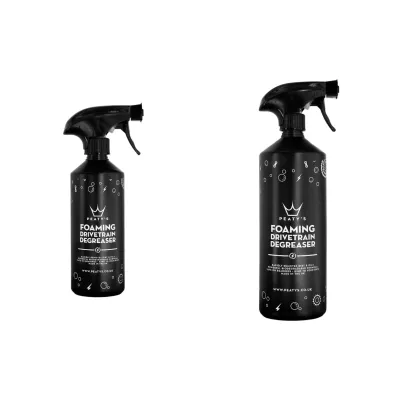
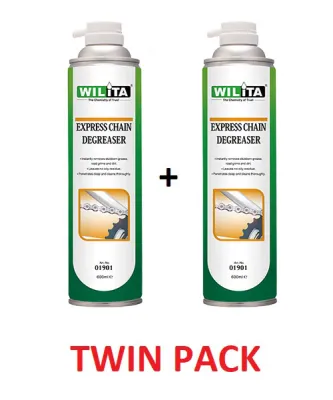
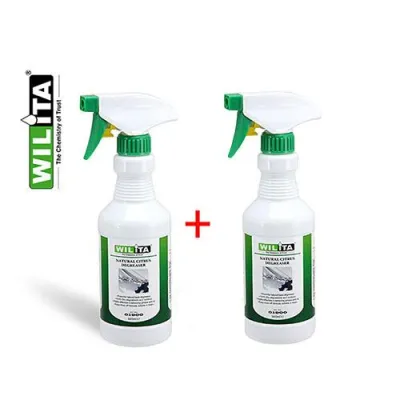
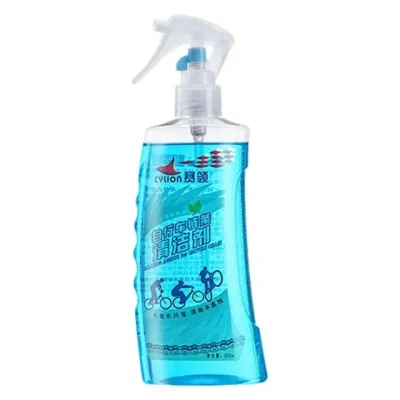
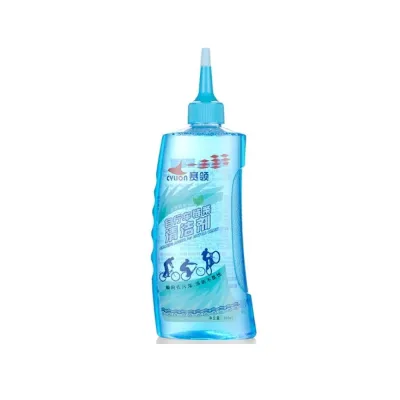
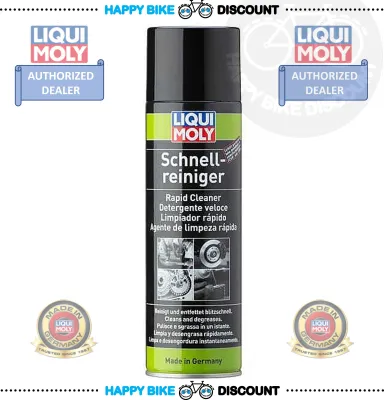
Prices are valid at publication and may change. Please refer to the product page for the latest price.
Your cleaning kit should be structured around three primary tool categories: application, agitation, and removal. Application tools deliver the degreaser precisely where it is needed, minimizing waste and preventing chemical overspray on sensitive areas like brake rotors. Agitation tools, such as specialized brushes, physically break up the bond between the grime and the metal surfaces. Finally, removal tools, including rags and sponges, lift the suspended dirt and chemical residue away from the bike.
By separating these duties, you protect delicate components from damage. For instance, the aggressive scrubbing needed to clear a muddy cassette can easily ruin the delicate rubber dust seals on your derailleur jockey wheels if the same stiff brush is used across both parts. A modular kit ensures you always have the correct level of abrasion and reach for each specific zone.
Choosing the Right Brushes for Chains and Cassettes
When selecting brushes for your kit, bristle stiffness and tool shape are the two most critical factors to consider. Stiff-bristled brushes are the workhorses of your kit, designed specifically for the cassette and chainrings. These components accumulate a thick, clay-like paste of road dust, sand, and old grease that requires significant mechanical force to dislodge. Look for brushes with dense, heavy-duty nylon bristles that resist bending under pressure.

For the chain and derailleur jockey wheels, you must transition to soft or medium-bristled brushes. The chain contains internal rollers and pins protected by tight tolerances, while jockey wheels rely on sensitive cartridge bearings or bushings shielded by rubber seals. Aggressive, stiff bristles can force grit past these seals, causing internal friction and premature component failure. Medium bristles conform more easily to the shifting shapes of the chain links, cleaning the outer plates without compromising internal lubrication.
Specialty brush shapes can drastically reduce your cleaning time. A claw or cogged brush features a curved, toothed plastic tail on one end, which is incredibly effective for scraping packed mud out from between cassette cogs before you even apply degreaser. Three-sided chain brushes wrap around the chain links, allowing you to clean the top, bottom, and sides simultaneously with a few simple passes. Enclosed chain-cleaning devices, which clip directly over the chain and use internal rotating brushes, offer a self-contained alternative that bathes the links in degreaser while keeping mess to a minimum.
Always verify the brush material against your bicycle’s finishes. While stiff nylon is safe for standard steel and aluminum components, avoid using brass or steel wire brushes. Metal-wire bristles will scratch anodized coatings, strip protective paint, and create micro-abrasions on carbon fiber frames or high-end titanium components, leaving them vulnerable to corrosion and structural fatigue.
Selecting Applicators and Rags for Degreaser Application
Applying your degreaser efficiently requires tools that hold and distribute liquid without excessive dripping. Sponges and foam pads are excellent for manual application, allowing you to saturate the chain and chainrings evenly. A dedicated foam applicator can hold a generous amount of fluid, letting you paint the degreaser onto the metal surfaces with precision, which minimizes chemical waste and keeps the workspace clean.
For general wiping and final cleanup, the material of your rags plays a major role in the quality of the finish. Microfiber cloths are highly recommended because their split-fiber structure naturally traps microscopic grit and holds onto grease rather than simply pushing it around. Old cotton t-shirts are a viable, low-cost alternative, but they tend to shed lint that can become caught in the chain links. Avoid using standard paper towels, as they quickly disintegrate when subjected to the sharp edges of chainrings and cassette teeth, leaving behind a messy pulp.
Managing heavily soiled cleaning materials requires careful attention to safety and environmental impact. Rags saturated with heavy grease and chemical degreasers should never be washed in a household washing machine, as the residual oils can damage plumbing and contaminate future laundry loads. Store used rags in a well-ventilated, fire-safe metal container to prevent the risk of spontaneous combustion associated with certain solvent-based chemicals, and dispose of them in accordance with your local hazardous waste guidelines.
Step-by-Step Workflow: Combining Tools With Bicycle Degreasers
To get the most out of your cleaning kit, follow a structured workflow that maximizes the chemical efficiency of your degreaser and the mechanical advantage of your brushes. Begin by shifting your chain into the largest chainring and the smallest cassette cog. This position exposes the maximum surface area of both components, giving your brushes easier access to the deep recesses of the gear teeth.
Before applying any chemicals, protect your braking surfaces. If your bicycle is equipped with disc brakes, cover the rotors and calipers with clean plastic bags, dedicated rotor covers, or clean rags. This simple step prevents airborne degreaser mist or dirty, greasy runoff from contaminating your brake pads, which would otherwise cause severe squealing and a dangerous loss of stopping power.
Apply your bicycle degreaser to the cassette, chain, and chainrings using your chosen applicator or spray nozzle. Allow the chemical to dwell on the components for the duration specified on the product label—typically between two and five minutes. This dwell time is crucial, as it allows the degreaser to chemically break down the binding agents in the old lubricant. Do not allow the degreaser to dry completely on the components.
Once the dwell time is complete, begin your agitation sequence. Start with the cassette, using the claw tool to scrape away any large clumps of debris from between the cogs, followed by a stiff-bristled brush to scrub the faces of the gears. Next, use your medium-bristled or three-sided brush on the chain, slowly backpedaling the drivetrain to run the entire length of the chain through the bristles. Finish by gently scrubbing the chainrings and the derailleur pulley wheels, taking care not to press too hard against the pulley seals.
Rinse the entire drivetrain using a gentle, low-pressure spray of water. Never use a high-pressure power washer, as the intense force can easily bypass bearing seals in your bottom bracket, hubs, and pulleys, washing away essential internal grease. After rinsing, immediately wipe down the chain and cassette with a clean, dry microfiber rag to remove any remaining moisture and suspended grime. Ensure the drivetrain is completely dry before applying a fresh coat of bicycle-specific chain lubricant.
Material Compatibility and Safety Checks
Before starting any cleaning procedure, always read the manufacturer labels on both your bicycle components and your cleaning chemicals. Some aggressive solvent-based degreasers can react negatively with modern bicycle materials. They can degrade the resin binders in carbon fiber frames, strip anodized finishes from lightweight aluminum parts, or cause rubber O-rings and suspension seals to swell and crack.
If you are working with high-end components, carbon fiber, or delicate matte paint finishes, opt for a biodegradable, water-based degreaser specifically formulated for bicycle use. These formulas are designed to lift grease effectively while remaining neutral toward sensitive plastics, rubbers, and composite materials. When in doubt, test a small amount of the degreaser on an inconspicuous area of the frame or component before applying it to the entire drivetrain.
Finally, use the cleaning process as an opportunity to inspect your drivetrain for wear. As you scrub the cassette and chainrings, look for teeth that have become asymmetrical or sharp, often referred to as “shark-toothing.” If you notice this pattern, or if your chain feels excessively loose, use a chain wear indicator tool to check for stretch. If the components show signs of advanced wear, stop and consult a qualified bicycle mechanic to discuss replacing the worn parts, as a fresh chain will not run smoothly on a worn cassette.
Frequently Asked Questions (FAQ)
Can I use household dish brushes instead of dedicated bicycle brushes?
While household dish brushes can work in an emergency, they are generally poorly suited for thorough drivetrain maintenance. Their wide heads and thick handles make it difficult to reach the narrow clearances between cassette cogs and behind the chainrings. Additionally, the bristles on household brushes are often either too soft to dislodge stubborn road grime or made of materials that can scratch delicate anodized finishes. Dedicated bicycle brushes are ergonomically shaped to clear frame components and feature optimized bristle stiffness for safer, faster cleaning.
How often should I replace the brushes and rags in my cleaning kit?
Replace your brushes as soon as you notice the bristles becoming splayed, frayed, or permanently matted with grease, as deformed bristles lose their ability to agitate grime effectively. Rags should be retired from drivetrain duty once they become saturated with oil or embedded with metallic grit. Reusing a grit-laden rag acts like sandpaper against your chain and gears, accelerating component wear and scratching polished surfaces during future cleanings.
Community discussion
Share your experience or ask a question. Comments are reviewed before publication.